The Ultimate Guide To Instant Pot Idlis (Recipe + Tips)
Note: This post contains affiliate links. As an Amazon Associate I earn from qualifying purchases.


Instant Pot idli recipe – Do you struggle with idli batter not fermenting in winter? Learn how to ferment idli/dosa batter and steam the perfect soft and fluffy idlis in an Instant Pot.
What is idli?
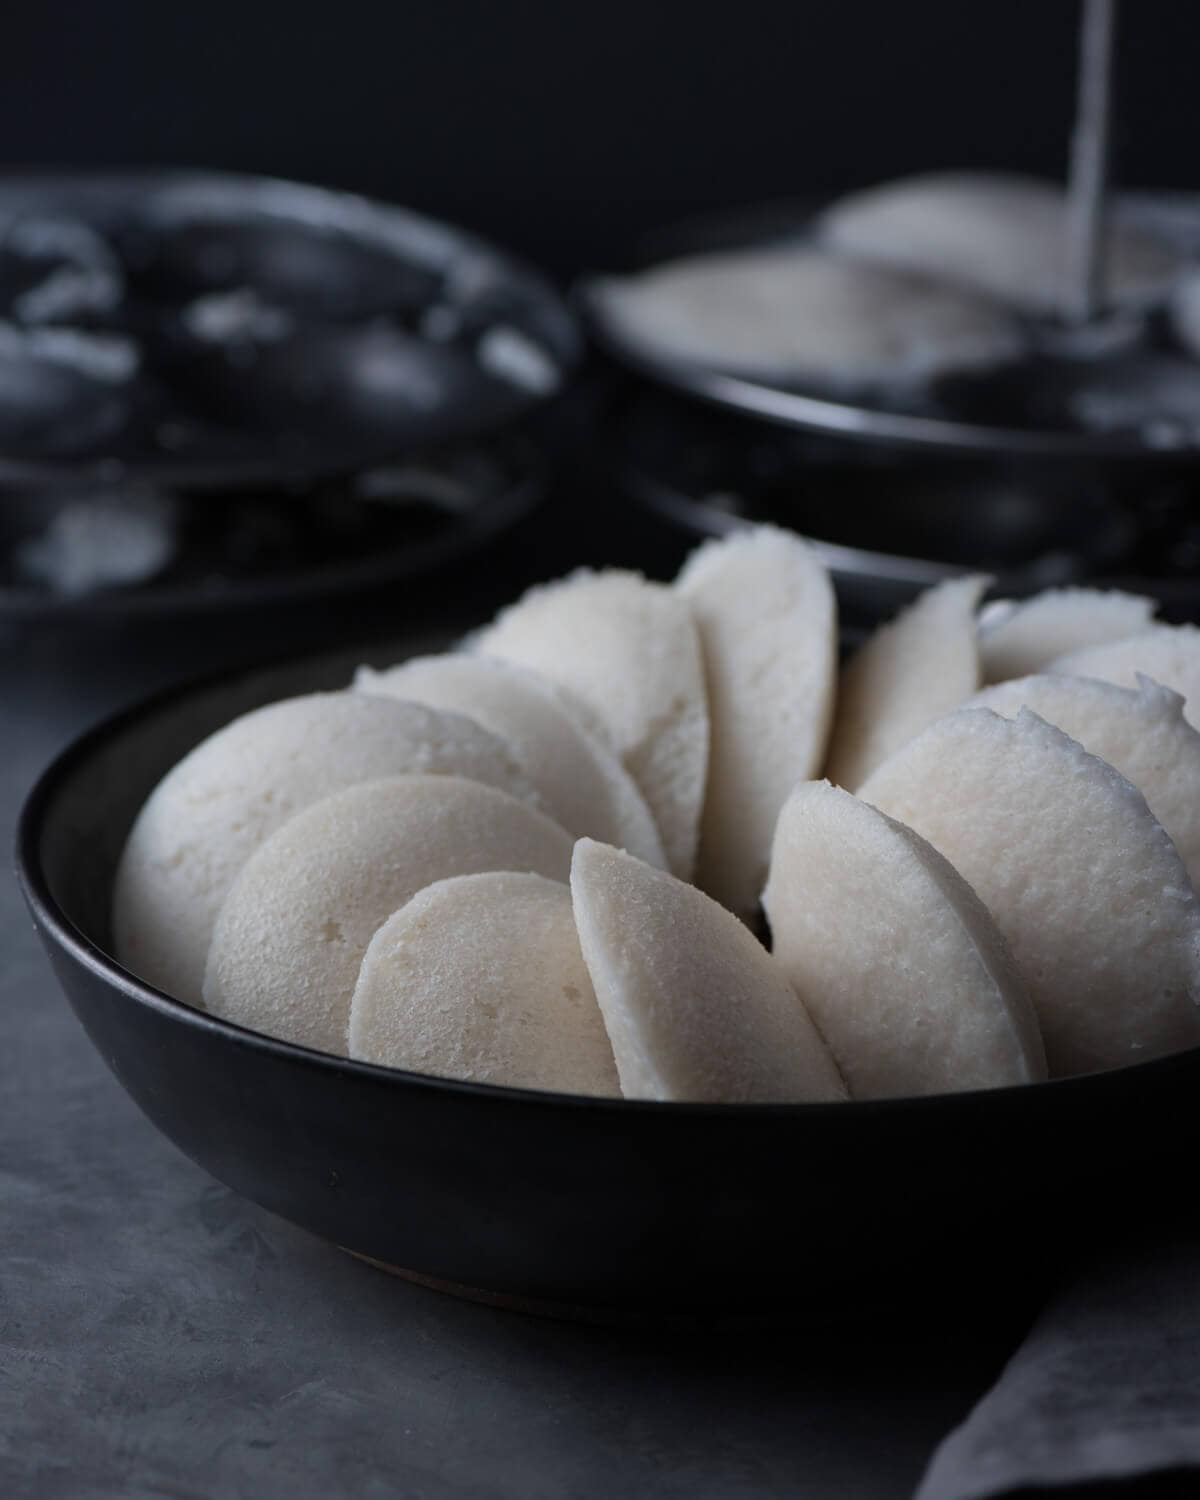
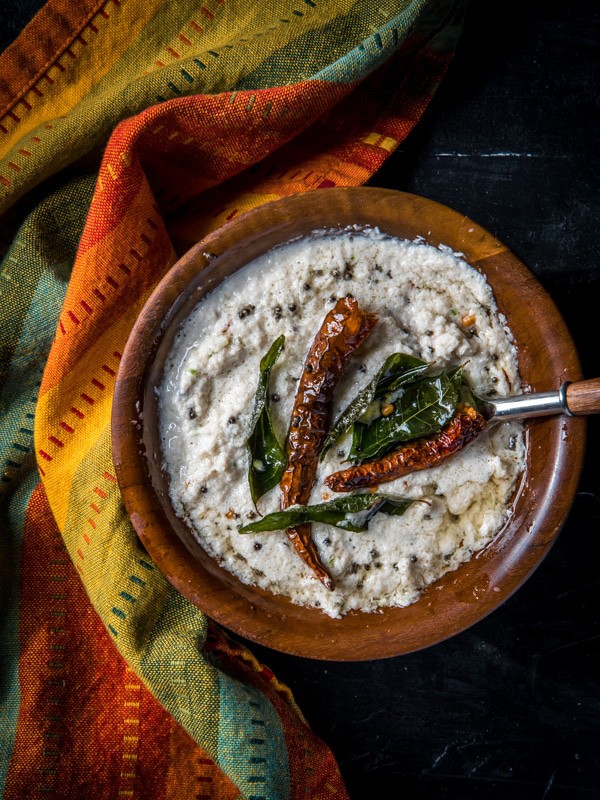
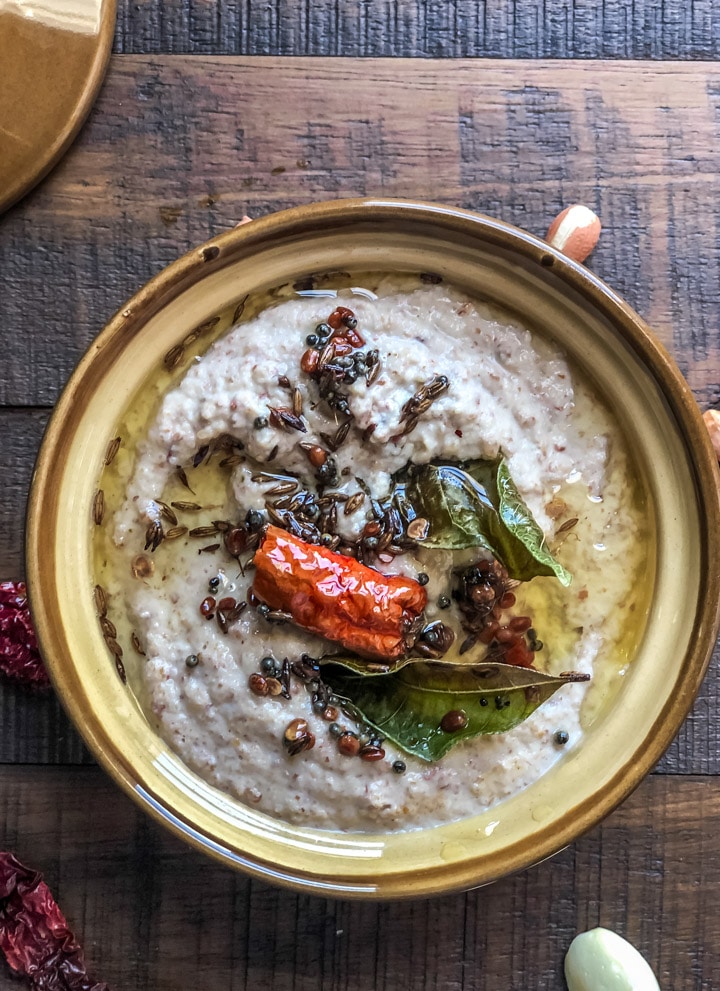
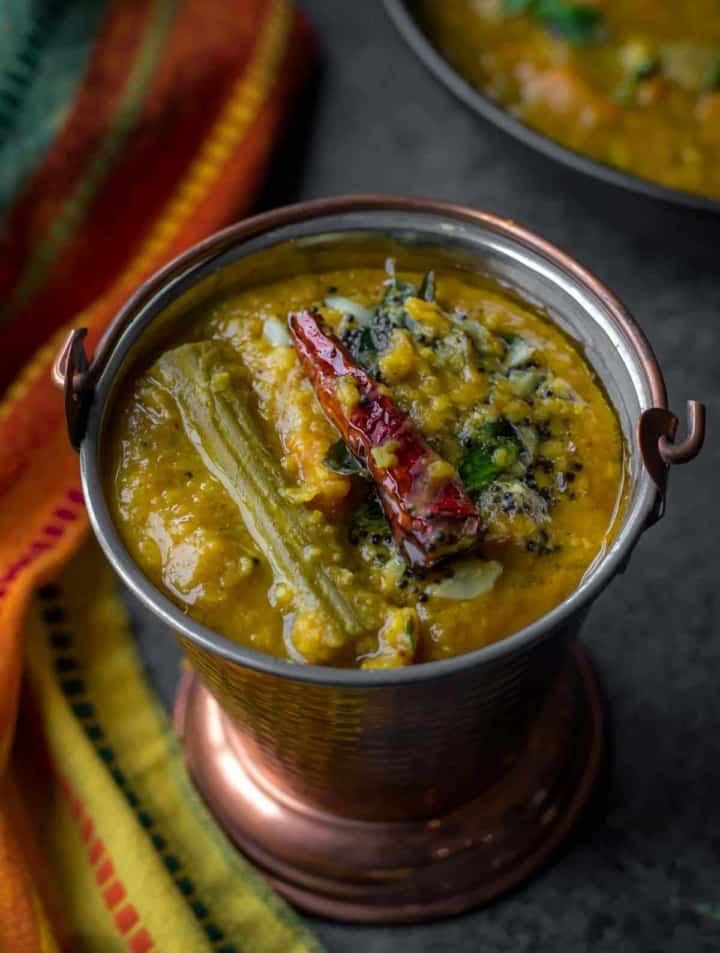
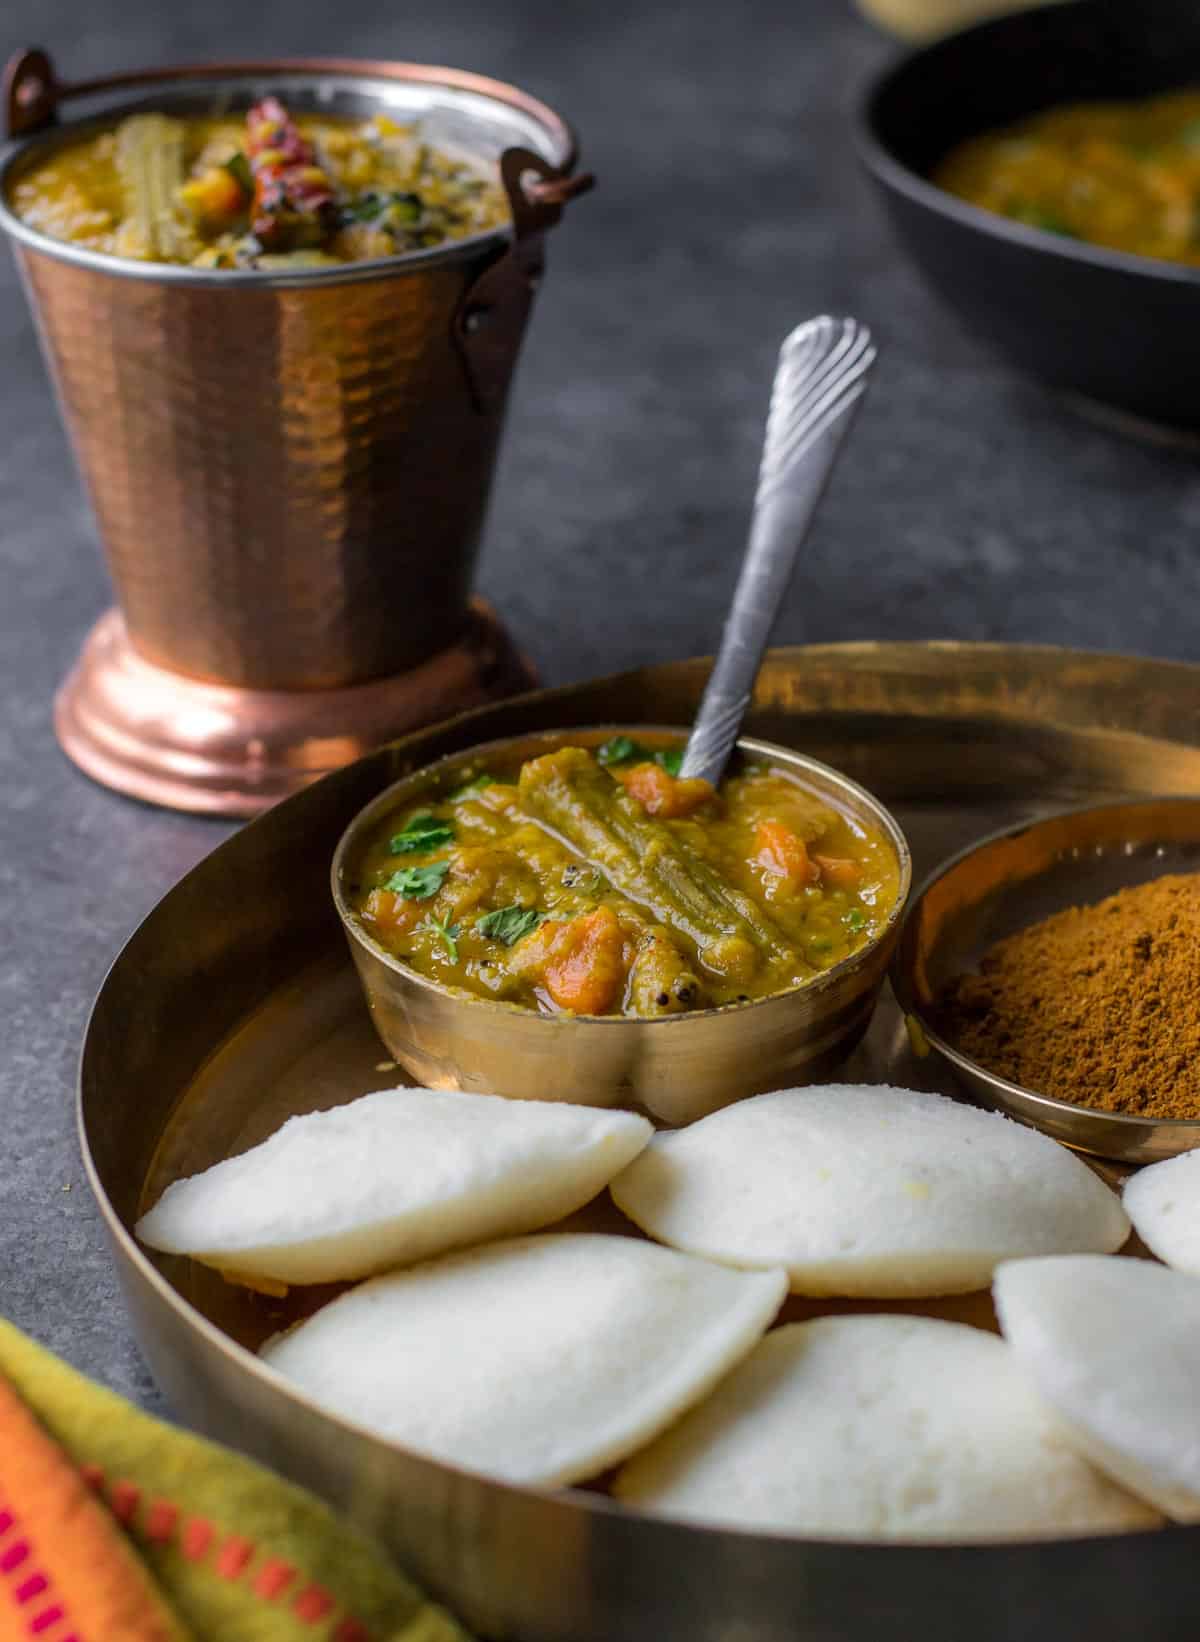
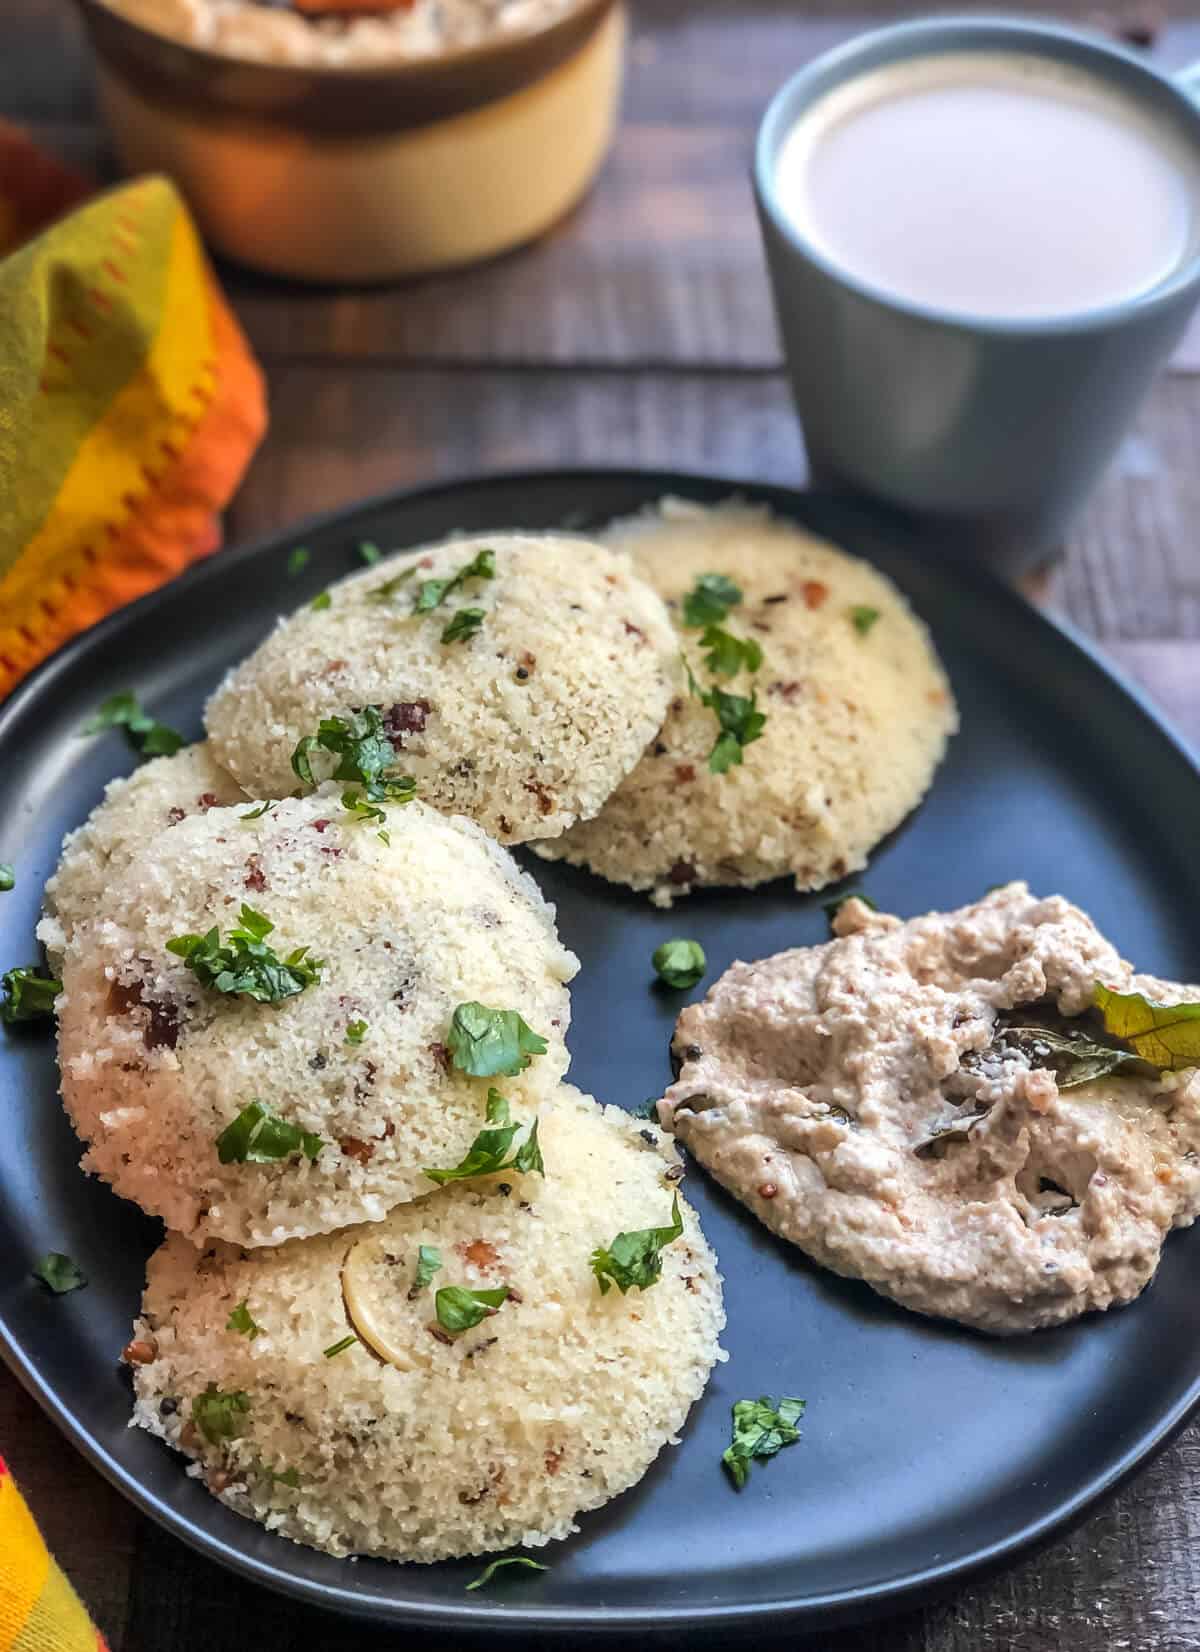
‘Idli’ (or ‘Idly’ if you’re so inclined) is a mildly flavored, slightly tangy steamed rice cake that melts in your mouth when paired with a bowl of aromatic sambar and nutty coconut chutney.
This iconic breakfast dish from South India is popular not just in its homeland but also in Indian restaurants across continents.
What makes crafting the perfect idli tricky?
The recipe to make idlis calls for a few simple steps:
- Soak rice and urad dal separately, grind them to perfection, and whisk to combine.
- Let the batter rest for at least 8-10 hours, and let nature work its fermentation magic.
- Once fermented, scoop the batter into idli molds and steam to create those spongy wonders.
Sounds straightforward, right?
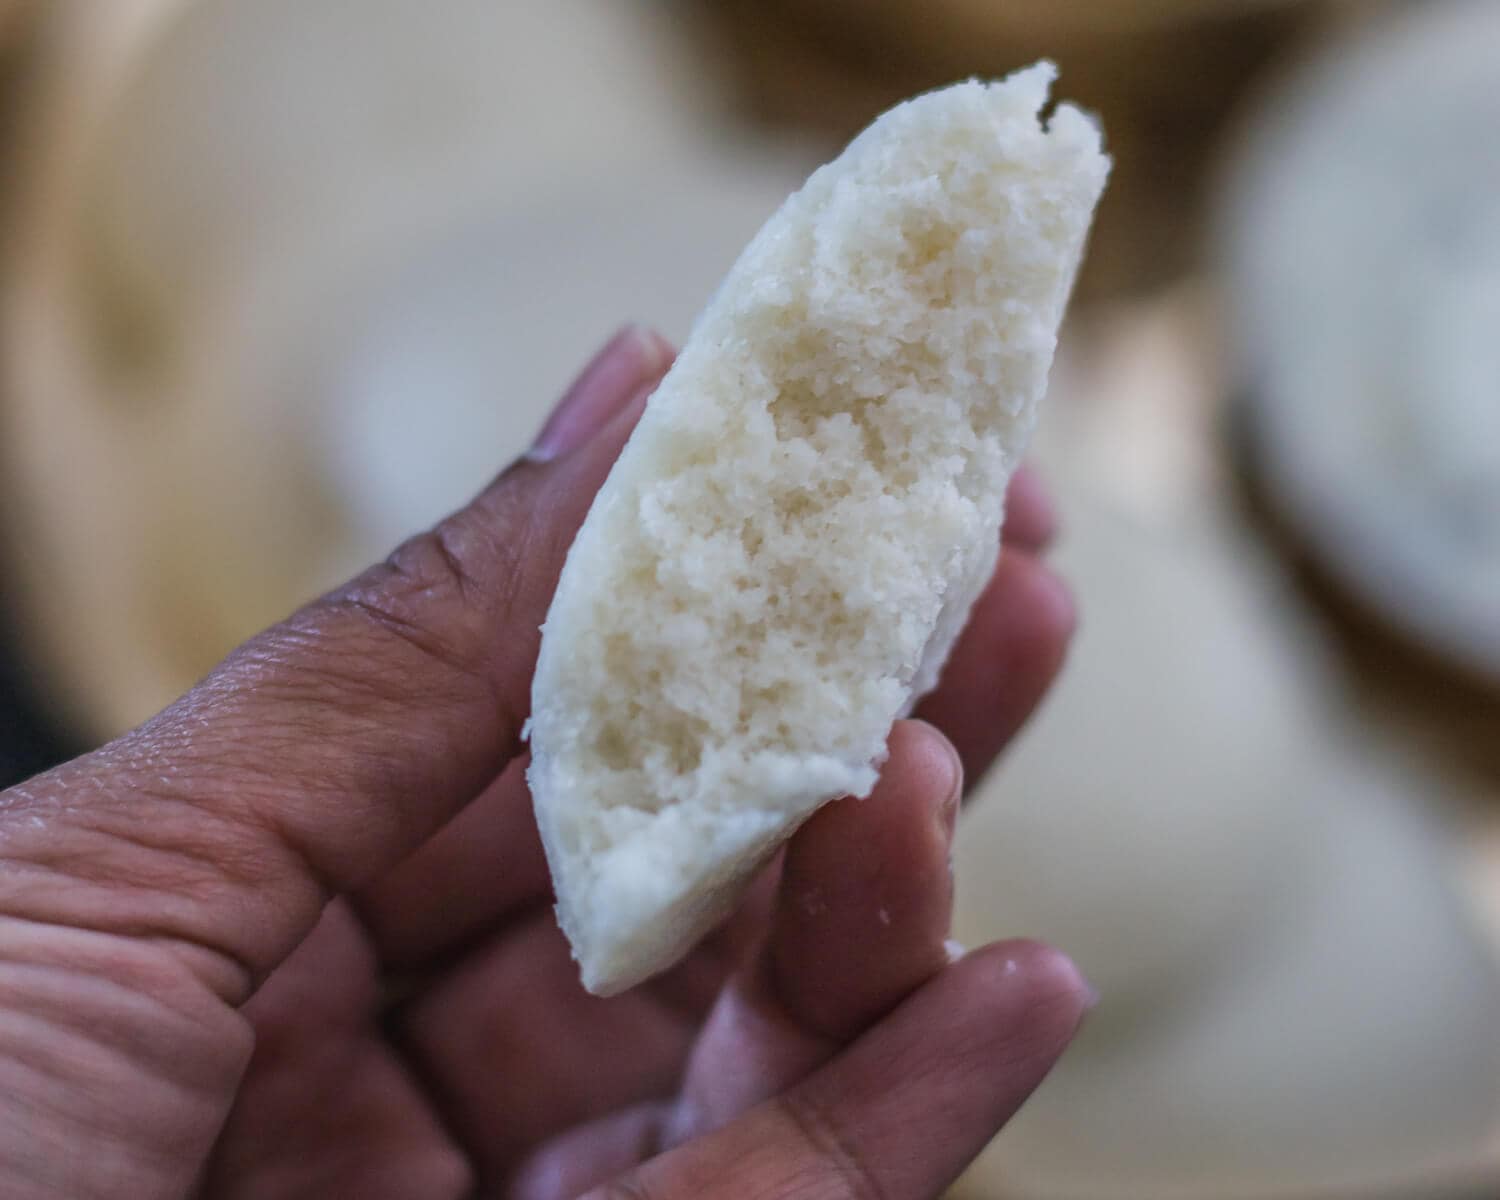
However, the path to idli nirvana can sometimes be fraught with pitfalls, especially when the fickle fermentation process comes into play. Get it right, and you’re rewarded with cloud-like, fluffy, and spongy idlis. Miss the mark (which often happens during cold winters), and you might end up with a batch of hard, flat duds.
Fear not! For I’ve discovered the game-changer: The Instant Pot.
This marvel not only ensures consistent fermentation but also doubles up as a stellar steaming device, ensuring your idlis are on point every single time.
Ready to let the Instant Pot revolutionize your idli game? Let’s begin by gathering the ingredients and tools.
Ingredient notes/swaps
For making soft idlis, following the proportion between urad dal and rice is crucial. In the summertime, maintain a 1:4 ratio of urad dal to rice. As winter rolls in, shift to a 1:3 ratio, upping the urad dal content to facilitate fermentation.
- Rice – The recommended varieties of rice to use in idlis include Idli rice, parboiled rice, or ponni boiled rice. You can source them from any Indian stores.
- Whole urad – To achieve the best texture and consistency, whole urad (known as urad gota) is preferred. An alternative is the unprocessed black split urad dal, though it demands a rigorous rinsing cycle, about 10-12 times, to remove its skin. Skinned split urad dal is another option.
- Fenugreek or methi seeds (optional) – aid fermentation, but you can skip it if you live in a warm place.
- Thick poha (flattened rice), optional – An additional step to enhance the softness of your idlis involves soaking about 1/2 cup of thick poha for 5 minutes. Later, grind it together with the rice.
- Salt – to season the idlis. If using non-iodized salt such as rock salt or Himalayan salt, you can add it to the batter before fermentation. If you are using table salt or any salt that contains iodine, wait until the fermentation is complete, as it hinders the process.
Be sure to check out the full recipe and ingredient list below.
Recommended Tools
- Instant Pot pressure cooker – Whether it’s the 6-quart or the more spacious 8-quart version, both versions of this electric pressure cooker work wonders for making idlis.
- Glass lid – Use this to cover the Instant Pot while fermenting instead of using the lid that comes with it.
- Idli stand – This idli stand is perfect for the 6-quart Instant Pot.
A good blender is key to getting the idli dosa batter to the right consistency. Here are the ones I recommend.
- Electric Wet stone grinder – This grinder certainly does churn out some of the best idlis. The only downside? The 20-30 minute grinding time. But, trust me, it’s worth the wait.
- Indian Mixer and Grinder – A household device in many Indian homes. Watch out for overheating – use cold water and grind in small batches to protect the batter’s beneficial bacteria.
- High-performance blenders like Blendtec – My personal favorite! The smoothie cycle is perfect for grinding urad dal and rice. Again, use cold water to grind to sidestep issues with the batter getting warm during blending.
Don’t have an Instant Pot? Check out this post – how to make idlis using an idly cooker. It is a detailed guide that lays out the idli-making process and provides different options to grind and ferment the perfect homemade idli dosa batter.
The three steps to making soft idlis in Instant Pot
Now you have the ingredients figured out and ready with your Instant Pot, let’s dive into the step-by-step guide to creating the perfect idlis right at home.
Step 1 – Soak and grind
Soaking: Kickstart your idli-making process by soaking rice (along with fenugreek seeds) and urad dal in separate bowls filled with ample water. Let them soak for about 4-6 hours. This step is vital as it softens the grains and preps them for grinding.
Grinding: Once the soaking phase is done, drain the water and grind the urad dal into a silky-smooth paste. Remember to add water sparingly. Next, grind the rice, aiming for a slightly coarse texture. Now, add both the pastes to a large bowl. Whisk them together with either clean hands or a spatula, ensuring a consistency similar to pancake batter.
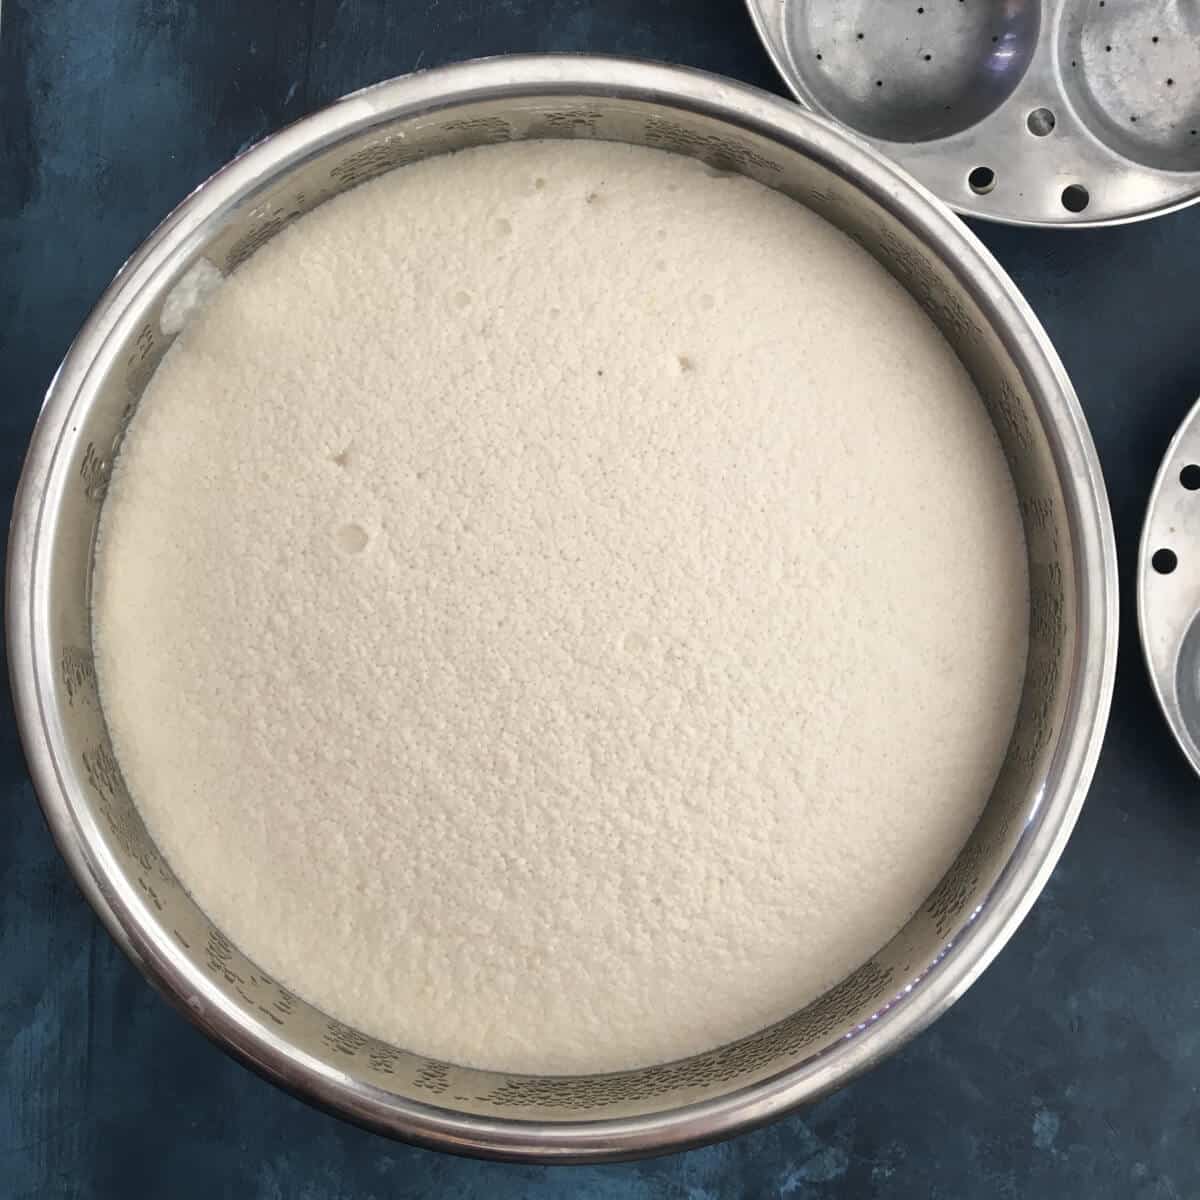
Step 2 – Fermenting the batter in Instant Pot
Here are the steps to follow to ferment the batter in the Instant Pot
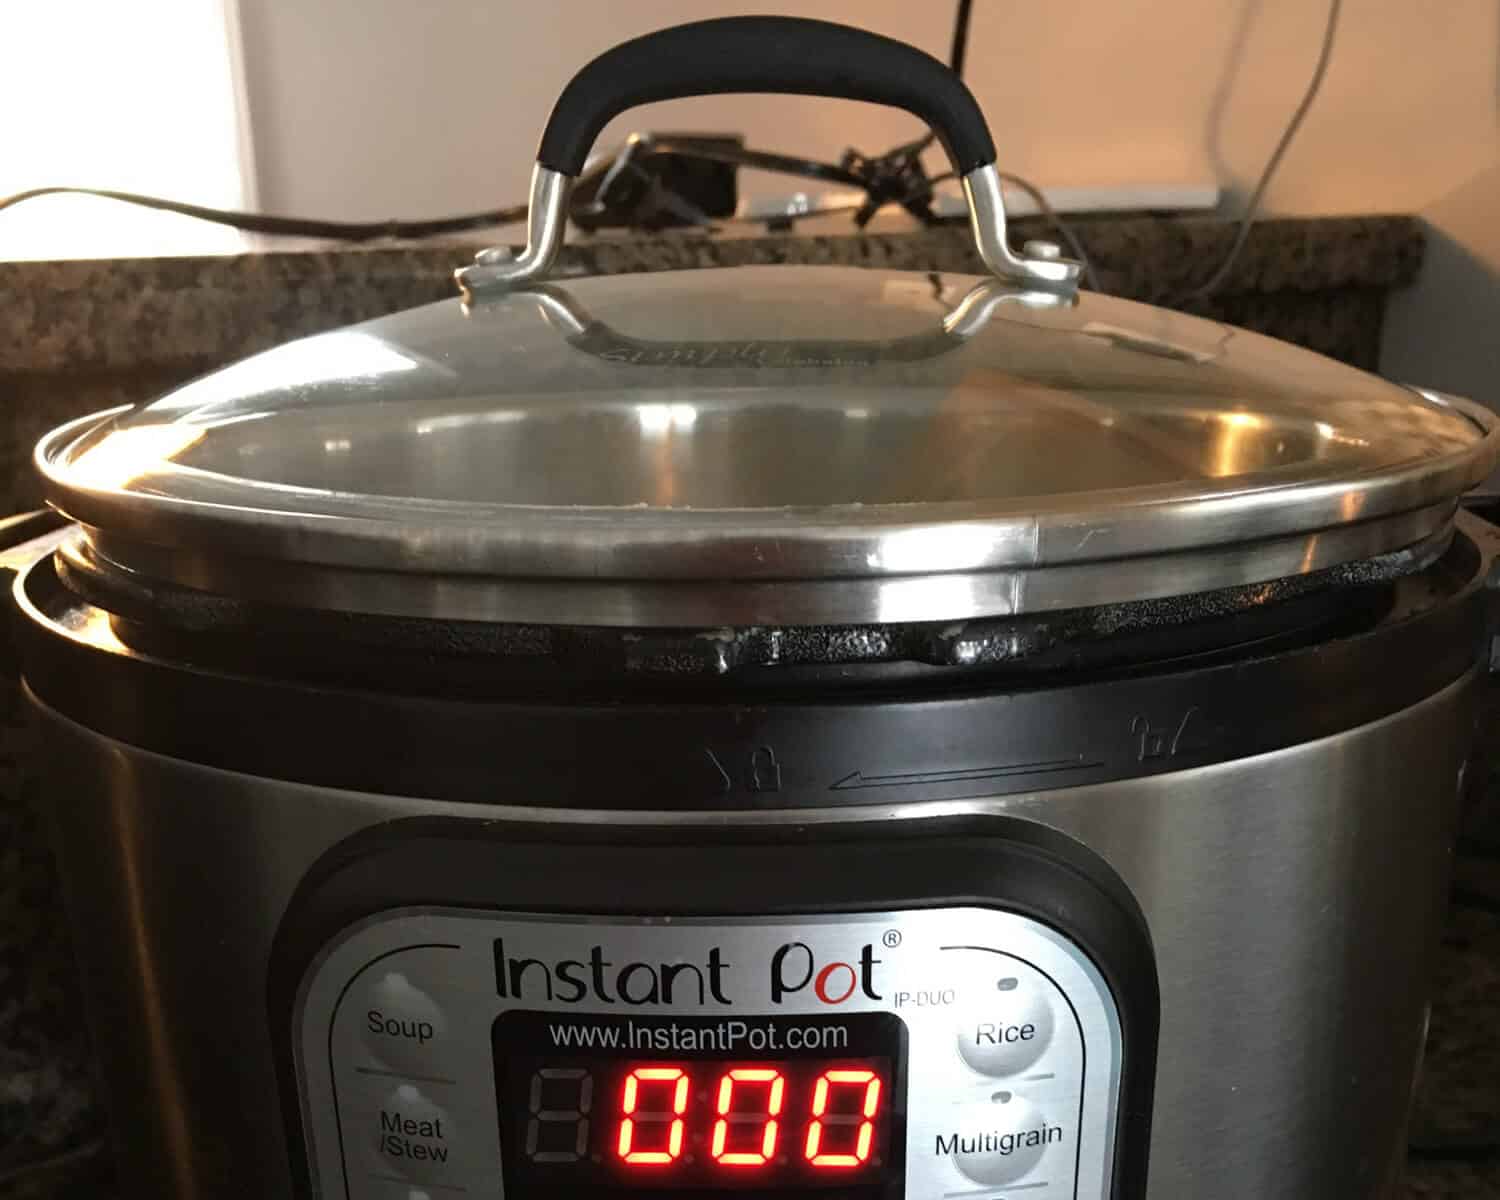
- Yogurt Setting: On your Instant Pot, choose the ‘Yogurt’ function. Set it to ‘Less’ mode, timing it for 14 hours in winter and 12 hours in summer.
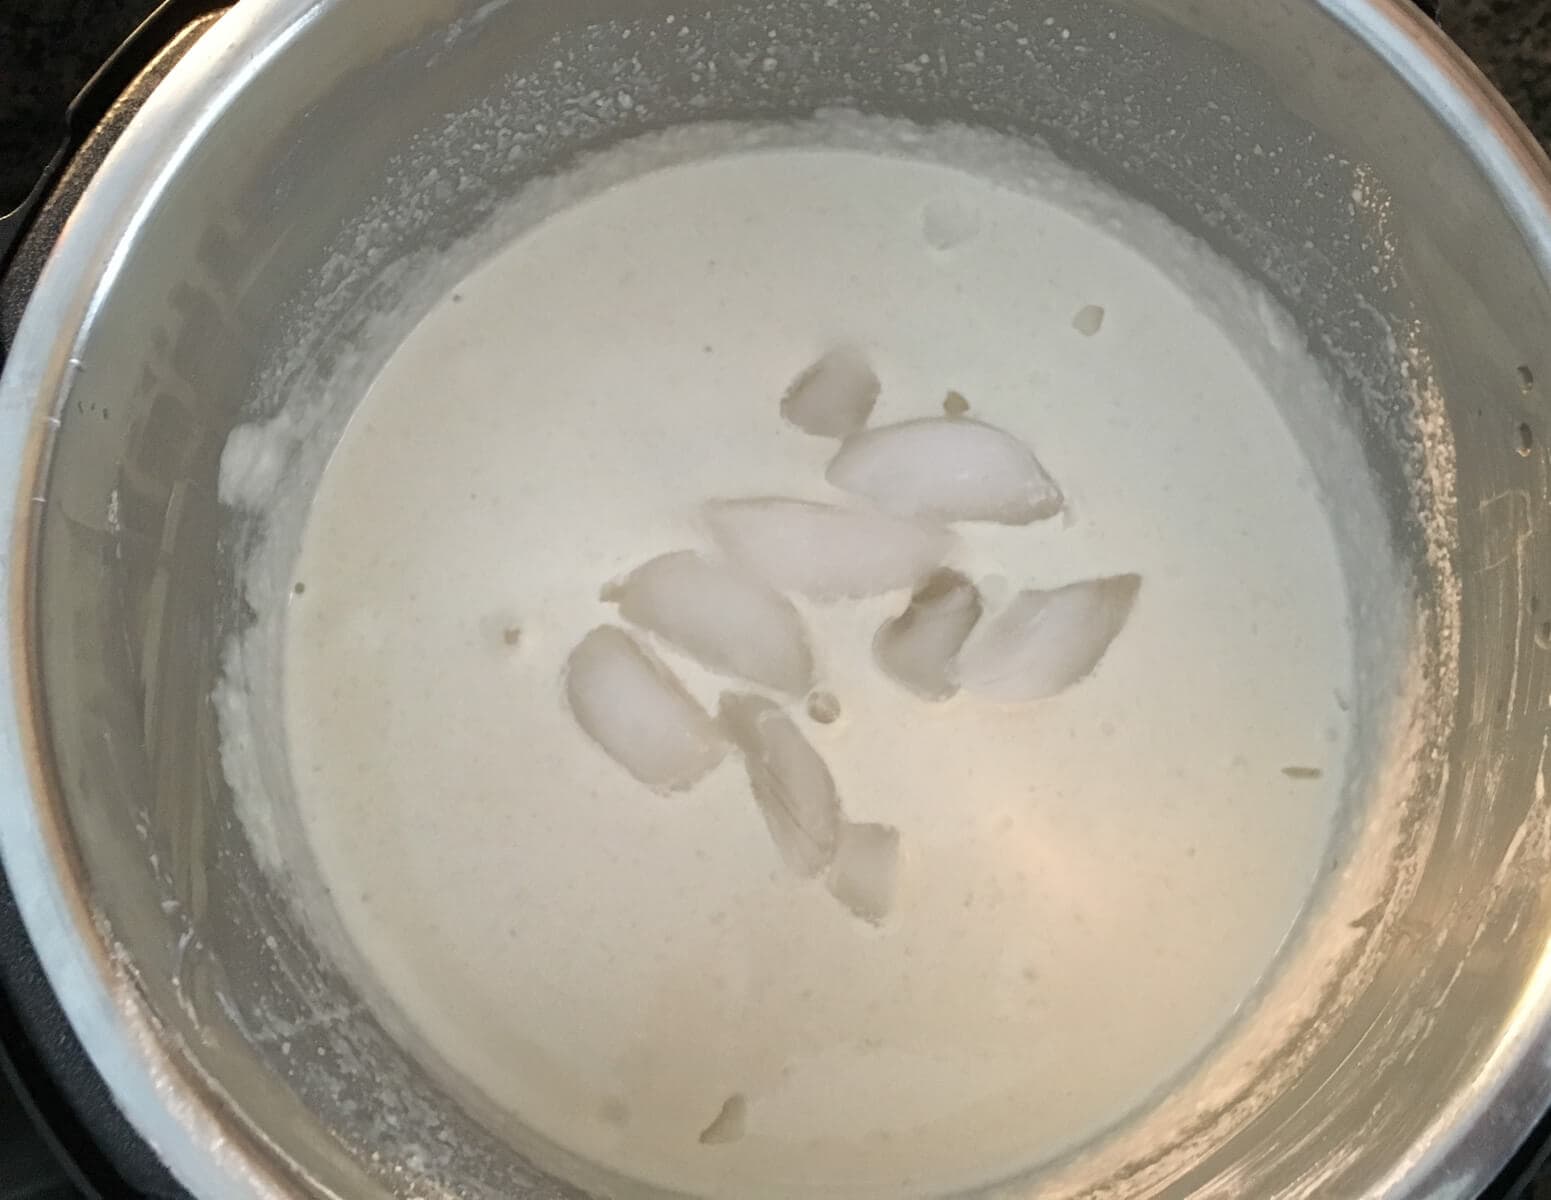
- Temperature Regulation: Pour the batter into the inner pot. Add ice cubes to the batter. This technique regulates temperature, which is especially vital if there’s a risk of overheating.
- Glass Lid Usage: Opt for a glass lid instead of the regular Instant Pot lid. This ensures the lid doesn’t jam due to the rising fermented batter.
Did you know that the Yogurt function comes with three modes with different temperature settings?
- “More” mode: Ideal for pasteurizing milk: 71~83°C (160~180°F).
- “Normal” mode: Perfect for making homemade yogurt: 36 ~ 43° C (96.8 ~ 109.4°F);
- “Less” mode: for making Jiu Niang (fermented glutinous rice): 30 ~ 34°C (86 ~ 93.2°F). Interestingly, this mode also aligns with the ideal temperature for idli batter fermentation, which is 75 – 90°F. So, if you’re venturing into making idli batter, always select the “Less” mode. Choosing any other mode might lead to a batter that ends up being cooked rather than fermented.
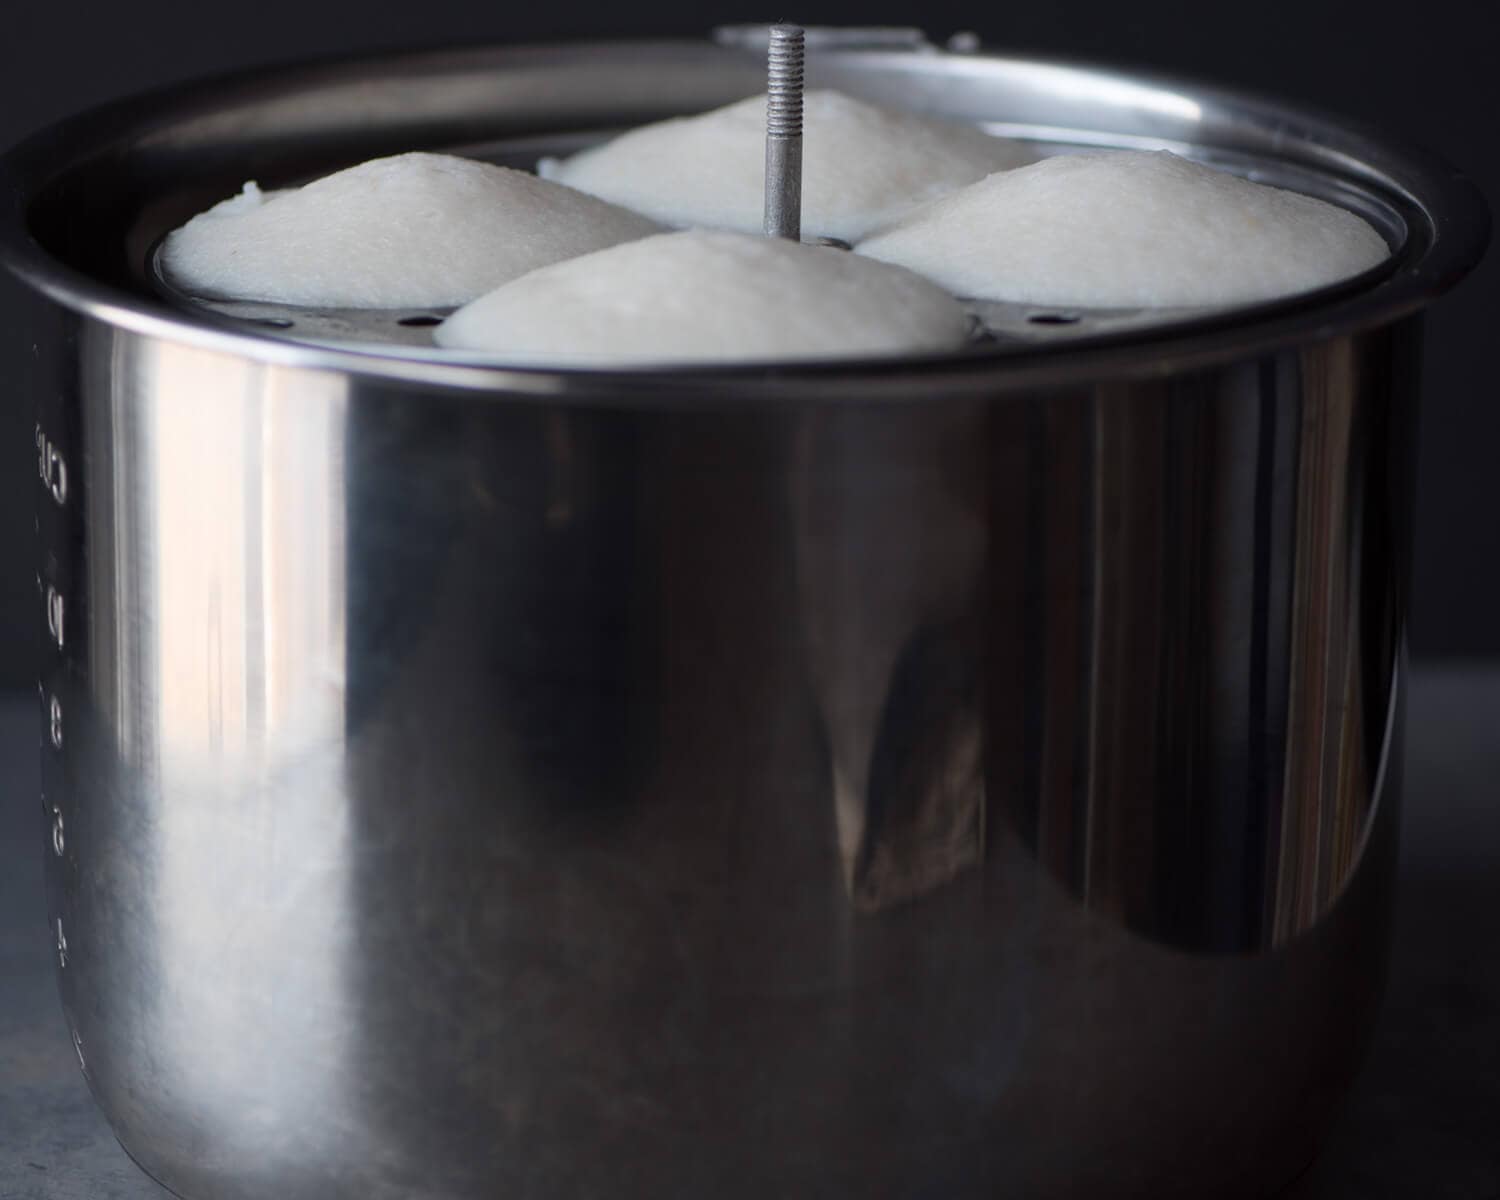
Step 3 – Steam idlis in Instant Pot
1. Set to Steam: Select the ‘Steam’ function on your Instant Pot.
2. Keep the vent open: This is crucial! Always keep the vent open. It replicates the steaming process similar to the conventional idli cooker.
3. Use an external timer: Here’s an Instant Pot nuance. With the vent open during ‘Steam’ mode, the built-in timer won’t operate. But a quick fix is to set an external timer for 10 minutes.
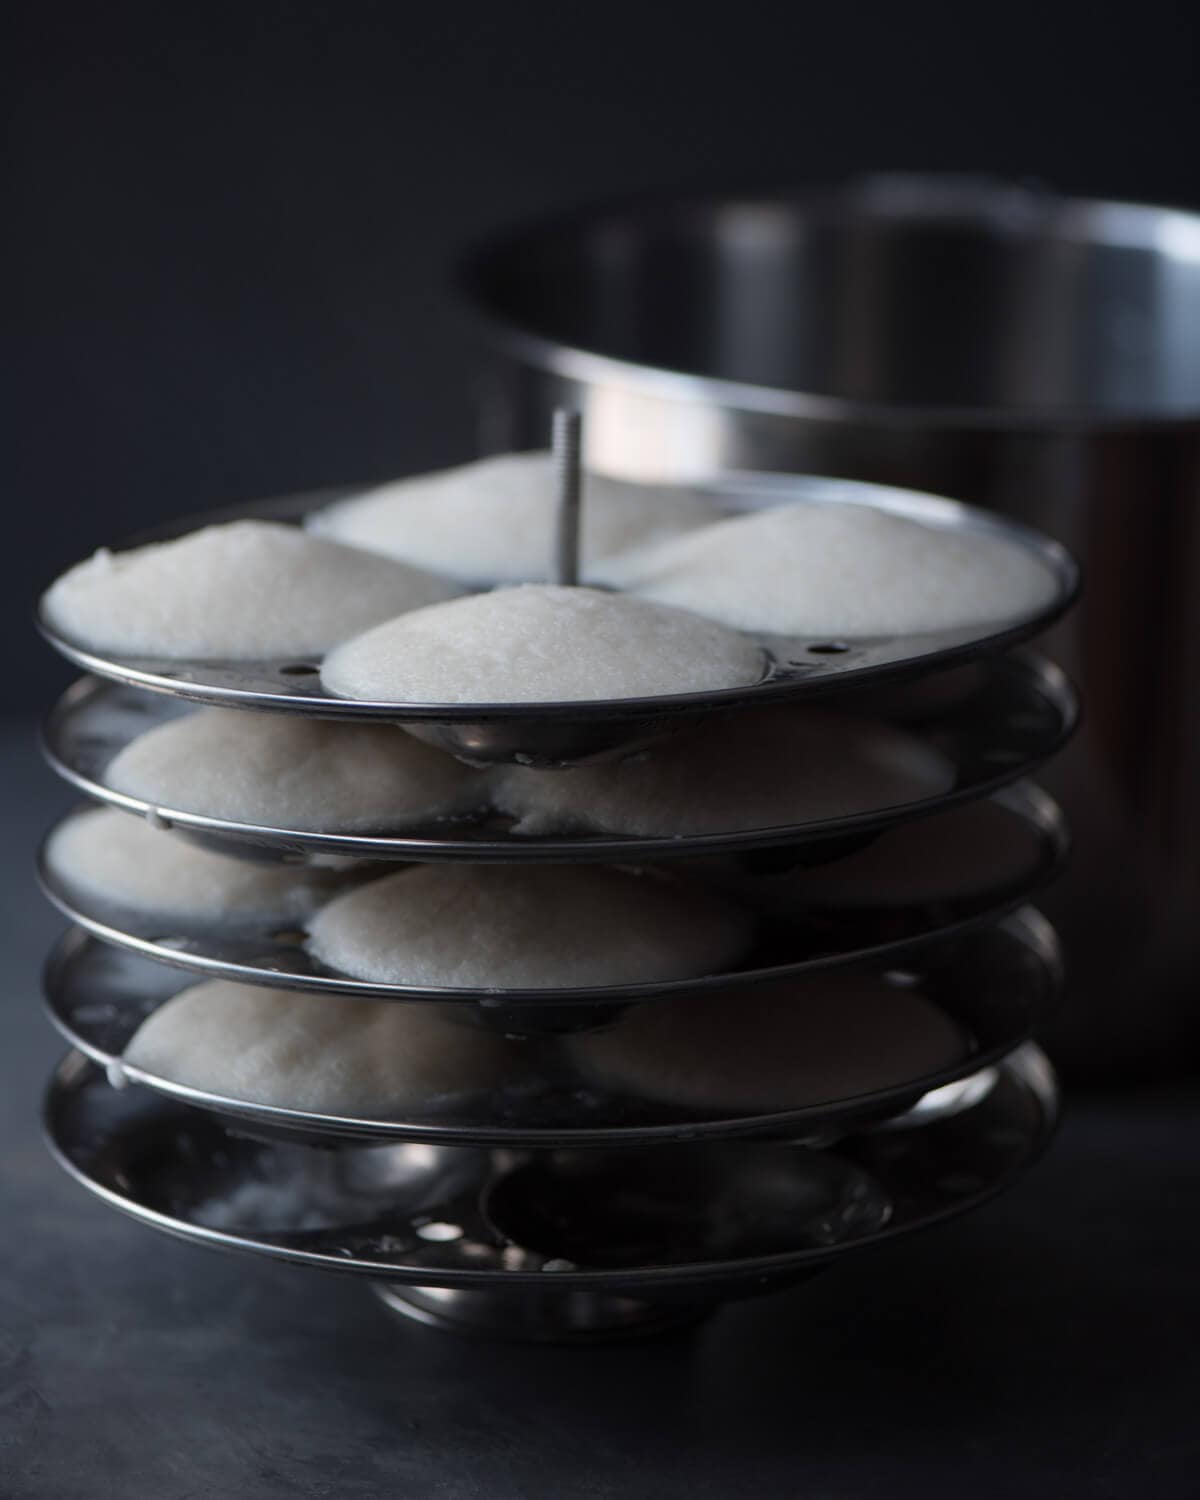
4. Steam away: Pour your idli batter into the molds and place them in the Instant Pot. With the high-pressure steam function, 9-10 minutes is all it takes for those idlis to come out beautifully soft and fluffy.
Tips for making soft idlis
If you have been trying to create the softest, fluffiest idlis, your search ends here. While the traditional method has its charm, the modern Instant Pot brings efficiency, ensuring perfect results every time. Here are the secrets to achieving idli perfection:
1. Rice Selection:
The cornerstone of every idli recipe. Choose idli rice, parboiled rice, or ponni boiled rice for best results.
2. Rice-to-Urad dal Ratio:
- Summer: Stick to a 1:4 ratio of urad dal to rice.
- Winter: Modify it to a 1:3 ratio, upping the urad dal content to aid fermentation.
3. Grinding Strategy:
- Always grind with cold water. It keeps the batter’s temperature in check, especially if the blender heats up.
- Grind the rice and urad dal separately. The urad dal should be a fine, airy paste, while the rice should feel coarse.
4. Batter consistency:
Your batter should resemble a free-flowing pancake batter – not too thin and definitely not too thick.
5. Whisking the Batter:
This is the step where magic happens. Whether you use your hands, a spatula, or a whisk, ensure the rice and urad dal batters blend perfectly while aerating the mixture.
6. Salting:
Especially in cold conditions, add salt post-fermentation. Table salt contains iodine can potentially slow down the fermentation process. Note: it is okay to add non-iodized salts such as rock salt or Himalayan salt to the batter before fermentation.
7. Find a warm place:
Whether it’s an oven, heat vent, or Instant Pot, find what works best for you.
8. Grease the molds:
Ensure you grease the idli molds well so that idlis slide off easily.
9. Watch the Clock:
Overcooked idlis lead to hard idlis. Most idli makers, including the Instant Pot, will have your idlis ready in under 10 minutes.
10. Batter Temperature:
If you’re retrieving batter from the fridge, allow it to reach room temperature before steaming to prevent flat idlis.
Instant Pot-Specific Tips:
1. Ice-cube trick:
Add ice cubes to your batter to regulate the temperature, especially to counter any overheating.
2. Choose the right lid:
Swap out the regular Instant Pot lid for a glass lid. This move ensures your lid remains jam-free as your batter rises.
3. Use the ‘Less’ setting:
For idli batter fermentation, maintain a temperature between 75 – 90°F. When using your Instant Pot, ensure the mode is set to ‘Less’. Any other mode risks overcooking the batter.
4. Use an external timer:
With the vent open during ‘Steam’ mode, the built-in timer won’t operate. Make sure to use an external timer.
I am sure with these tips your idli-making endeavors will reach new heights. Dive into the process and let those fluffy idlis steal the show at your next meal!
Frequently asked questions
Idli rice works best for this recipe and yields the best fluffed-up idlis. You can always use sona masoori rice as a backup if you run out of idli rice.
A few reasons – the batter did not ferment properly because it was too thick or watery, the idlis were steamed for too long, or you didn’t follow the correct ratio of urad dal to rice.
Yes, you can make instant idlis using rava or semolina. Here’s a recipe for Instant rava idli recipe.
Leftover batter can be stored in the refrigerator for up to 7 days and frozen for about a month. Make sure to bring it to room temperature before making idlis or crispy dosas.
Yes! You can use any high-performance blender like Blendtec or Vitamix. An Indian mixie will work, too.
Give it a few more hours to ferment. If it still doesn’t ferment, add a teaspoon of Eno fruit salt (add more if needed) and sprinkle a few drops of water over it. Whisk it gently, and you’ll see your batter turn light and fluffy. Make those idlis immediately before the batter falls flat. Alternatively, you can also make dosas or uttapams from unfermented batter.
Yes, use the pressure cook option instead. Make sure to keep the valve in the venting position.
Storage instructions
Storing leftover idlis
Leftover idlis stay good in the refrigerator for 2-3 days. You can always turn them into this delicious idli-fry.
Storing leftover idli batter
Here are some handy tips on storing idli batter. Proper storage can help maintain the batter’s freshness, allowing you to enjoy delicious idlis, crispy dosas, and uttapams at any time.
1. Refrigeration:
Refrigerating helps prolong the life of the batter by slowing down the fermentation process, preventing the batter from turning sour too rapidly. Typically, refrigerated batter stays fresh for about a week. Just ensure your container is airtight.
2. Freezing:
For those looking to store their idli batter for a more extended period, the freezer comes to the rescue. You can freeze your batter for up to a month. A few things to note:
- Ensure the batter is stored in a freezer-safe container to avoid freezer burn.
- When you’re ready to use the frozen batter, remember to thaw it completely.
- While you can still make idlis with thawed batter, they might not be as fluffy as usual. So, the thawed batter is best suited for making crispy dosas or flavorful uttapams.
Instructions for Use:
Regardless of where you store your batter, before you dive into the idli-making process, make sure to bring the batter to room temperature. Using cold batter directly from the fridge or after thawing can result in flat idlis.
Serving suggestions
Serve these fluffy idlis with your favorite chutneys and hot sambar.
Other breakfast recipes worth checking out
If you are looking for Indian breakfast recipes, here are a few of my go-to recipes

Savory, filling, and quick to make, this south Indian style bread upma recipe comes together in 20 minutes for a cozy and satisfying breakfast.
Here is a quick recipe to enjoy those lovely, soft, fluffy instant rava idlis whenever the mood strikes. Serve with coconut or peanut chutney for a delicious and healthy meal.
Looking for a quick Gujarati white dhokla recipe? Use this easy recipe to make Instant Rava Dhokla in your Instant Pot. It is a crowd-pleaser for sure!
Spongy, savory, and with a hint of sweetness, Gujarati nylon khaman dhokla is a light and healthy anytime snack. Get this failproof recipe to make this soft and fluffy khaman in the Instant Pot.
Instant Pot Steamed Idli (Savory Rice Cakes) Recipe
Equipment
- Instant Pot 6-quart
Ingredients
- 2 cups idli rice / parboiled rice or ponni rice
- ½ cup Urad gota (whole urad) or urad dal
- 1 teaspoon methi seeds fenugreek seeds
- ½ cup thick poha flattened rice (optional)
- 1 teaspoon salt
- cold water as needed
Instructions
Soaking
- Begin by rinsing the rice and urad dal separately until the water runs clear.
- Add the methi/fenugreek seeds to the rice and immerse in water for 4-6 hours.
- Soak the urad dal too, for the same duration but in a separate bowl.
Grinding
- If you're using thick poha (flattened rice), soak a fistful of it in water for about 5 minutes.
- While the poha is soaking, drain the urad dal and grind it into a smooth paste, adding water a tablespoon at a time. You'll need about 3/4 cup in total.
- Transfer this paste to the steel insert of your Instant Pot.
- Now, grind the rice and the soaked poha to a coarse consistency using approximately 1 cup of cold water.
- Add the rice paste to the Instant Pot on top of the urad dal paste and whisk them well.
- Mix this rice paste with the urad dal paste in the Instant Pot. Add extra water (around 1/2 cup) to achieve a batter that's neither too thick nor too runny almost pancake-like batter.
Fermentation
- Put the steel insert inside the Instant Pot and select the 'Yogurt' function. Make sure it reads "YOGT" and adjust to the 'Less' setting. Set the time: 12 hours for summer and up to 15 hours for colder days.
- Add 5-6 ice cubes to the mix and use a glass lid to cover the pot (not the standard Instant Pot lid).
- Once the batter doubles up, add salt and stir the batter thoroughly.
- Transfer the fermented idli batter from the steel insert to another container. Clean the steel insert well and place it back in the Instant Pot.
Steaming
- Grease your idli molds. Pour the batter, filling them to 3/4th capacity to leave room for rising. Remember, don't fill the base rack of the mold because the idlis tend to get soggy due to close proximity to the water in the inner pot.
- Pour 1 cup of water into your Instant Pot and set to the 'Saute' function. Once the water comes to a boil, hit cancel, place the idli stand inside, and close the lid.
- Select the ‘Steam’ function and adjust the pressure to high. Keep the vent open and use an external timer and set the timer for 10 minutes.
- Once the time is up, hit cancel. There will still be some residual steam so let the Instant Pot cool down for 5-10 minutes before opening the lid.
- Carefully lift the lid, ensuring no droplets fall on the idlis.
- Take the idli stand out. Insert a toothpick into an idli. If it comes out clean, your idlis are ready.
- Serve these fluffy idlis with sambar and chutneys of your choice.
Notes
Disclaimer: Approximate nutritional information is provided as a courtesy and can vary depending on the exact ingredients/brands used. If you have health issues, please work with a registered dietician or nutritionist.
Nutrition
This post was originally published on January 20, 2018, and was updated on October 06, 2023, with new text and images.