Soft Idli recipe (Pro tips for perfect idli batter)
Note: This post contains affiliate links. As an Amazon Associate I earn from qualifying purchases.

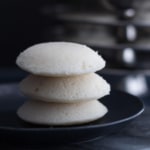
Experience the joy of creating melt-in-your-mouth idlis (steamed rice cakes), just like the ones made in South Indian homes. This tried and tested recipe will help you nail the perfect idli-dosa batter and help you make fluffy and soft idlis every time.
What is idli?
For the uninitiated, Idli, occasionally spelled as ‘idly’, is this soft and savory steamed rice cake that is lovingly crafted by grinding rice and urad dal (skinned black lentils) with water. The idli batter is then set aside to ferment overnight. Once nature does its magic, the fermented batter is poured into idli molds and steamed till it turns soft and spongy.
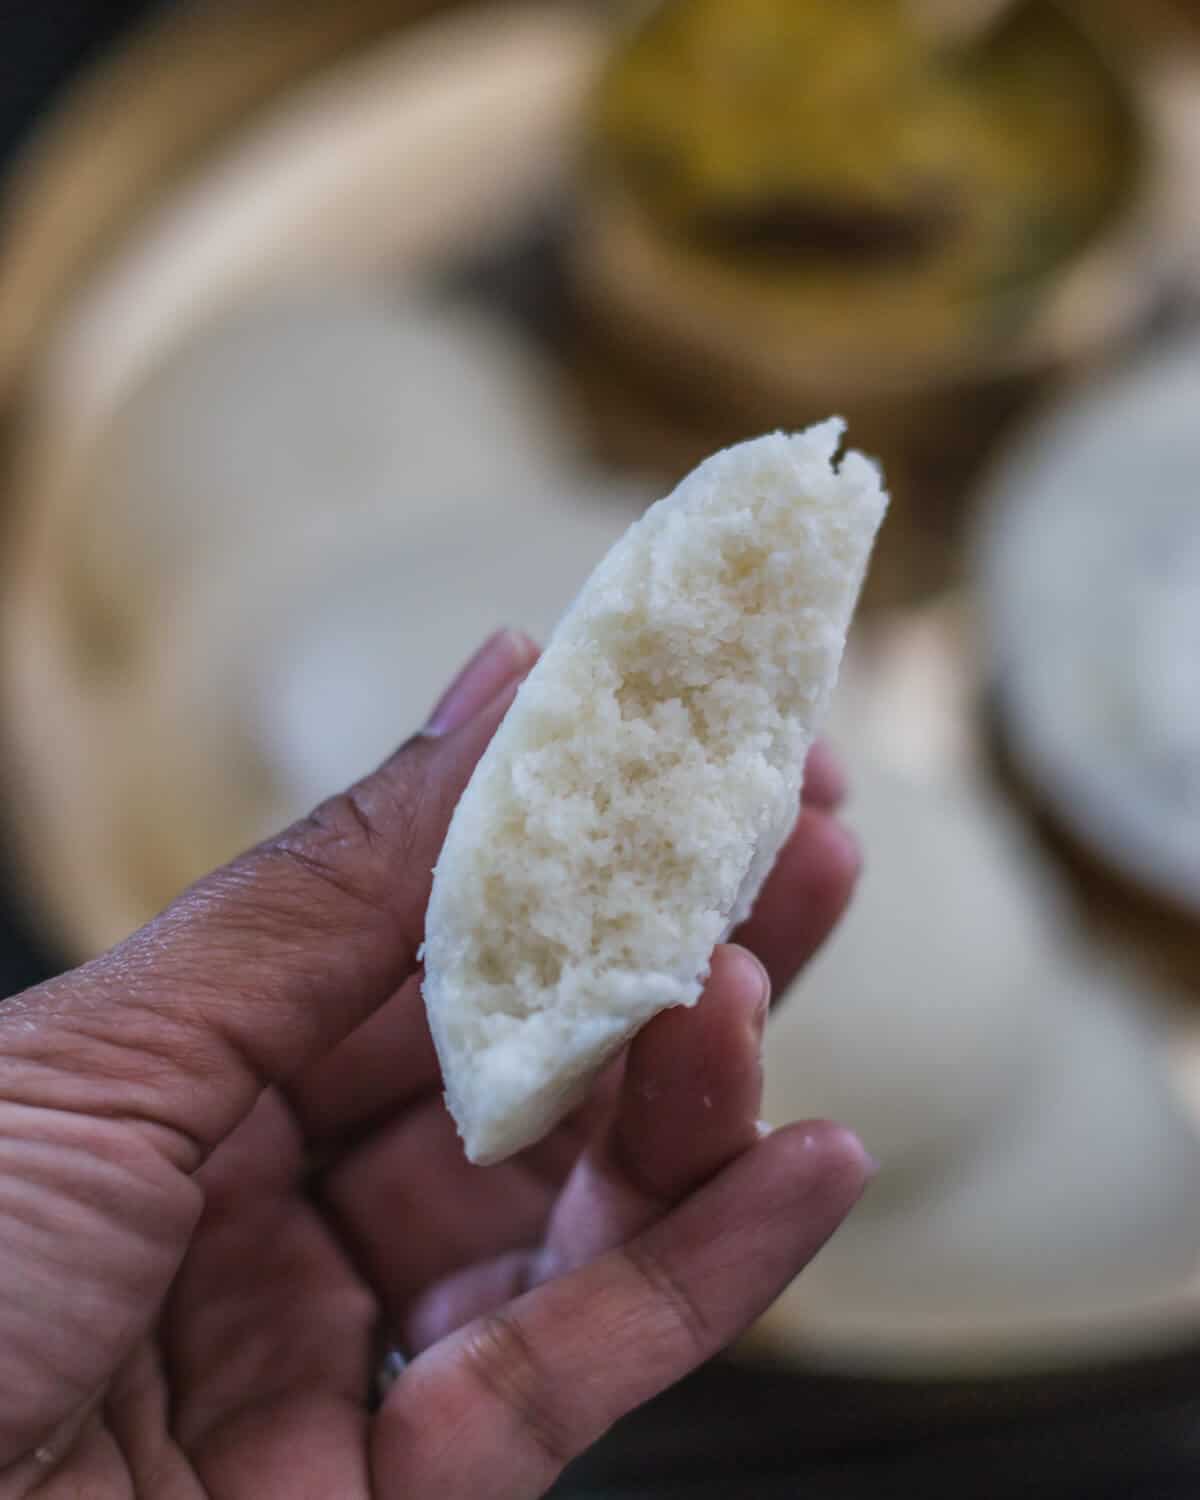
At first glance, idlis might seem plain, tasteless even. By themselves, they carry a subtle, tangy undertone – a delicate flavor profile that may not immediately set off fireworks on your palate. But, when paired with creamy coconut chutney and dunked in sambar, idli transforms from a mere dish to a mouth-watering, melt-in-your-mouth meal, making each bite feel like a piece of heaven.
While idlis have traditionally been served for breakfast in South Indian homes, they’ve charmed their way into being an all-day favorite across India in recent decades.
About this recipe
Idli is more than just a dish. It’s an experience. Crafted by grinding three simple ingredients – rice, urad dal, and water, its simplicity is deceptive. The real magic lies in the method, and I’m thrilled to share an authentic recipe that has been passed down through generations in South Indian households.
This isn’t just a recipe; it’s a journey to recreate those melt-in-your-mouth idlis that are synonymous with comforting breakfasts and heartwarming family tales. So, whether you’re an idli enthusiast or someone new to this culinary gem, this recipe promises to be your guide to achieving that soft, spongy perfection.
Give it a try, and bring the authentic flavors and warmth of South Indian kitchens right into your home. Your taste buds will thank you!
Ingredient notes/swaps
The key to achieving spongy idlis lies in the correct ratio of urad dal to rice. In the summer, adhere to a 1:4 ratio of urad dal to rice. However, during winter, adjust to a 1:3 ratio, increasing the amount of urad dal to facilitate fermentation.
- Rice – For the perfect idlis, choose varieties such as Idli rice, parboiled rice, or ponni boiled rice. These are readily available at Indian grocery stores. You can also substitute it with equal amounts of idli rava.
- Whole urad – Use whole urad (urad gota) or unprocessed black split urad dal for best results. If using unprocessed split urad dal, rinse it thoroughly around 10-12 times to remove the skin. Skinned split urad dal can also be used as a substitute.
- Methi or fenugreek seeds (optional) – While methi seeds boost fermentation, those residing in warmer regions can give them a miss.
- Thick poha (flattened rice) – Consider adding 1/2 cup of thick poha to your recipe. Ensure it’s soaked in water for 5 minutes and then ground with the rice. This secret ingredient enhances the softness of the idlis.
- Salt – An indispensable addition that brings out the taste and flavor in your idlis.
Be sure to check out the full recipe and ingredient list below.
Equipment needed
To get the correct batter consistency, it is important to use a tool that can get the job done right. Traditionally, you’d find that idli and dosa batters were traditionally hand-ground using huge stone mortar and pestle. But in the past few decades, grinding the batter using electric kitchen gadgets has become a norm of sorts.
Here are a few kitchen gadgets I’ve personally tried and tested –
- Electric Wet Stone Grinder: This is the modern equivalent of our traditional stone mortar/pestle. I personally use the Premier Wonder model with a 1.5L capacity. My friend swears by the Ultra-Dura model (1.25L). Both wet grinders excel at creating the perfect batter consistency in about 20-30 minutes.
- Indian Mixer and Grinder (Mixie): Almost every Indian household possesses a mixie, and it has been the standard tool for making idli/dosa batter in my home for years. One common problem is that this mixer grinder can overheat quickly. If this happens, it might warm up the batter and destroy the beneficial bacteria essential for fermentation. Here’s a pro tip to counter that: grind in small batches and use ice-cold water during the process.
- High-performance Blenders such as Vitamix or Blendtec – Since adding the Blendtec blender to my kitchen arsenal, I’ve consistently used it to make the idli batter recipe. And guess what? It only takes about 2 minutes! I prefer using the smoothie cycle for both urad dal and rice. Remember to use cold water to keep the batter cool, preserving the healthy bacteria.
Tools for steaming
- Idli cooker or a pressure cooker like Instant Pot – if using an Instant Pot or a stovetop pressure cooker, you must buy idli stands separately.
How to make soft idlis
Making perfect idlis might seem like a daunting task, but don’t you worry! By breaking the process down into four easy steps, we’ve simplified it for you:
Soaking: Begin by soaking rice and urad dal in separate bowls in plenty of water for 4-6 hours. This not only softens them but allows them to swell, making grinding them a breeze.
Grinding: Once soaked, drain and grind the urad dal into a fine, smooth paste, adding minimal water. Once done, it’s the rice’s turn. Aim for a coarser, gritty texture. Blend the two pastes together in a large bowl, whisking thoroughly to create a fluffy batter. Ensure a pancake batter-like flowy consistency.
Fermentation: Patience is key here! Cover your batter and let it sit in a warm, cozy corner for about 8-12 hours. You’re waiting for the batter to double – a sign of good fermentation.
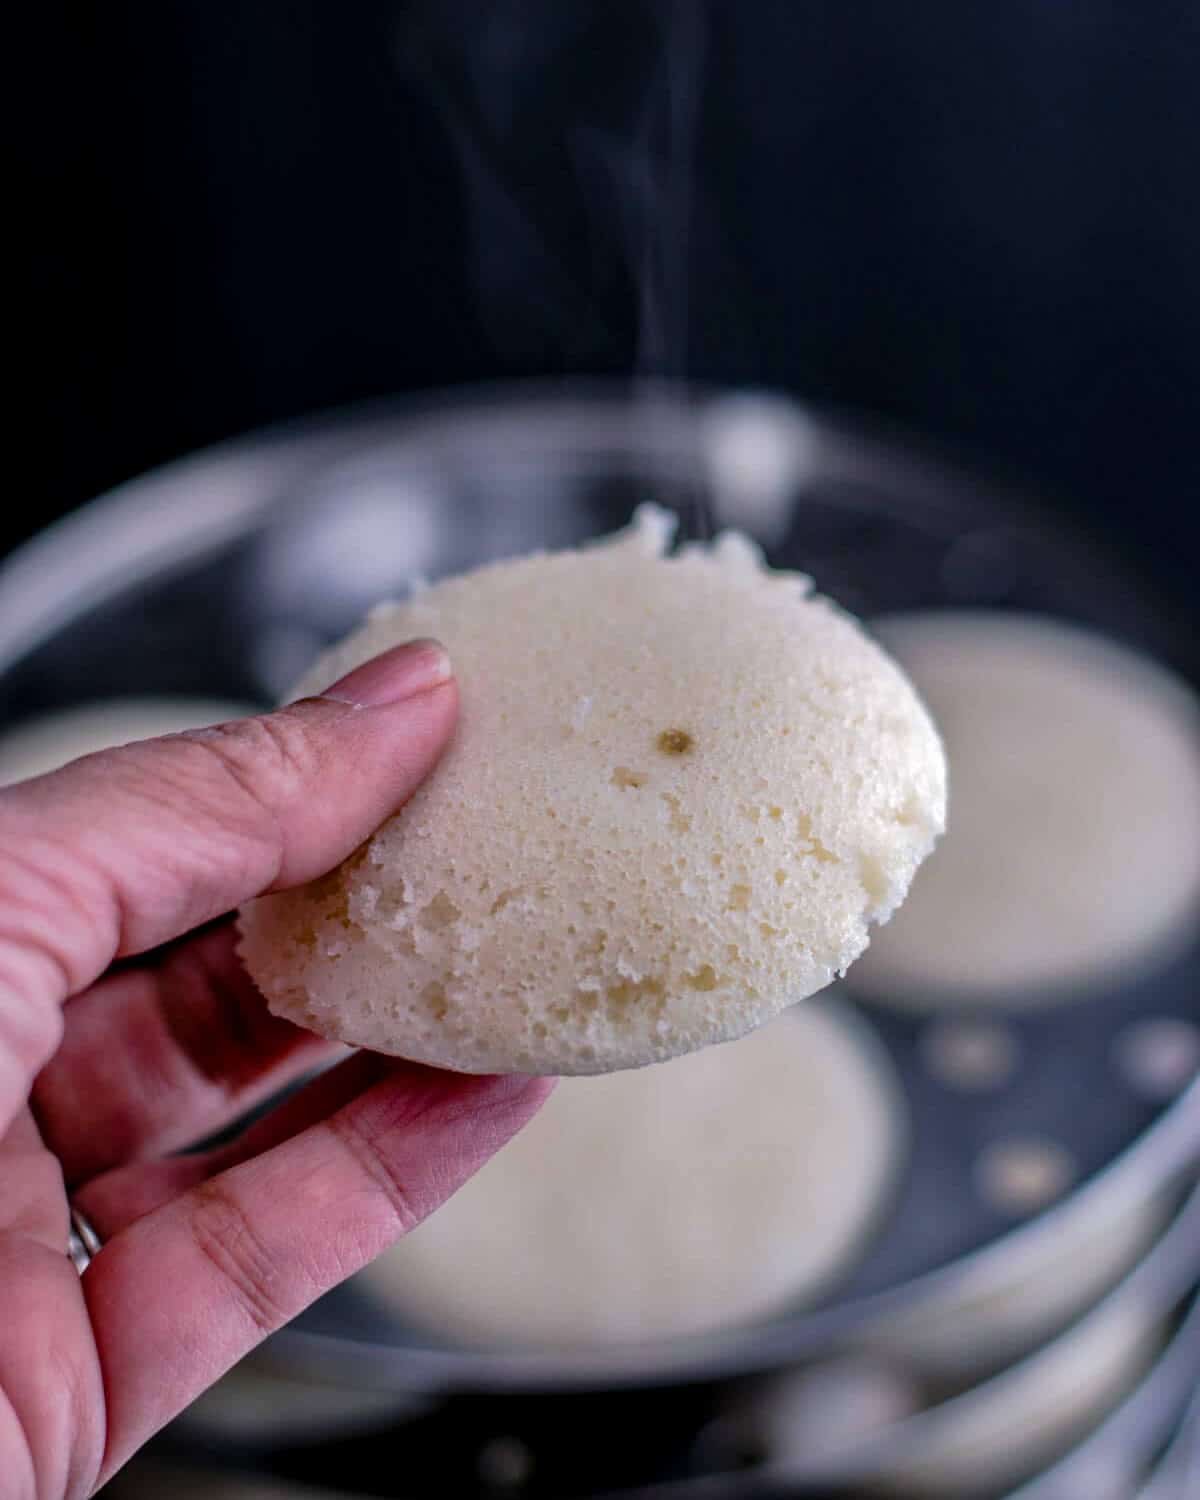
Steaming: When your batter has doubled up, add salt and mix. Grease your idli molds with a bit of oil and pour in the batter, but only till they’re about 3/4th full. Remember, these idlis need space to rise! Add water to the idli steamer kept over medium heat. Once the water comes to a boil, place the filled idli stand inside, cover, and steam for about 8-10 minutes over medium heat. Post-steaming, wait for 3-4 minutes, then check with a toothpick. If it emerges clean from an idli’s center, they’re ready to serve!
How to ferment idli batter (even in cold weather)
While the list of ingredients seems straightforward, the magic behind those soft, fluffy idlis lies in mastering the fermentation process – a skill that many of us have tried, tested, and sometimes painstakingly tweaked.
Drawing parallels with meteorology might seem odd, but crafting the perfect idli batter is somewhat akin to predicting the weather. The unknown variables in the fermentation process can be a true test of one’s culinary patience.
But don’t you worry! After a decade of experimentation, I’ve gathered some gold-standard guidelines to ensure your idli batter consistently rises to the occasion.
Important: Set the batter to rise in a warm place
Aim for a cozy 75 – 90°F for your batter to ferment. For most people in India, that would mean leaving it on your kitchen counter. However, if you’re in colder parts of the world, consider these tried-and-true methods:
- Oven magic: Preheat your oven to its lowest setting (around 170°F), switch it off, wait for about 10 minutes, and then place your batter inside. Alternatively, turn the oven light on and let the batter bask in the heat of the light overnight.
- Leverage the heat vent: During winter, position your fermenting vessel (on a cookie sheet to avoid messy overflows) near a heat vent. This warm draft can work wonders!
- Proofing in the oven: Lucky enough to have an oven with a ‘proof’ setting? Use it! A 12-hour session should have your batter ready to go.
- Use your Instant Pot: This is my personal favorite, consistently delivering impeccable results. If you’re keen on understanding the nitty-gritty of using an Instant Pot for your idli endeavors, do check out this detailed post on how to steam and ferment idlis using your Instant Pot.
What to do if your idli batter does not ferment?
We’ve all been there: patiently waiting for that idli batter to ferment, only to find out it hasn’t risen to the occasion. But don’t fret; not only can we troubleshoot the cause, but there are also ways to salvage that precious batter.
🔍 Identifying the Cause:
- Old Urad Dal: Batter not bubbling? Your urad dal might have been on the shelf a bit too long.
- Cold weather: Remember, our idli batter craves a cozy 75 – 90°F. In cooler temperatures, give your batter that warmth by placing it in the oven, close to a heat vent, or within the comforting walls of an Instant Pot.
- Needs more time: Cold climates can slow down fermentation. Sometimes, the batter may need up to 18 hours to ferment perfectly.
- Water woes: Chlorine might be the unexpected party crasher here. Using filtered water might just be your game-changer.
- Thickness: A thick batter can lead to failed fermentation due to lack of water. Gently add water, whisk well, and give it a few more hours.
🛠 The Salvage Operation: If, after all these steps, the batter remains unchanged, fear not!
- Eno to the Rescue: A teaspoon of Eno salt (add more if needed) with a few droplets of water can act as a lifesaver. Whisk it gently, and you’ll see your batter turn light and fluffy. Dive into making those idlis immediately before the batter falls flat.
- Dosa Delight: When life gives you unfermented idli batter, make crispy dosas! Spread it out on a hot tawa, and you’ve got a delicious alternative.
FAQs
Yes, they are the same.
Yes, you can use the same batter. You may have to slightly water down the idli batter to make dosas.
Yes, you can, but note that idlis made from refrigerated batter tend to be less soft and fluffy than the ones made the same day the batter has fermented. Always set out the refrigerated batter for an hour or two on the countertop before making idlis.
Approximately 8-10 minutes, depending on the steamer you use.
If using non-iodized varieties such as rock salt, it’s suitable to add it prior to fermenting the idli batter. However, for iodine-fortified table salt, introduce it post-fermentation, as iodine can restrict beneficial bacteria, thus affecting fermentation.
A runny batter will result in a flat idli. To avoid that, soak 1/2 cup of poha in water for 5-10 minutes. Ground it to a fine paste and add it to the batter. Mix well to combine. You can also make a paste of leftover rice instead of poha and add it to the batter.
Tips to make soft and fluffy idlis
The art of creating the perfect, cloud-like idli is one that many aspire to master. Those soft, fluffy delights can seem elusive, but with the right tips, you can get perfect idlis every time!
Here are my golden nuggets of wisdom for crafting the softest idlis:
- Rice selection: Opt for idli, parboiled, or ponni boiled rice. The type of rice lays the foundation.
- Rice-to-Urad dal ratio:
- Summer: A 1:4 ratio of urad dal to rice.
- Winter: Shift to a 1:3 ratio; increase the proportion of urad dal since it aids fermentation.
- Cold water grinding: Using cold water ensures the batter remains at the right temperature and the healthy bacteria are not destroyed, even if your blender gets overheated.
- Separate grinding for rice and urad dal: Their different textures demand individual attention. Aim for a fine, airy paste for urad dal and a coarse texture for rice.
- Batter consistency: Strike a balance! Your batter shouldn’t be runny or too thick but more like free-flowing pancake batter.
- Whisking the batter: It doesn’t matter if you use clean hands, a whisk, or a spatula, but make sure you whisk the batter well. The aim is to seamlessly blend the rice batter with the urad dal batter while introducing air.
- Add salt after fermentation: Especially vital in frosty winters, iodized salt, such as table salt, can slow fermentation. Note: it is okay to add non-iodized salts such as rock salt or Himalayan salt to the batter before fermentation.
- Warmth is the key: Find your batter’s happy place – be it the oven, near a heat vent, or in an Instant Pot.
- Grease those idli moulds: Because no one wants their idlis stuck to the mold.
- Steaming duration: Overcooking is the bane of soft idlis. Most idli cookers will steam your idlis to perfection in 8- 10 minutes. So don’t cook beyond that!
- Batter temperature – If you are using refrigerated batter to make idlis, make sure to bring it to room temperature first to avoid your idlis from ending up flat.
Serving suggestions
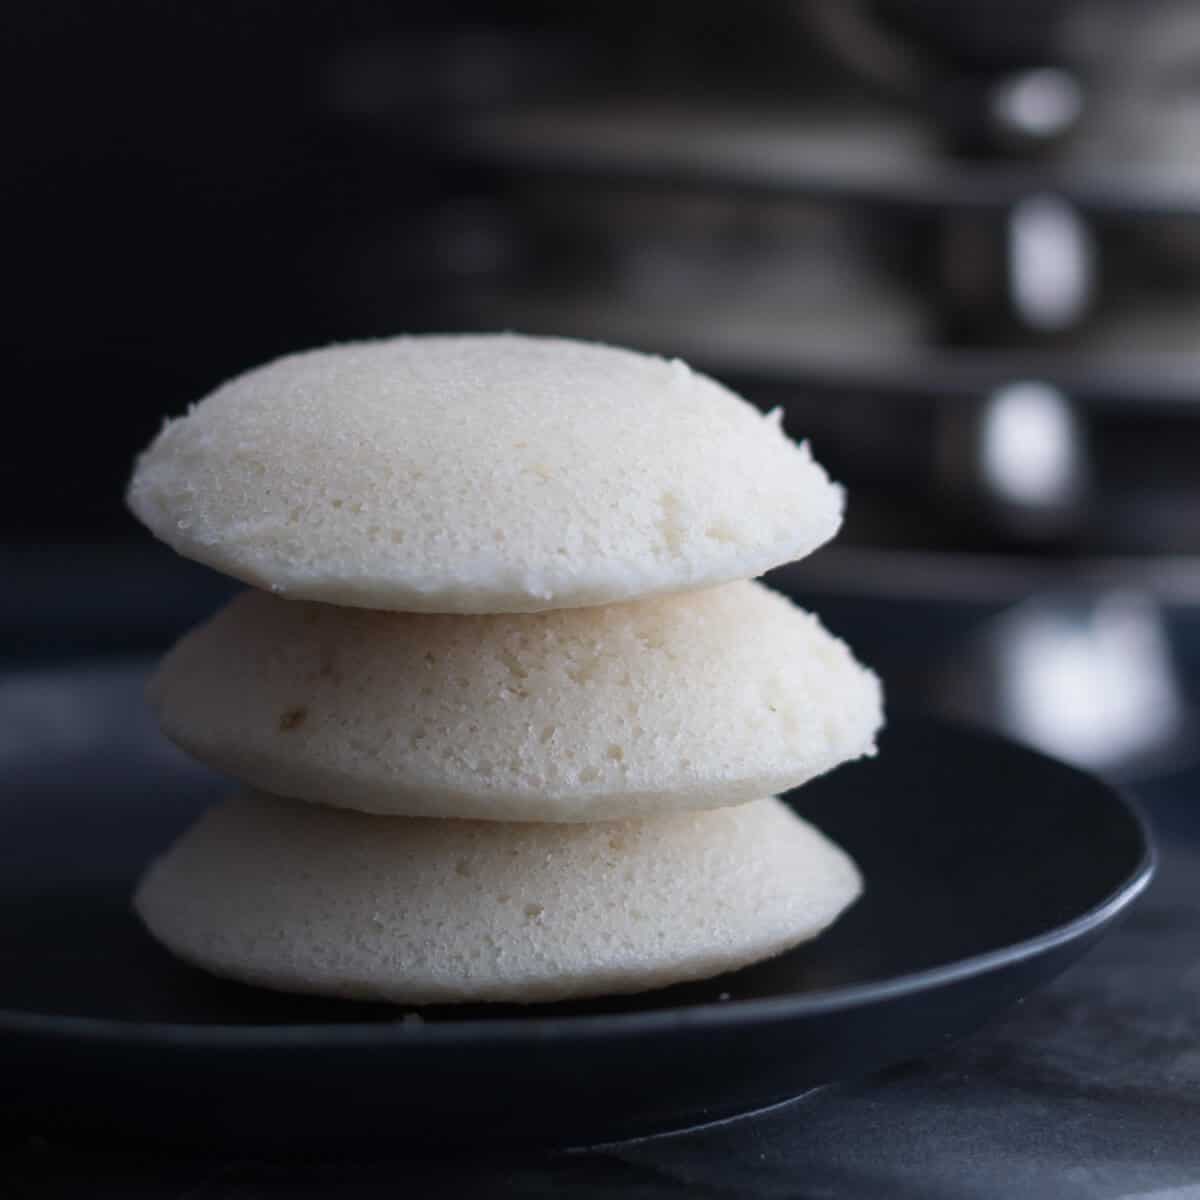
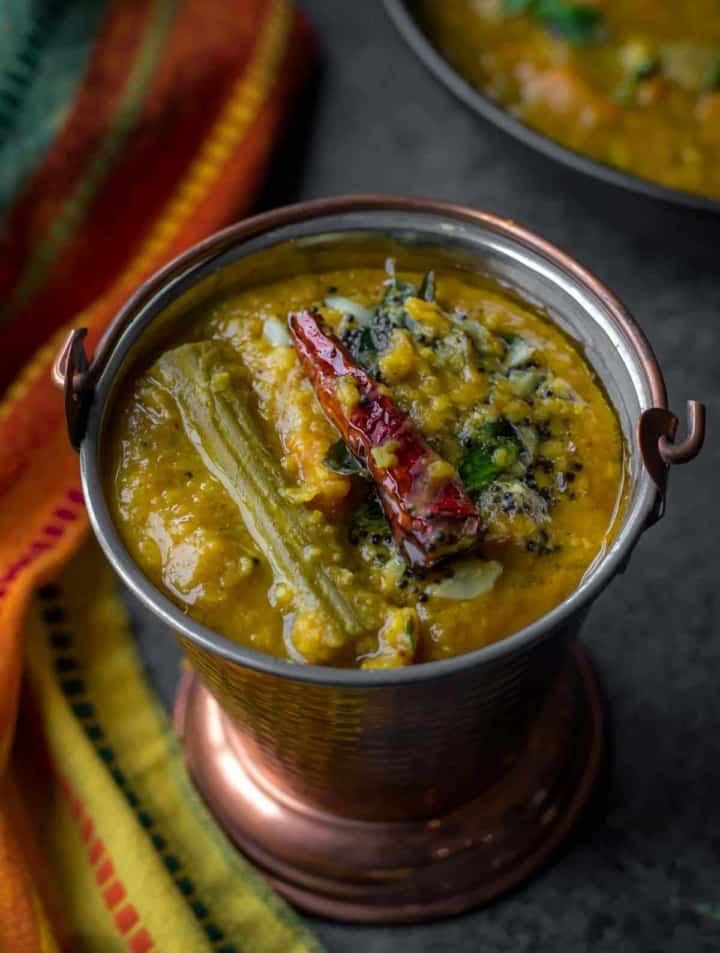
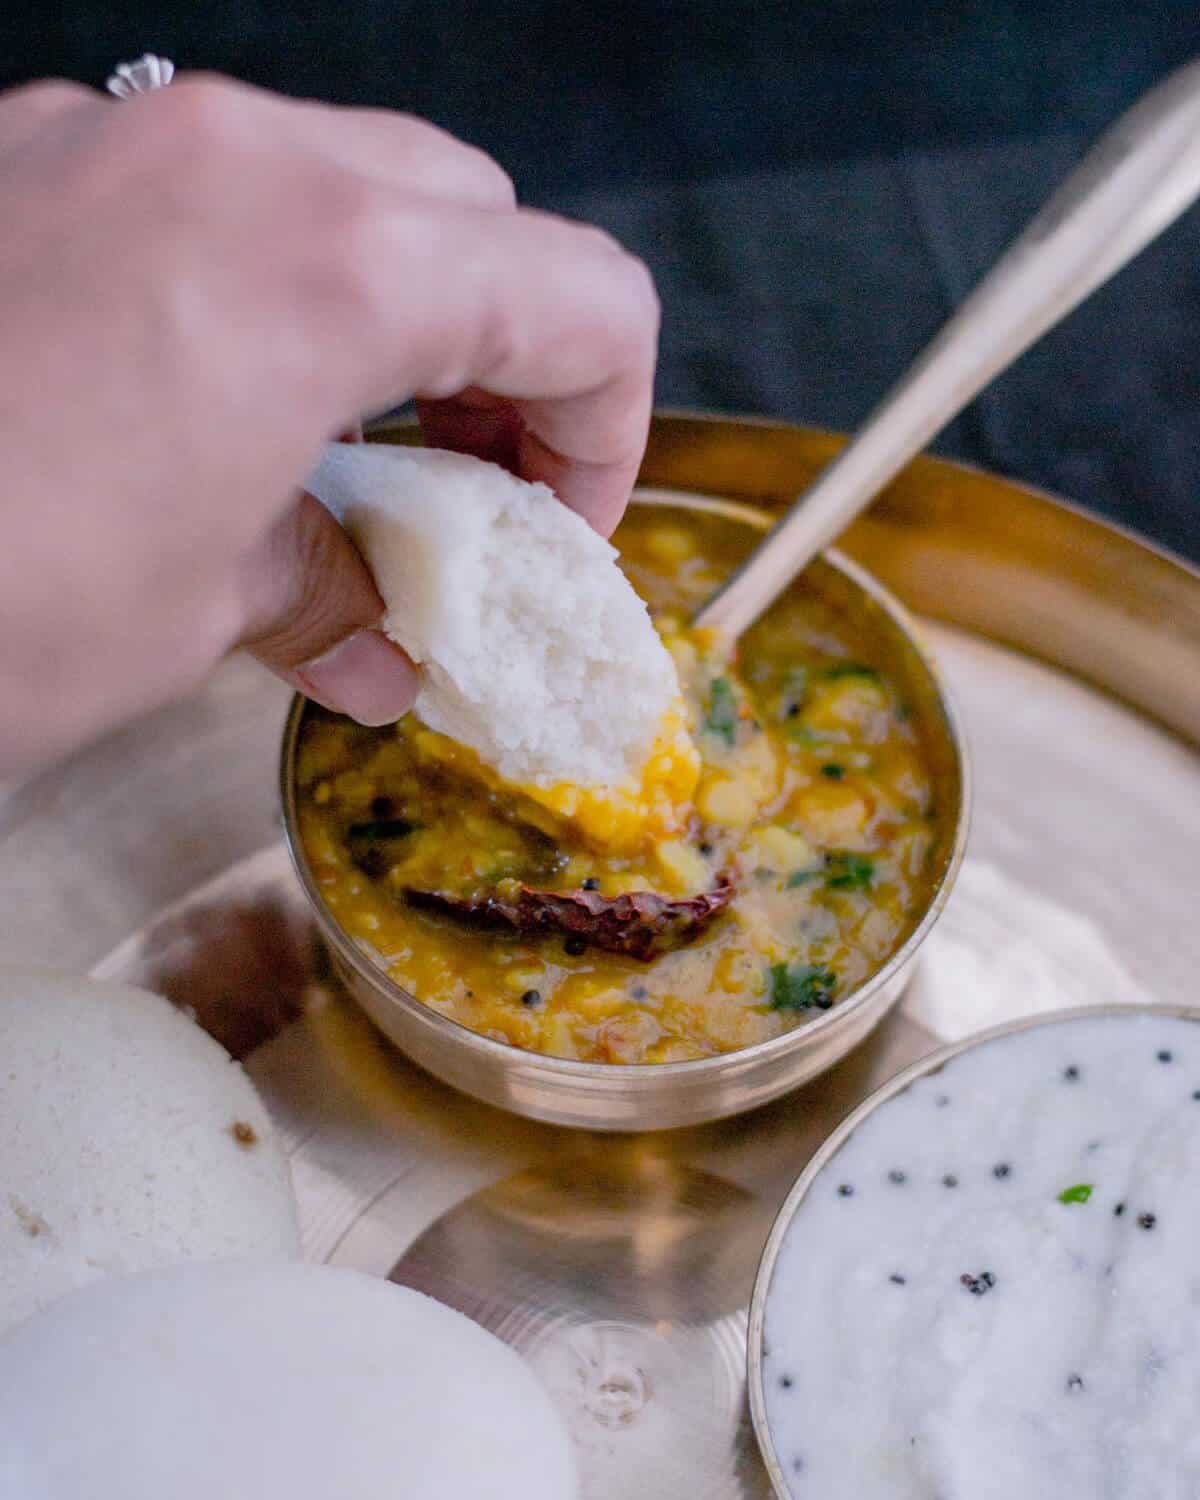
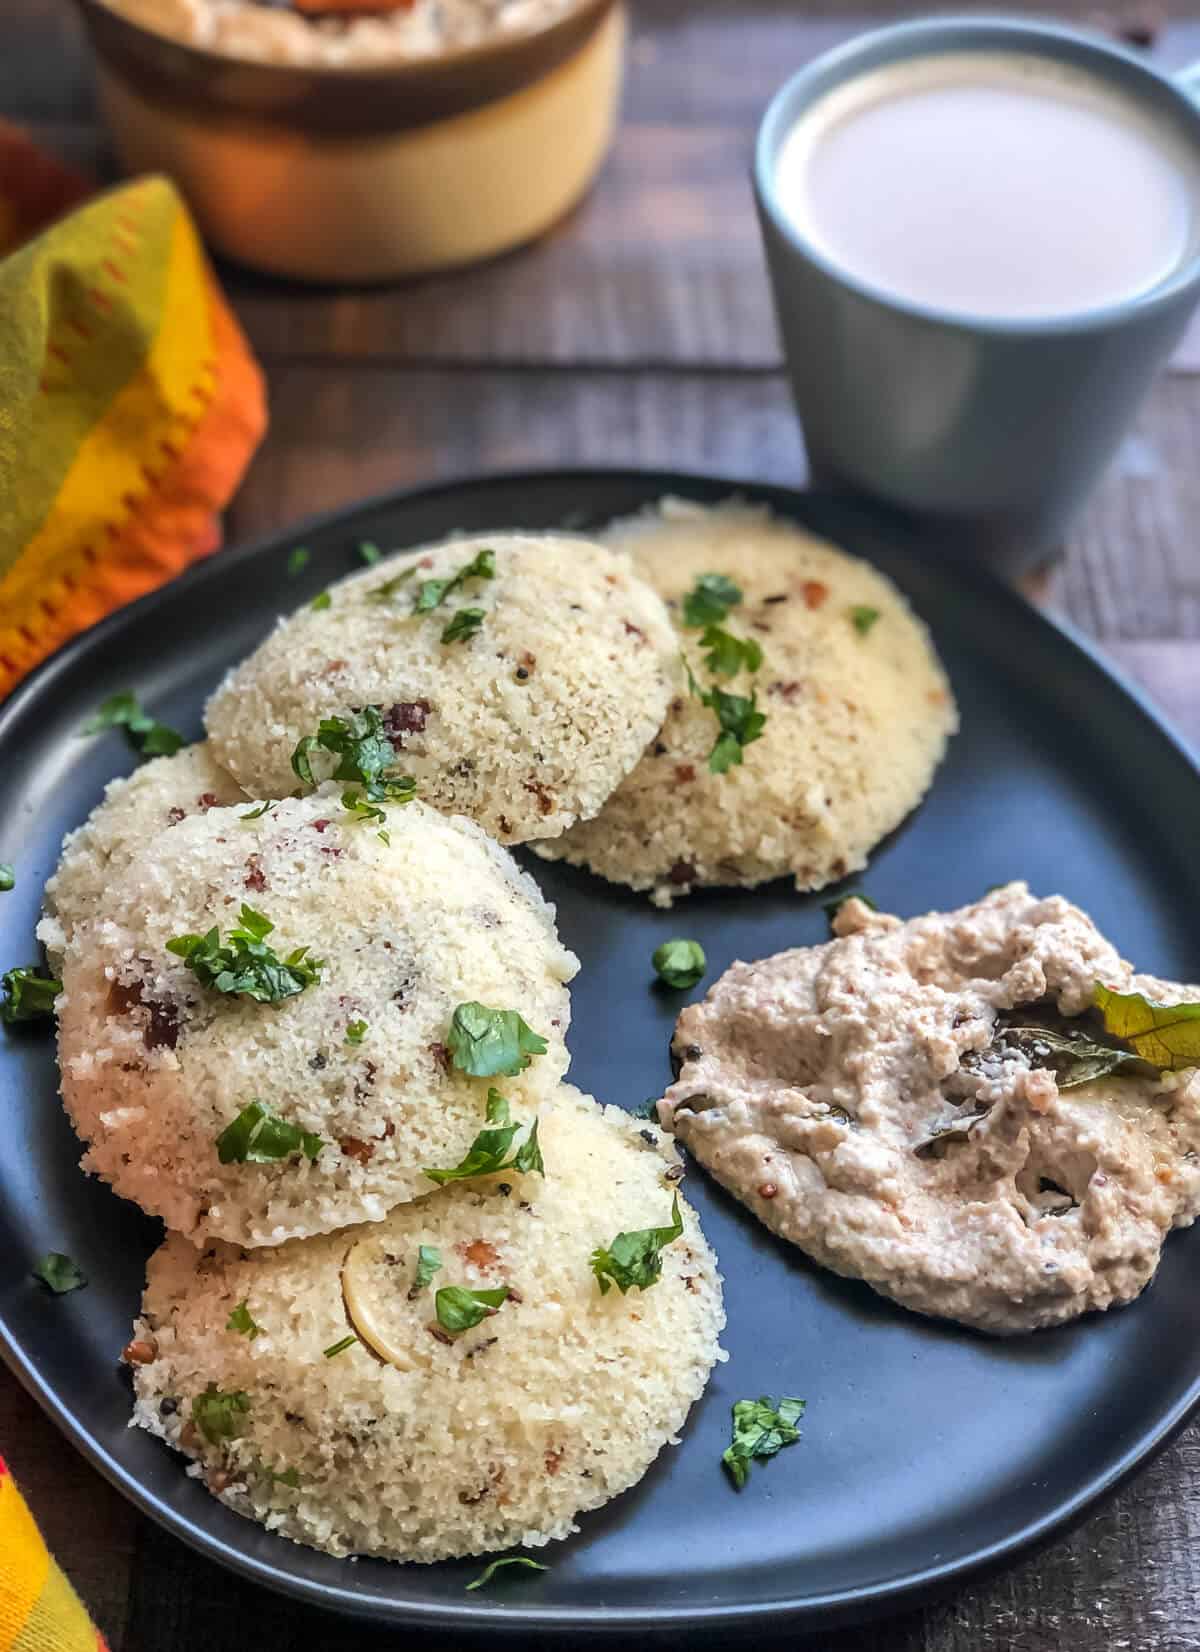
Serve these piping-hot idlis with sambar and chutneys of your choice.

How to store leftover batter?
Many of us often find ourselves with leftover idli batter after a delightful weekend breakfast, and the question arises: How do we store it so that it remains fresh for future use? I’ve compiled a few tips to ensure your idli batter remains as delicious as the day you made it.
1. Refrigeration:
The most straightforward method is to refrigerate your leftover fermented idli batter. By doing so, you slow down the fermentation process, ensuring the remaining batter doesn’t turn sour too quickly or go bad. Properly stored in the refrigerator, the batter will remain fresh for up to 7 days.
2. Freezing:
For longer storage durations, consider freezing your batter in a freezer-safe container. This method will extend the batter’s life up to a month. However, there are a few things to note:
- Remember to thaw the batter completely before you intend to use it.
- While the frozen batter is excellent for making dosas or uttapams, the idlis might not turn out as fluffy as those made from fresh batter.
Instructions for Use:
A crucial step before using stored batter is to ensure it comes to room temperature. Using cold batter straight from the refrigerator can result in flat idlis, which none of us want!
By following these simple storage guidelines, you can enjoy soft, fluffy idlis and crisp dosas without preparing fresh batter every time.
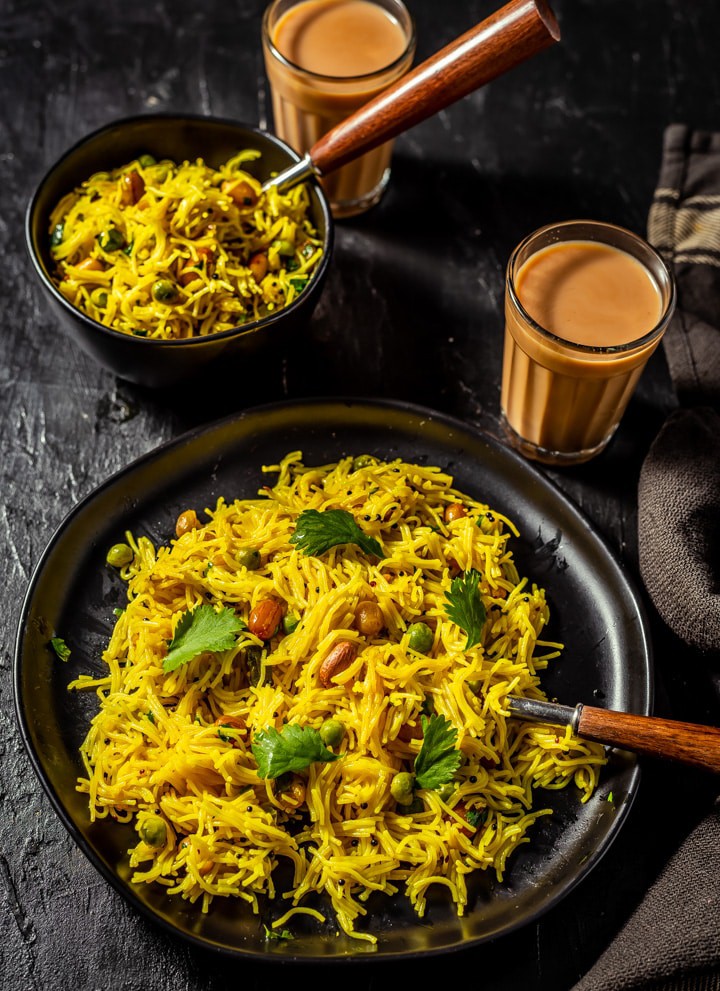
More breakfast recipes
If you are looking for South Indian breakfast recipes, I have a few family favorites that I am sure you’ll love –
Here is a quick recipe to enjoy those lovely, soft, fluffy instant rava idlis whenever the mood strikes. Serve with coconut or peanut chutney for a delicious and healthy meal.
Semiya Upma (Lemon Vermicelli)
This delicious and tangy Semiya Upma (Lemon Vermicelli) is just what you need to start your day. It is filling and comes together in 15 minutes from start to finish.
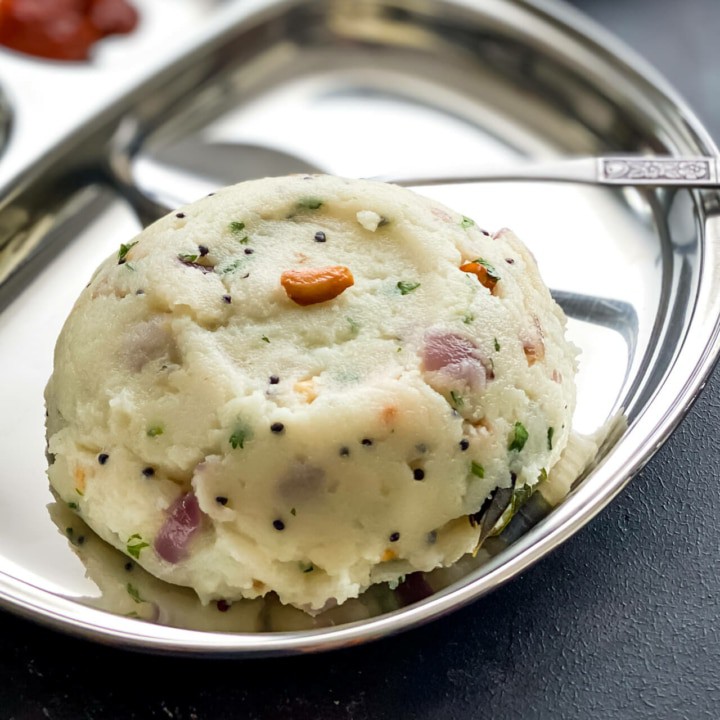
Ready in 20 minutes, this delicious semolina-based breakfast dish makes for a filling and satisfying meal any time of the day!
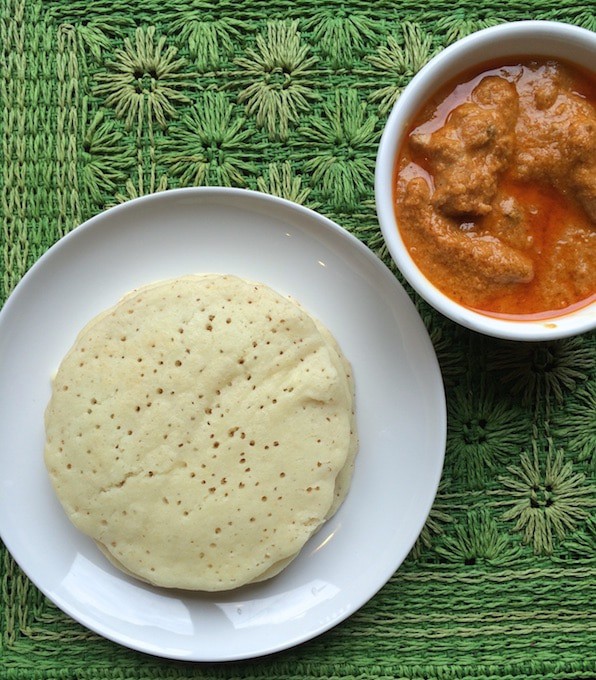
Delicious and soft, this dosa is perfect for breakfast, snacks, and even lunch. Learn how to make it in a few easy steps.
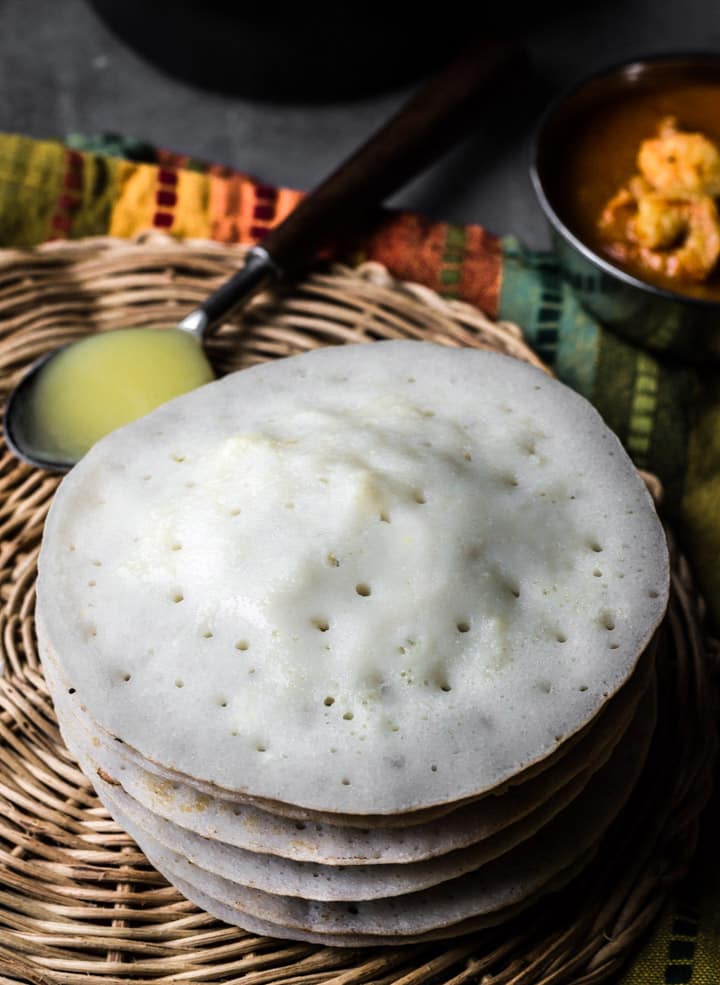
This soft in the center and crispy on the sides, 4-ingredient dosa or pancake from Mangalore is a culinary delight. Try it out today – no fermentation required!
How to make soft, fluffy idlis (Pro tips for perfect idli-dosa batter)
Equipment
Ingredients
- 2 cups Ponni boiled rice (idli rice)
- ½ cup Whole urad urad gota or split urad dal
- 1 teaspoon methi fenugreek seeds
- ½ cup thick poha (flattened rice) optional
- 1 teaspoon salt
- cold water as needed
Instructions
Soaking
- Rinse the rice and urad dal separately under running water until it becomes clear.
- To the rice, add methi/fenugreek seeds and immerse it in water. Let them soak for 4-6 hours. The urad dal should also be soaked for the same duration.
Grinding
- Before grinding the rice, immerse a fistful of thick poha (flattened rice) in water for about 5 minutes.
- Drain all the water from the urad dal and grind it to a fine paste using spoonfuls of water at a time (you'll need around 3/4 cup of water in total).
- For the rice, grind it to attain a coarse paste. You'll use roughly 1 cup of water for this.
- Once done, combine the two pastes in a large bowl, giving them a good whisk to ensure they are well-blended.
- Add water as needed (approximately another 1/2 cup) to get the batter to a pancake-batter like consistency that is neither too thick nor thin.
Fermentation
- Set your batter in a warm place to ferment (see notes). Once the batter has doubled up, add salt to it and whisk it to integrate it in.
Steaming
- Lightly grease each mould of your idli stand.
- Pour the batter into the moulds, filling each up to three-quarters. Tip: Always leave the bottom-most idli plate empty or else the idlis will turn soggy due to the proximity to the boiling water below.
- In your idli steamer, add about 1 cup of water and bring it to a boil. Once ready, place the idli stand inside, covering it with a lid.
- Allow the steam to build up for 8-10 minutes before turning off the gas. Note: If you're using a stovetop pressure cooker, remember to use it without the vent. Steam the idlis for about 10 minutes before turning off the gas.
- In both scenarios, let the steam release naturally (this takes another 5-10 minutes) before carefully removing the idli stand.
- Check for doneness by inserting a toothpick into an idli's center. If it emerges clean, you're all set! If not, steam it for an addition 2-3 minutes.
- Separate out the idli plates and let it cool for 3-4 minutes. Gently use a sharp knife to release the idlis from their moulds.
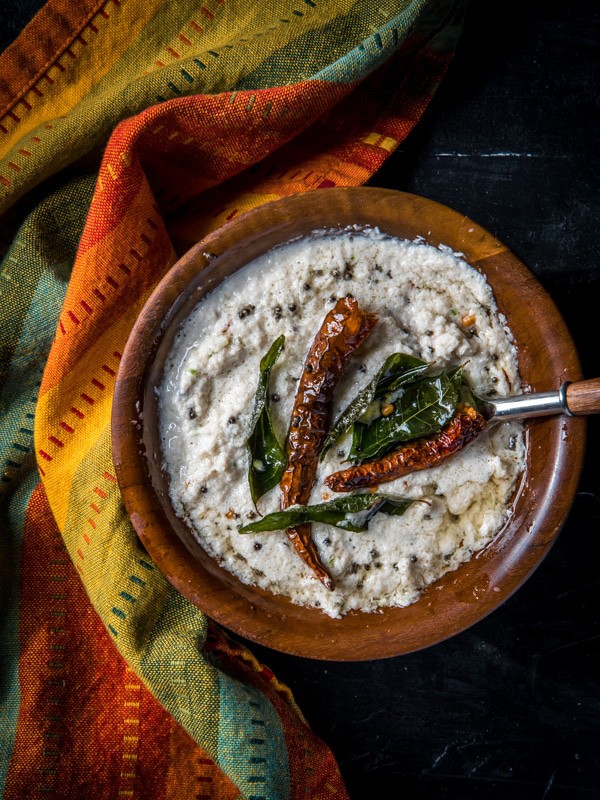
- Serve warm with coconut chutney or red coconut chutney and sambar.
Notes
- For Tropical Climates (like most parts of India): Let the batter sit on your kitchen counter. The outside temperature usually does the job.
-
For Colder Regions: Navigating the chill can be challenging, but here are some tried-and-tested methods:
- Oven Technique: Preheat your oven to its lowest, around 170°F. Turn it off, wait for 10 minutes, then place your batter inside. Alternatively, just turning the oven light on for the night can create a warm environment for the batter to rise.
- Heat Vent Hack: If it’s winter, your heat vents could be your best ally. Place your fermenting vessel on a cookie sheet (to prevent any overflows) and set it close to a vent. The warm airflow facilitates fermentation.
- Oven Proofing: If your oven boasts a ‘proof’ setting, you’re in luck! Set it for 12 hours, and you’ll have a perfectly fermented batter by the end.
- Instant Pot (my preferred option): The Instant Pot delivers consistent results, ensuring your idlis are soft and delectable every single time. If you’re intrigued, I’ve penned a detailed post on fermenting and steaming idlis using the Instant Pot. I highly recommend giving it a read!
Disclaimer: Approximate nutritional information is provided as a courtesy and can vary depending on the exact ingredients/brands used. If you have health issues, please work with a registered dietician or nutritionist.
Nutrition
This post was originally published on March 20, 2017, and was updated on May 26, 2020, and October 06, 2023, with new information.