Andhra Style Peanut Chutney
Note: This post contains affiliate links. As an Amazon Associate I earn from qualifying purchases.

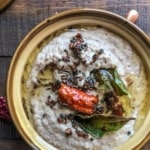
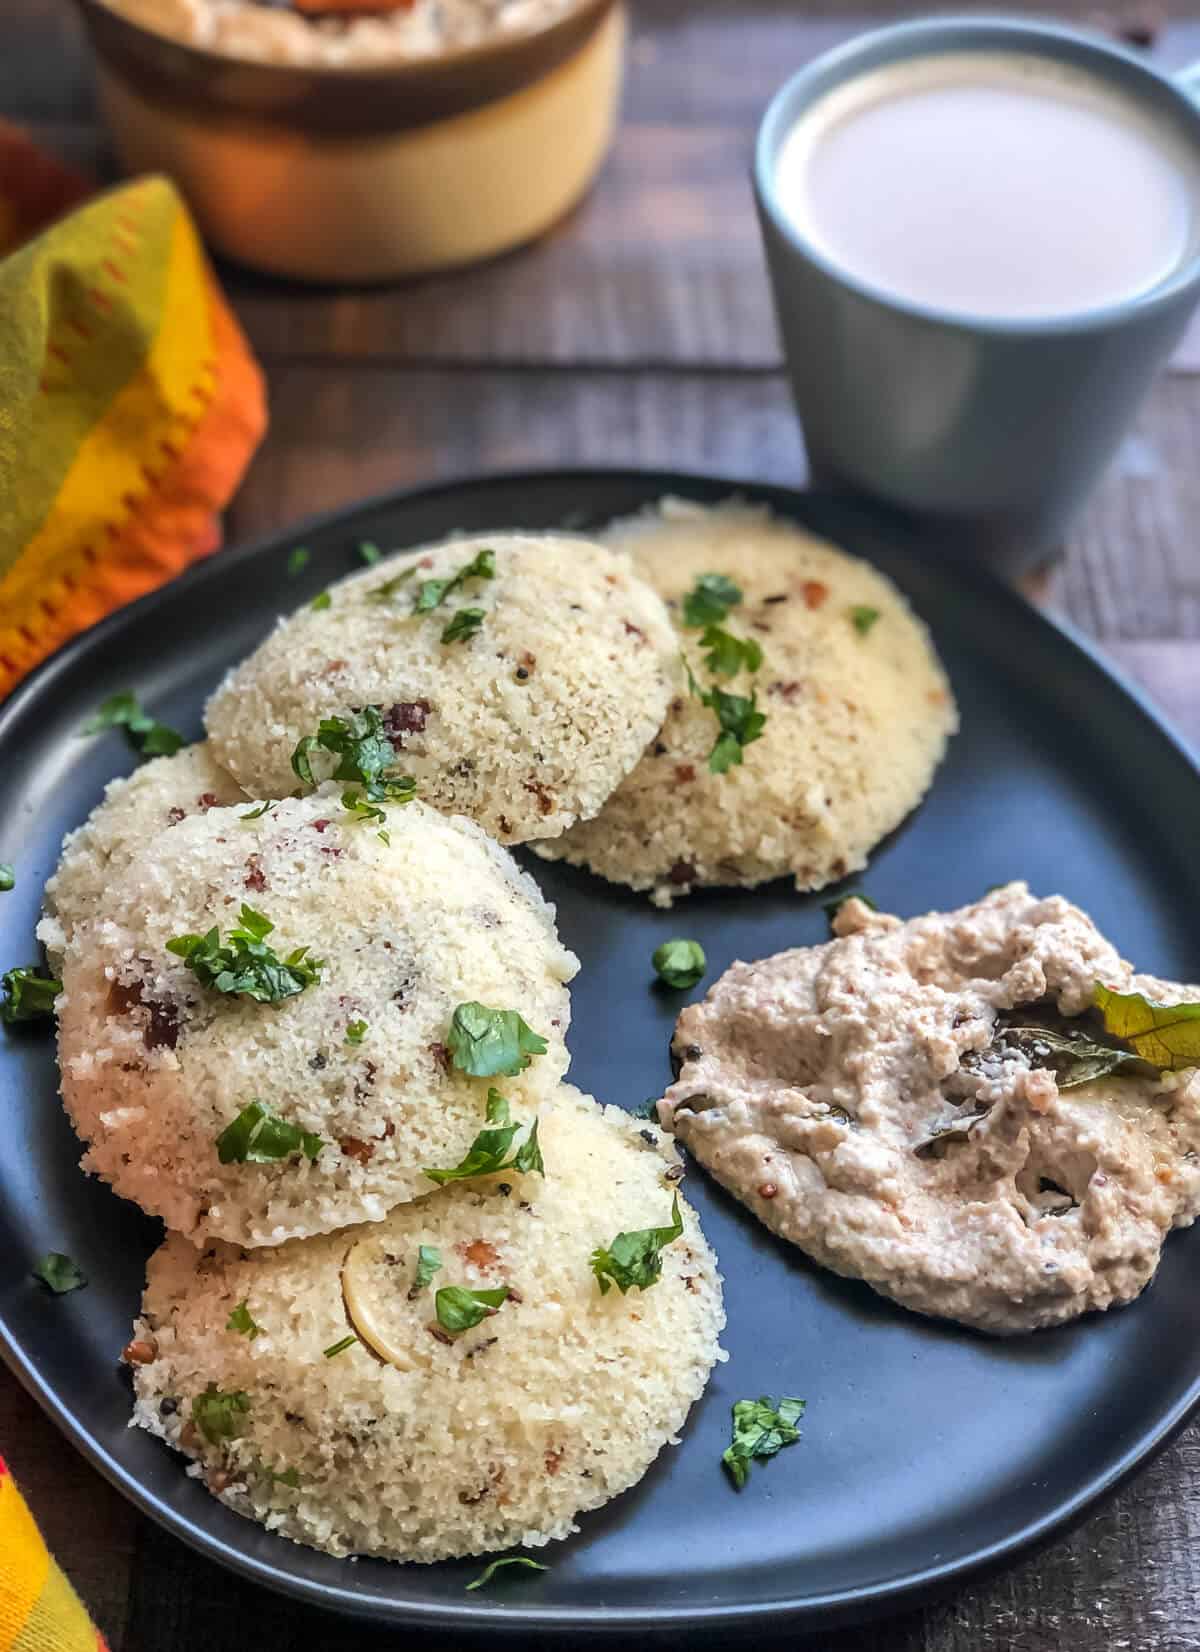
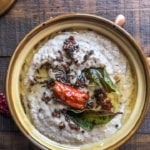
If you love peanuts, this Andhra style peanut chutney is for you. Creamy and finger-licking good, this groundnut chutney is a perfect accompaniment to piping hot idlis, vadas or dosas.
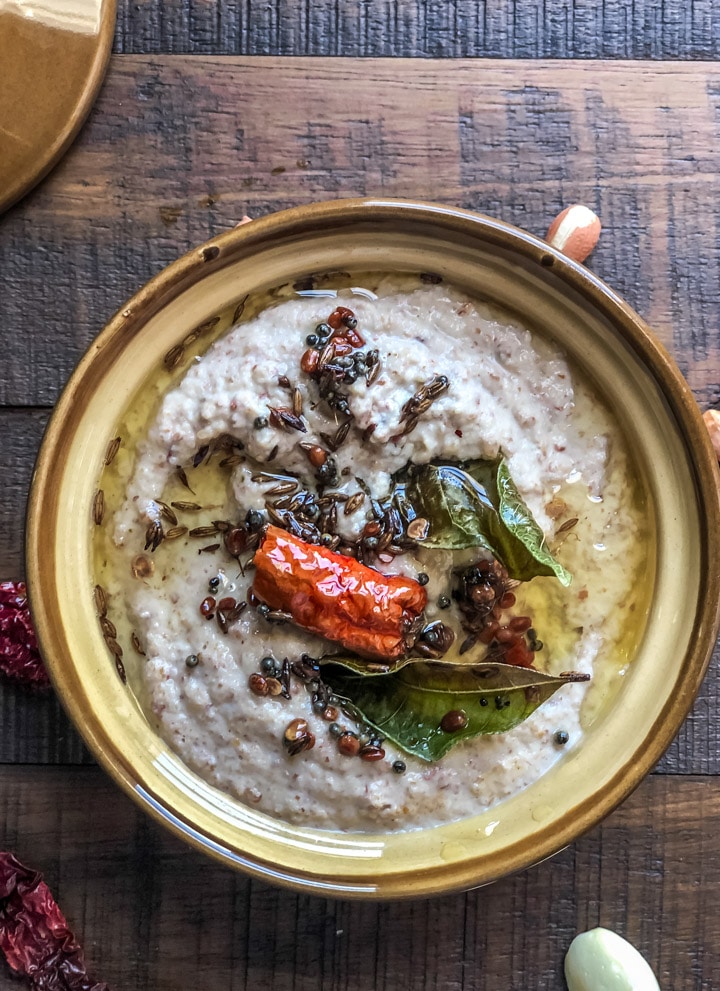
Not too long ago, a friend of mine who is originally from Andhra Pradesh served this peanut chutney (also called palli chutney) with vada. While the vadas were nice and crispy, what bowled me over was the chutney. It was creamy, full of flavor and coconut lovers, don’t hate me for saying this – tasted so much better than coconut chutney.
I ended up ignoring the vada and just lapping up the chutney spoonfuls at a time. Her peanut or groundnut chutney was that good! That meant I HAD TO get the recipe to share it with you, my friends :).
How to make peanut chutney?
What you’ll love about this recipe is that it doesn’t need a ton of ingredients and comes together in about 10 minutes. Since this chutney doesn’t have grated coconut it can last in the refrigerator for about 7 days without going bad or losing flavor.
To make peanut chutney, follow the directions below –
-
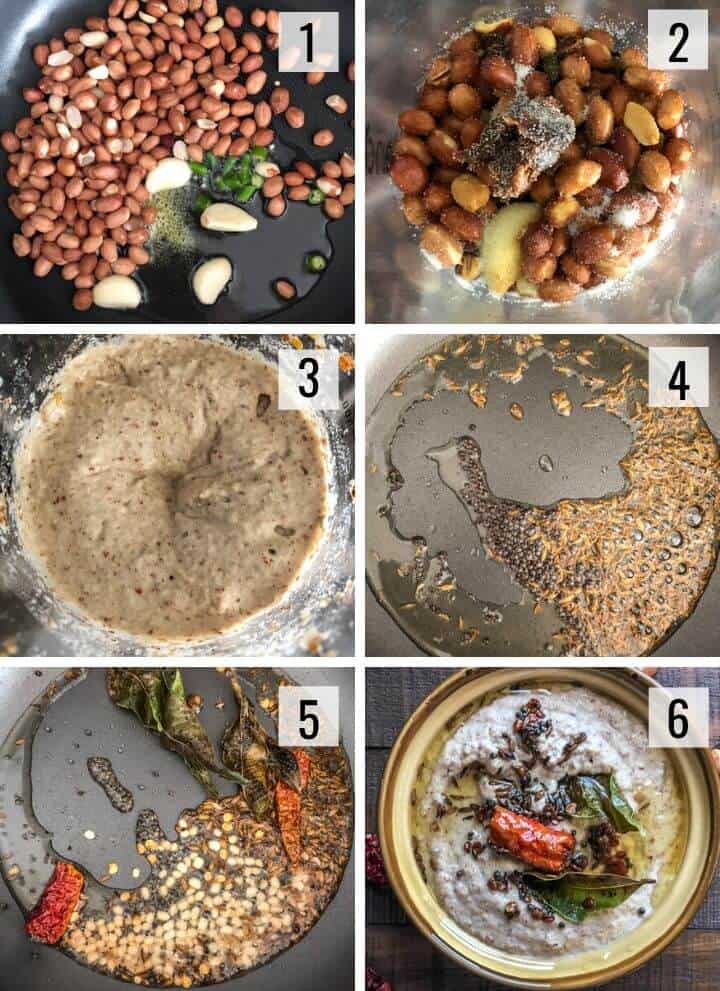
Add a tablespoon of peanut oil in a pan kept over medium heat.
-
Add garlic cloves, peanuts, and chopped green chilies. Saute them for about 5 minutes till the peanuts have evenly browned.
-
Grind this peanut mixture along with seedless tamarind [see note], salt and water to a coarse paste. Set it aside.
-
Add the remaining 1 tablespoon of oil to the same pan and set it on medium heat.
-
When the oil heats up, add cumin and mustard seeds and when they start to crackle, add urad dal, byadgi chilies, asafoetida, and curry leaves.
-
Fry them for about 10 -15 seconds and take the pan off heat.
-
Pour the tempering to ground peanut chutney and mix well.
-
Serve it immediately with idlis/dosas or refrigerate up to 7 days.
- I prefer using wet seedless tamarind since I can grind them directly but if you are using the dried tamarind, take chunks of it about the size of a quarter from the package. Soak it in 1/2 cup hot water for about 10 minutes before use. You can also substitute seedless tamarind with 1/2 teaspoon tamarind paste.
- It is hard to predict how tangy the tamarind juice will be, so always add 1/2 of the tamarind juice first, do a taste test and add the remaining.
- If you are using juice from tamarind soaked in 1/2 cup of water, you may not need additional water to grind the chutney.
- Peanuts with skin have so much flavor and are more nutritious than the ones without. You could substitute them with ones without skin if you don’t have them in your pantry.
- Dry roasting the peanuts/groundnuts is also an option if you don’t want to use oil.
- To make peanut chutney with onion, add 1/4 cup chopped onions and saute it along with garlic. Grind it with the rest of the ingredients.
Fun fact – Difference between peanuts and groundnuts
For those wondering why peanuts and groundnuts are used interchangeably, here’s a fun fact – peanut is a kind of groundnut which belongs to the legume family. If you want to dig deeper, read – the difference between groundnut and peanut.
If you are looking for more chutney recipes, here are a few more that you can pair your Indian breakfast and snacks –
- Red chili chutney – a spicy and tangy chutney perfect for south Indian snacks.
- Coriander chutney – This green chutney is perfect for street food.
- Coriander-mint chutney – A delicious combination of cilantro and mint makes it perfect for sandwiches, idlis, and even street food.
- Coconut chutney – Most South Indian breakfast and snacks can’t do without coconut chutney – a coconut-based dip that we all love to dunk our idli and dosas in.
- Tamarind date chutney – Here is a super easy, quick yet delicious recipe to make this mouthwatering tamarind date (khajur imli) chutney at home using your Instant Pot. Stovetop instructions are included too!
- Vada pav chutney – This zesty garlic chutney is what makes vada pav so tantalizingly good. It has a long shelf life and you’ll find that it is a great way to amp up your meals.
Andhra Style Peanut Chutney Recipe
Ingredients
To be ground
- 2 tablespoons peanut oil divided
- 3-4 garlic cloves
- 1 cup peanuts with skin
- 2 green chilies
- ½ teaspoon seedless tamarind
- ½ teaspoon salt
- ¾ cup water
Tempering
- ½ teaspoon cumin seeds
- ½ teaspoon mustard seeds
- 1 teaspoon urad dal split
- ⅛ teaspoon asafoetida hing
- 1 sprig curry leaves ~7-8
- 1-2 Byadgi chili optional
Instructions
- Add a tablespoon of peanut oil in a pan kept over medium heat.
- Add garlic cloves, peanuts, and chopped green chilies. Saute them for about 5 minutes till the peanuts have evenly browned.
- Grind this peanut mixture along with seedless tamarind [see note], salt and water to a coarse paste. Set it aside.
- Add the remaining 1 tablespoon of oil to the same pan and set it on medium heat.
- When the oil heats up, add cumin and mustard seeds and when they start to crackle, add urad dal, byadgi chilies, asafoetida, and curry leaves.
- Fry them for about 10 -15 seconds and take the pan off heat.
- Pour the tempering to the ground peanut paste and mix well.
- Serve it immediately with idlis/dosas or refrigerate up to 7 days.
Notes
- I prefer using wet seedless tamarind since I can grind them directly but if you are using the dried tamarind, take chunks of it about the size of a quarter from the package. Soak it in 1/2 cup hot water for about 10 minutes before use.
- You can also substitute seedless tamarind with 1/2 teaspoon tamarind paste.
- It is hard to predict how tangy the tamarind juice will be, so always add 1/2 of the tamarind juice first, do a taste test and add the remaining.
- If you are using juice from tamarind soaked in 1/2 cup of water, you may not need additional water to grind the chutney.
- Peanuts with skin have so much flavor and are more nutritious than the ones without. You could substitute them with ones without skin if you don't have them in your pantry.
- Dry roasting the peanuts/groundnuts is also an option if you don't want to use oil.
- To make peanut chutney with onion, add 1/4 cup chopped onions and saute it along with garlic. Grind it with the rest of the ingredients.
Disclaimer: Approximate nutritional information is provided as a courtesy and can vary depending on the exact ingredients/brands used. If you have health issues, please work with a registered dietician or nutritionist.