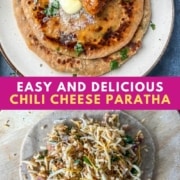
Stuffed Cheese paratha
Note: This post contains affiliate links. As an Amazon Associate I earn from qualifying purchases.

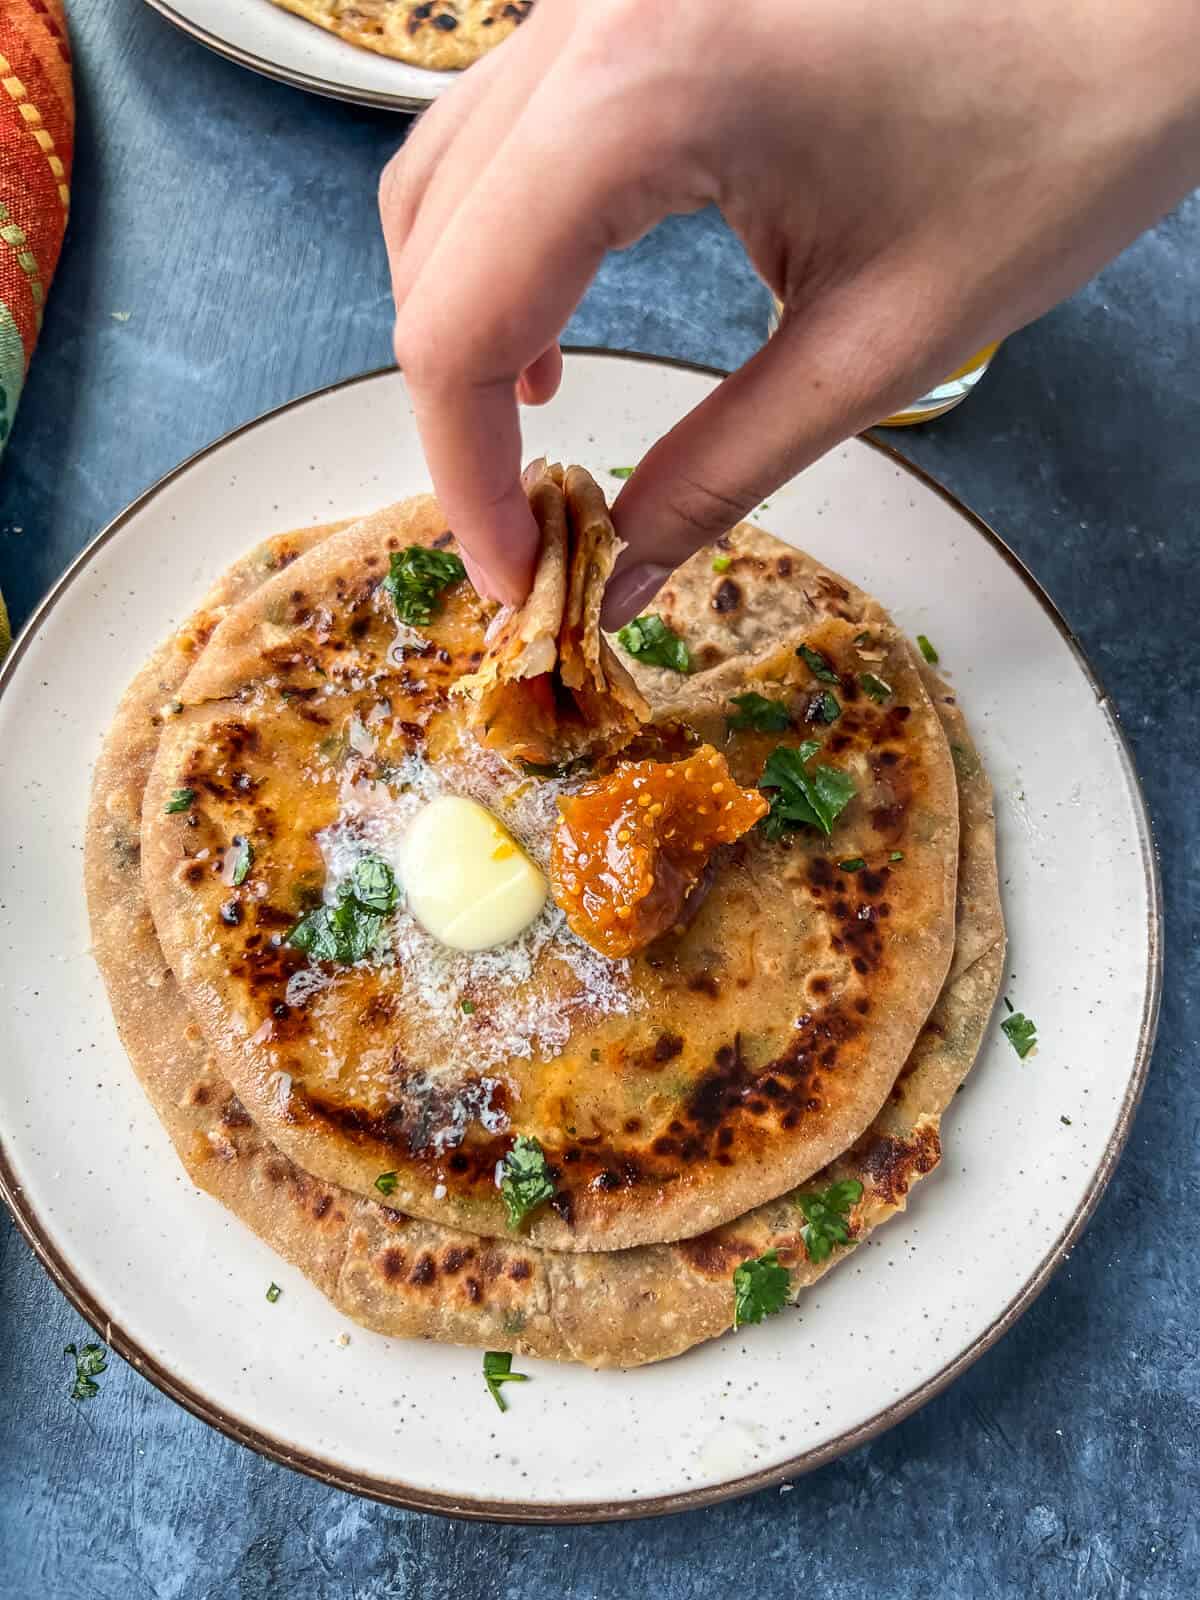
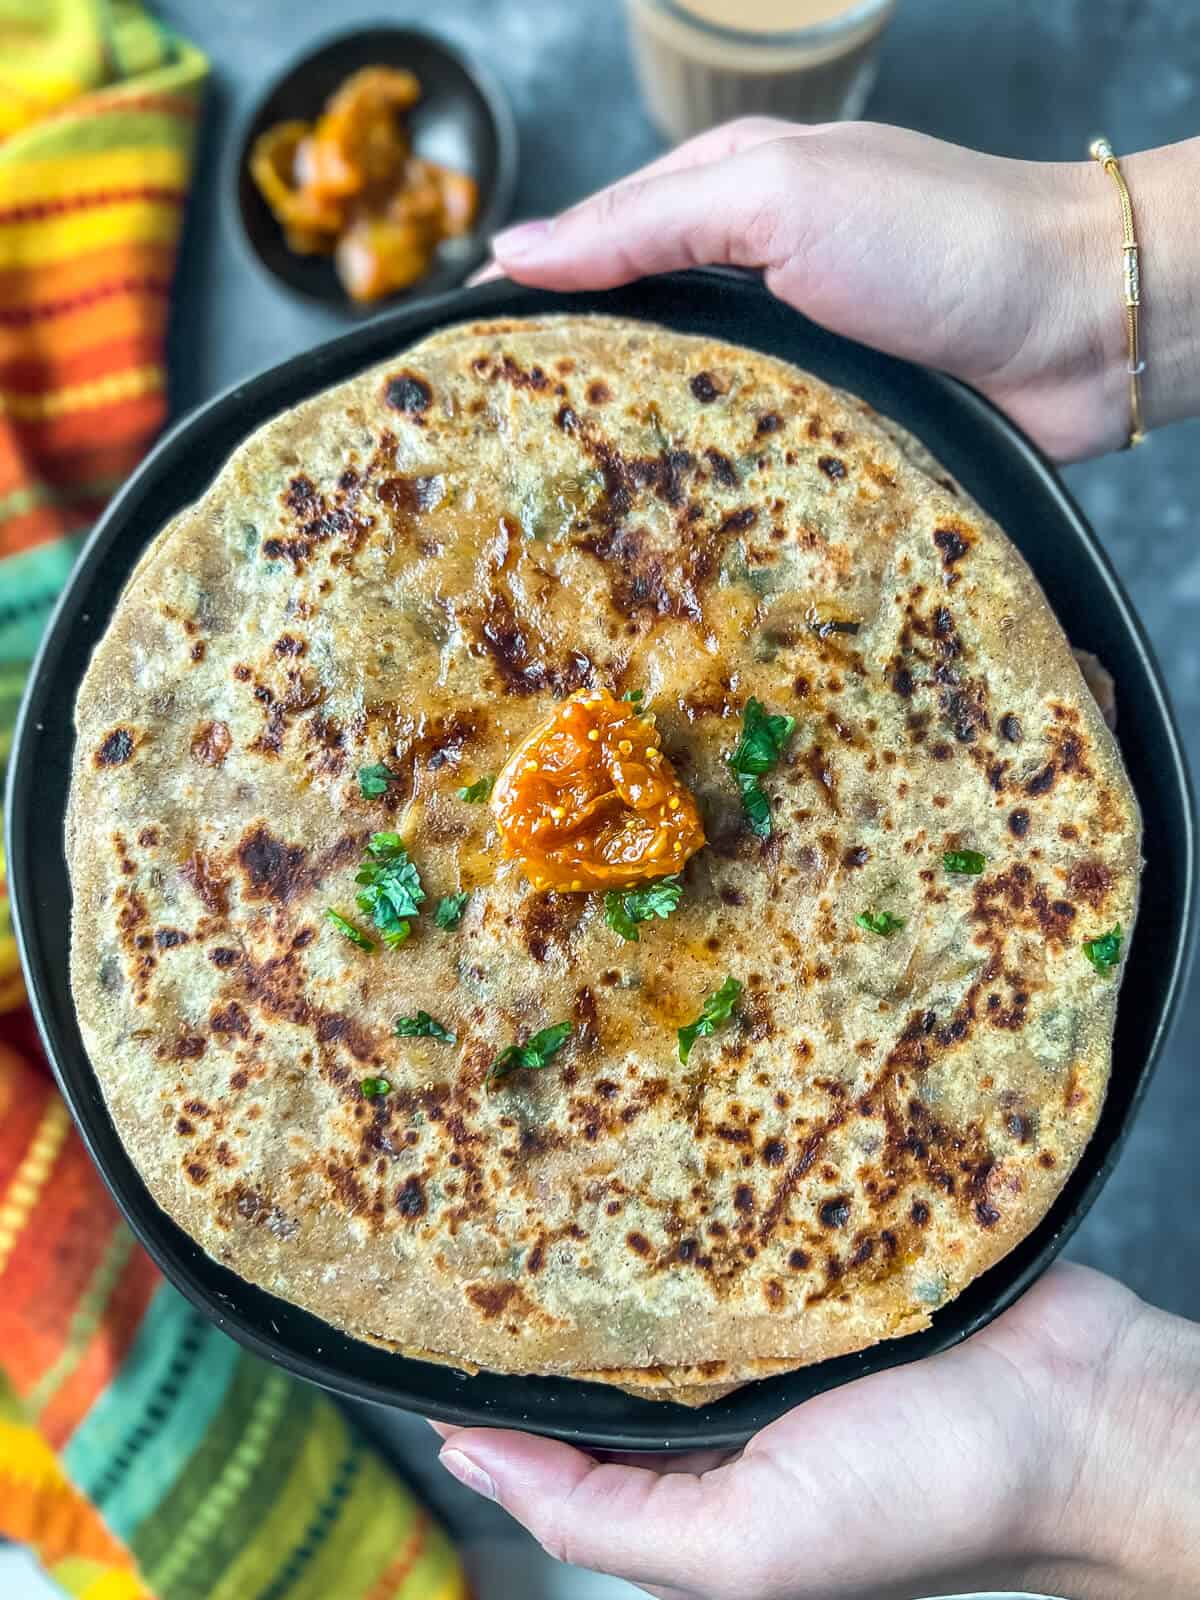
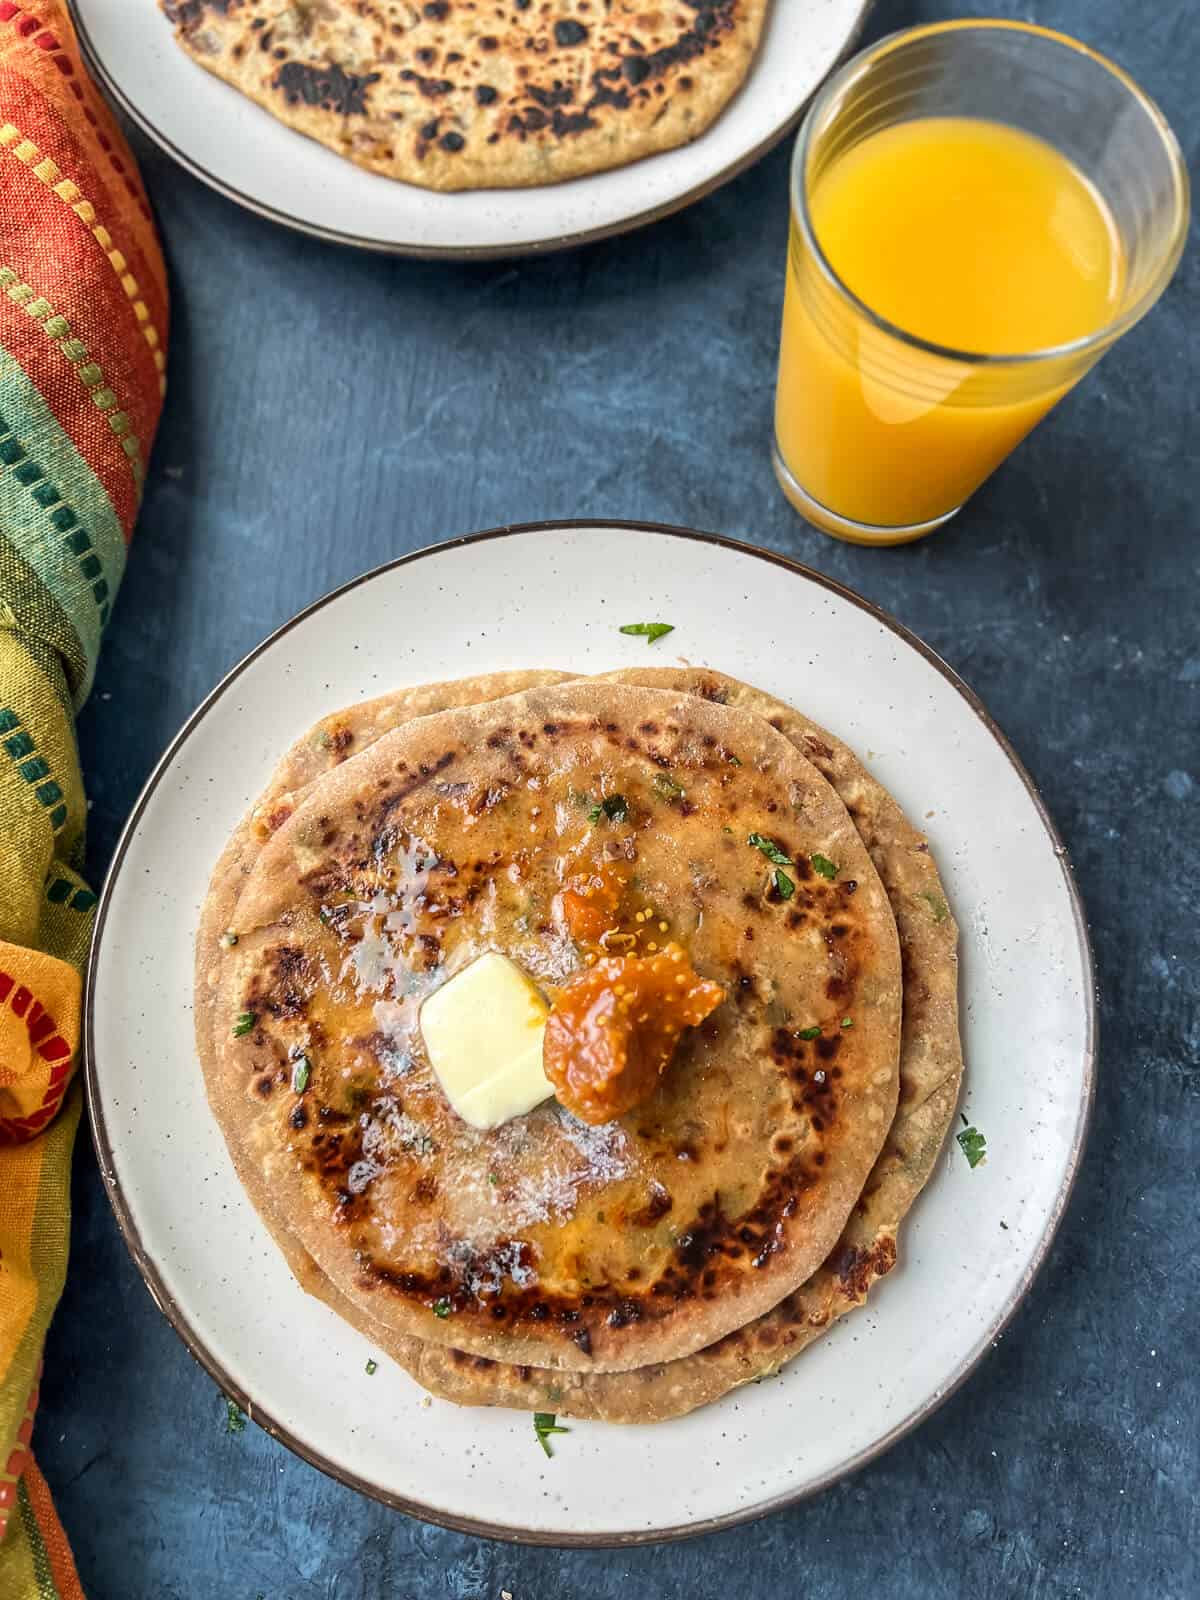
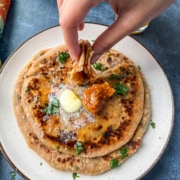
This flaky and savory cheese paratha is perfect for any meal of the day and is kid-friendly, thanks to its cheesy flavor. Serve it with raita, pickle, tomato ketchup, or a delicious paneer curry for a complete meal.
If you’ve never had a traditional North Indian paratha, I promise you that you are in for a real treat. That’s because these flaky and buttery Indian flatbreads are a delicious, satisfying, and hearty option for just about any meal.
This easy cheese paratha recipe is an excellent stuffed paratha recipe for beginners. It is much easier to roll and cook a paratha stuffed with melty cheese when compared to something a little more difficult, like the potatoes in my aloo paratha recipe.
Not only do you get the flaky texture of a plain paratha, but you also have a melty and cheesy center that will win over the pickiest of eaters.
When served with some creamy raita or a delicious paneer curry this simple dish easily becomes a meal – perfect for breakfast, lunch, or dinner. And while these are best warm, my kids don’t mind taking the leftovers in their lunch.
What is cheese paratha made of?
Cheese paratha, simply put, is a whole wheat bread stuffed with spiced cheese filling. The stuffing is made with mozzarella cheese for a delicious, stretchy center, but you can substitute half of the cheese for cheddar cheese or make my drool-worthy recipe for paneer paratha.
The paratha dough is made with whole wheat flour, then rolled and filled with cheese stuffing. The dough is then folded around the stuffing and rolled again. The rolled paratha is then shallow fried in ghee in a hot tawa or frying pan till golden brown spots appear. Talk about delicious!
Alternate names: In restaurant menus, you may find this paratha listed as chili cheese paratha or onion cheese paratha.
Reasons to love this recipe
- It’s picky-eater-approved and kid-friendly.
- Versatile – This cheese paratha recipe can be served for breakfast, lunch, or dinner.
- Made with whole wheat flour – it is a healthier everyday option when compared to naan bread.
- Although it’s best when served warm, it still tastes great when served cold, meaning it is perfect for adding to kids’ lunch boxes.
Here’s what you need to make the recipe
Ingredient notes
For the Dough:
- Whole wheat flour – I prefer either Aashirwad whole wheat atta or Sujata chakki atta.
- Avocado oil – The flavor works well with mozzarella cheese, but you could use any neutral-tasting vegetable oil.
- Carom seeds – Also known as ajwain, these add a subtle flavor to the base of the paratha before the cheese stuffing is added.
- Salt – A small amount of salt is added to the dough to provide flavor.
- Water – You will need enough water to form a soft dough, and it should be at room temperature for the best results.
For the Cheese Stuffing:
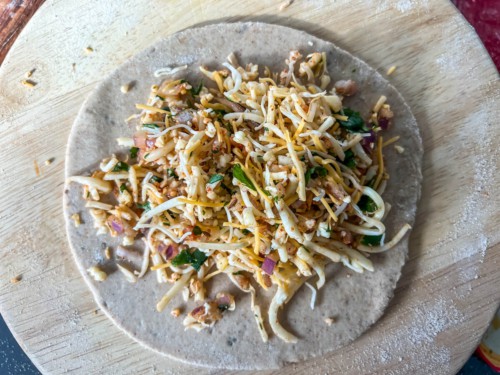
- Mozzarella cheese – I recommend using freshly grated mozzarella cheese, as it provides the best texture and gives that perfect melty cheese pull. You can substitute half of the cheese for cheddar cheese.
- Onions – finely chopped, just like the green chillies. You can skip it but make sure to add more cheese so that you have enough filling for the parathas.
- Spices and seasonings – You will need chaat masala, jeera (cumin seeds), and salt.
- Aromatics – finely chopped cilantro and green chilies.
- Storebought or homemade ghee – Traditionally used for frying the paratha and gives a delicious flavor.
Be sure to check out the full recipe and ingredient list below.
Tools
You’ll need the following equipment to make parathas
- Large mixing bowl / Stand mixer / food processor
- Metal / Marble / Wood base with a rolling pin (or Chakla Belan in Hindi)
- Tava / Griddle
- Spatula / Turner
- Paper towel
TIPS
General tips while making parathas
- Knead the dough until it is smooth, soft, and pliable.
- To fix hard dough, Sprinkle a spoonful of water and knead. Add more water/flour until the dough is neither hard nor sticky.
- Sticky dough? Sprinkle a spoonful of dough and knead. Add more flour as needed until the dough is not sticky.
- Rest the dough to allow time for the gluten to form. This makes it easier to roll out the dough and yields softer parathas.
- Make sure to dust off the flour from the parathas before frying, or it dries up and turns hard.
- Before storing it in an air-tight container or while packing it for lunch, let the paratha cool down for 5-6 minutes to prevent it from being soggy.
Pro tips for cheese parathas
- Use freshly grated cheese for that pull-apart melty, cheesy texture.
- Chop the onions and green chilies finely, or they’ll tear the paratha while rolling.
- Onions lose water when mixed with salt, so make the parathas immediately once the stuffing is prepared.
- It tastes best when served hot. Once cold, the cheese solidifies. Just reheat and serve.
Note: Don’t forget to turn your exhaust fan on when making parathas, or else your smoke alarm may go off.
Stuffed Cheese paratha
Equipment
Ingredients
For the dough
- 3 cups whole wheat flour
- 1-3/4 cups water
- ½ teaspoon salt
- 1 teaspoon carom seeds ajwain
- 2 tablespoons avocado oil divided
Cheese stuffing
- 3 cups / 12 oz grated mozzarela cheese
- 1 cup finely chopped onions
- 1 teaspoon chaat masala
- ½ teaspoon chili powder
- ¼ cup cilantro finely chopped
- 1 teaspoon jeera cumin seeds
- 2 green chilies finely chopped
- ½ teaspoon salt or as needed
Other ingredients
- ½ cup ghee for frying
Instructions
Make the dough
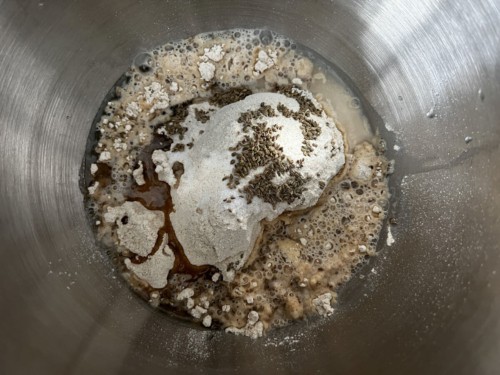
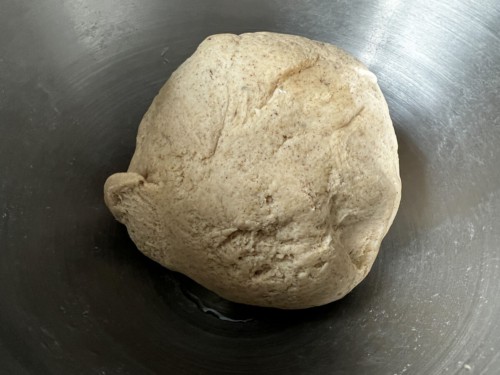
- Combine wheat flour, salt, a tablespoon of oil, carom seeds with 1 cup of water and start kneading. Add remaining water in small increments and continue to knead till the dough comes together as a ball.

- Add the remaining oil to the dough and knead till the oil is absorbed.
- If the dough is sticky, sprinkle approximately 1/4 teaspoon wheat flour (or more if needed) on the dough and knead again to form a dough that is not sticky. The dough should be supple and soft.
- Cover the dough and set aside for 15-20 minutes.

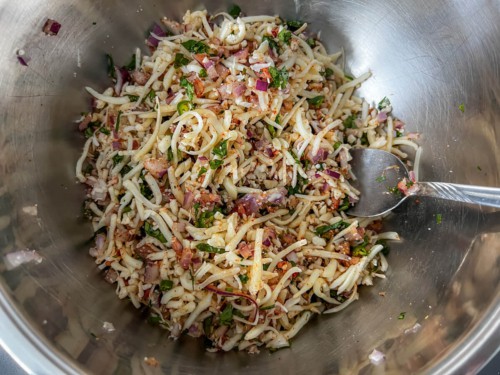
Make the stuffing
- Mix all the ingredients for the stuffing – onions, cheese, chaat masala, chili powder, cilantro leaves, jeera, green chilies, and salt- until they are combined. [Note: Don't prepare the stuffing in advance. Prepare it just before you are ready to roll the parathas. It is because the onions will start to lose water.]
Rolling out the parathas
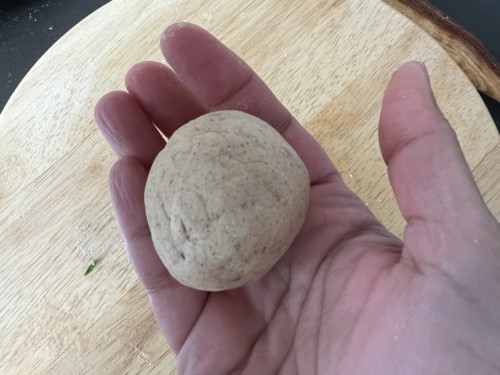
- Divide dough into twelve equal portions and roll into balls.
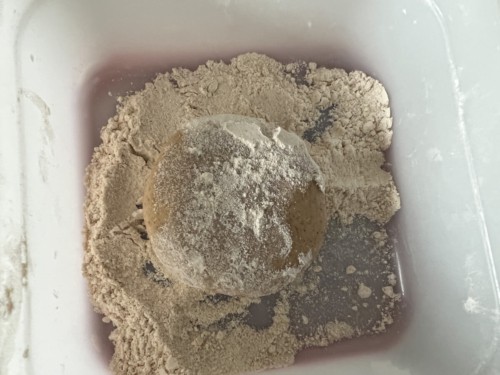
- Flatten the ball and cover both sides with flour.
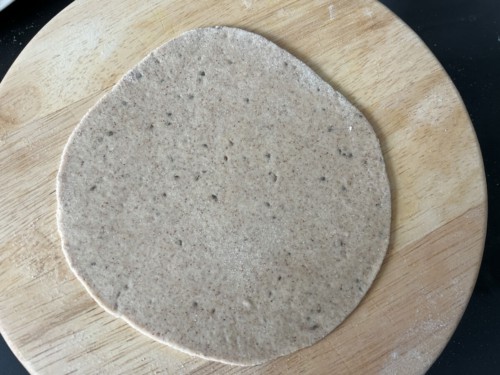
- Roll into a circular disc about 4 inches in diameter.
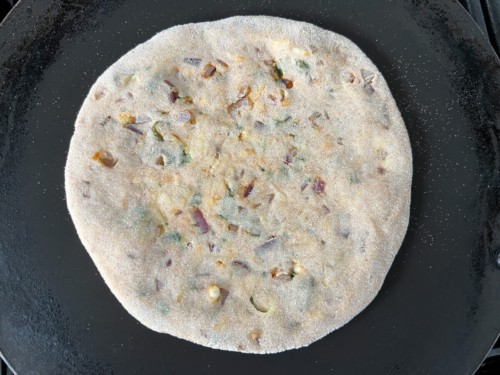
- Place 2-3 tablespoonfuls of the stuffing in the center.
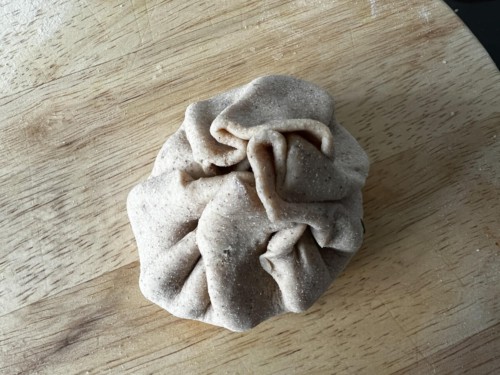
- Grab the edges and pleat them and bring them together in the center.
- Pinch them together to seal them.
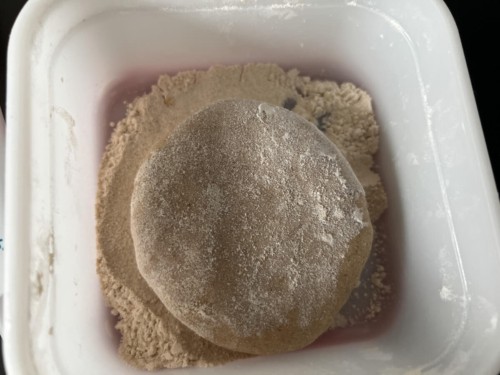
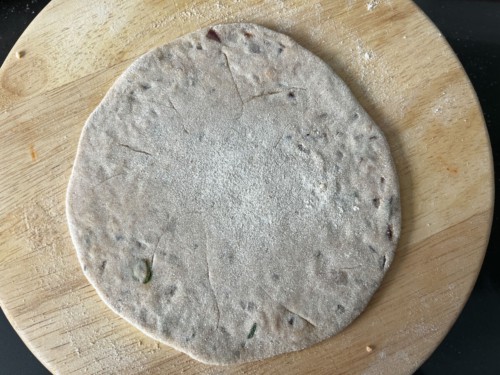
- Flatten the ball and cover both sides with flour.
- Use your rolling pin to roll into a flat, round shape delicately. Dust flour on the base to prevent the dough from sticking while rolling.
- Dust off excess flour from the paratha by placing it on the palm of one hand and then flip it on the palm of your other hand. Repeat this process 3-4 times.

Cooking the paratha
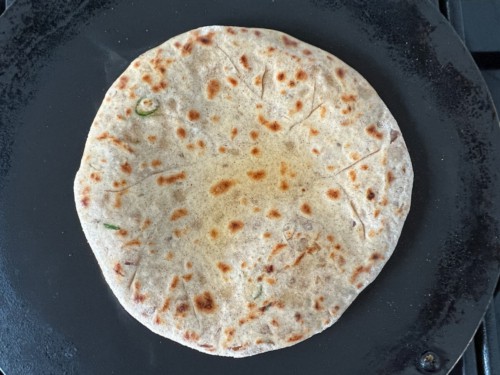
- Place a tawa/frying pan on gas on medium heat. Once heated, carefully place the paratha on the tawa.
- Cook until small bubbles form on the top.
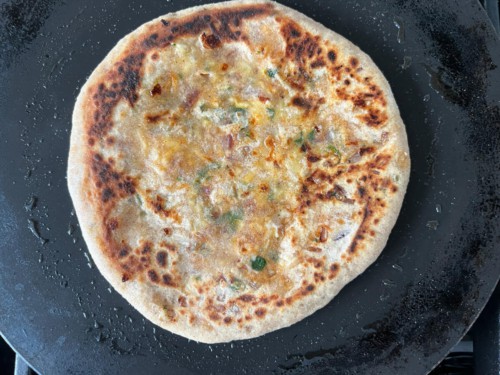
- Turn it over and cook the other side for about 20 seconds. Add ghee to the side facing up.
- Flip and cook for about 10 seconds. Use a spatula to press the edges so that they evenly cook. Now add ghee to the side facing up, flip and cook for another 10-15 seconds.
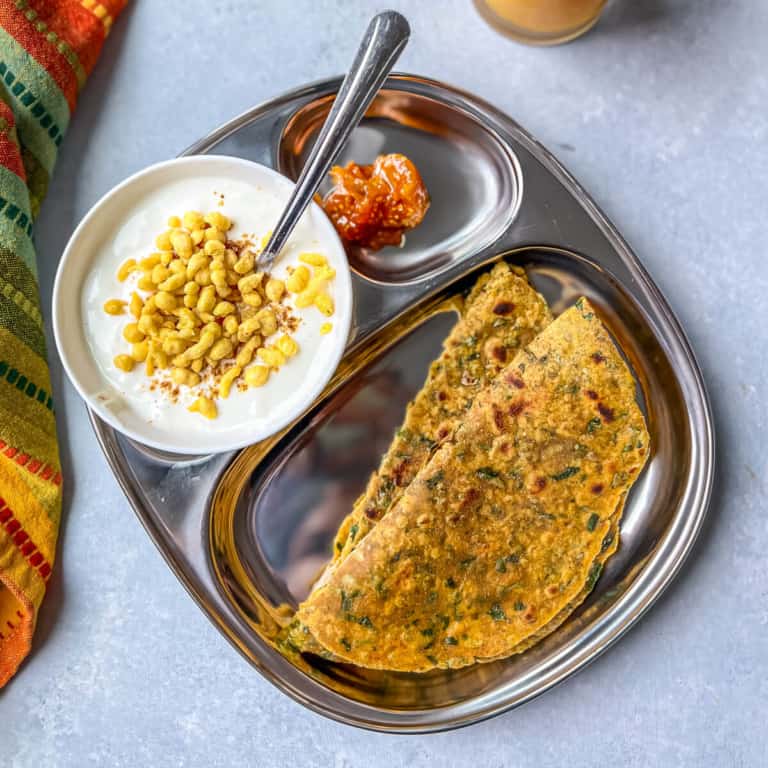
- Serve hot with yogurt or raita.

Disclaimer: Approximate nutritional information is provided as a courtesy and can vary depending on the exact ingredients/brands used. If you have health issues, please work with a registered dietician or nutritionist.
Nutrition
Variations to try
- Skip the green chilies to make it kid-friendly. You can add a tiny bit of ground black pepper instead.
- Different types of cheese — In this recipe, replace 1/2 of the mozzarella cheese with cheddar cheese. You can also replace mozzarella cheese with paneer (Indian cottage cheese), as in this paneer paratha recipe.
- Skip onions – make sure to increase the amount of cheese so that you have enough stuffing for the dough.
- Italian twist – Replace Indian spices/spice powders with a teaspoon of garlic powder, oregano each, and 1/2 teaspoon of chili flakes.
- Spice variations: Use dry mango powder instead of chaat masala to give it a tangy twist. You can also add 0.5 to 1 teaspoon of garam masala for some warmth.
- Chili cheese paratha – Increase the amount of green chili for a spicy kick.
How to prep ahead
The dough can be stored in the refrigerator in an airtight container for up to 3 days or frozen for a month. It should be brought to room temperature before rolling out the parathas.
You can make the cheese stuffing (don’t add the onions) up to 3 days in advance. You can chop onions and store them separately.
Storage tips
Refrigerator – You can store your parathas for 3-4 days in the refrigerator. For best results, store them in an airtight container and between sheets of parchment to prevent sticking (optional).
Freezer – These will keep well in the freezer for 2-3 months. Separate them with parchment paper when freezing, or they’ll stick together.
Reheat – For refrigerated parathas, reheat in a microwave (15-20 seconds) or reheat in a tava / skillet kept over medium heat. If parathas are frozen, use a tava/skillet to reheat for best results.
Serve it with
These delicious and flaky cheese parathas can be eaten on their own or served with raitas, yogurt, or pickle. They also pair very well with paneer curries. Here are a few of my favorites:
- Boondi raita – This delicious recipe is made by soaking crispy chickpea flour balls in spice-infused creamy yogurt.
- Onion raita – Made with ingredients you have at home and in less than 5 minutes. It is the perfect way to finish off a delicious Indian meal.
- Kadai paneer – This restaurant-style recipe is made with freshly ground spices, chunks of paneer, and a blend of onions, peppers, and a spicy masala sauce.
- Paneer makhani – Also known as paneer butter masala, this popular restaurant dish can easily be made at home.
- Methi Malai Matar – An unforgettable vegetarian dish made with fresh fenugreek leaves, green peas, and soft chunks of paneer.
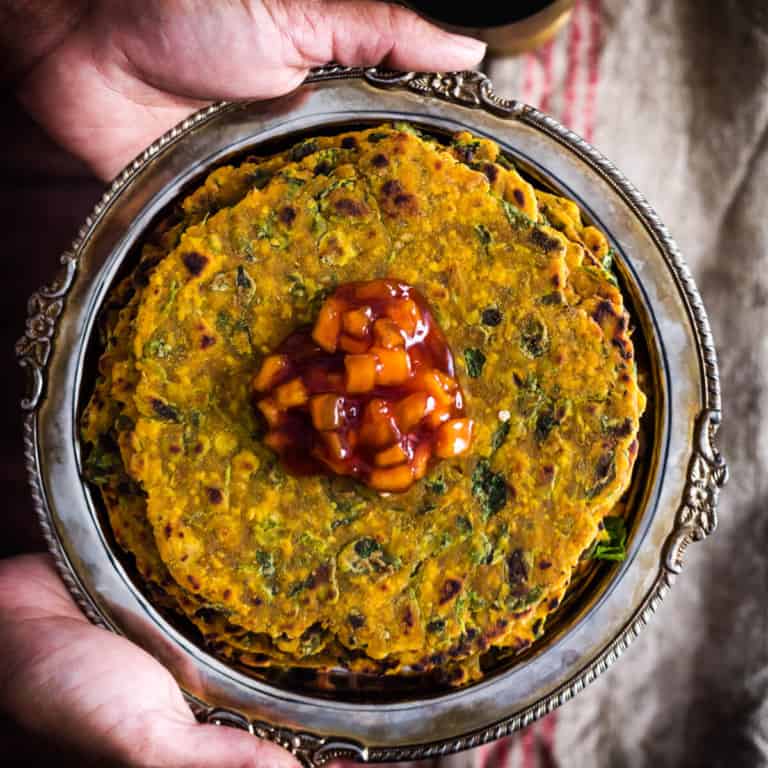
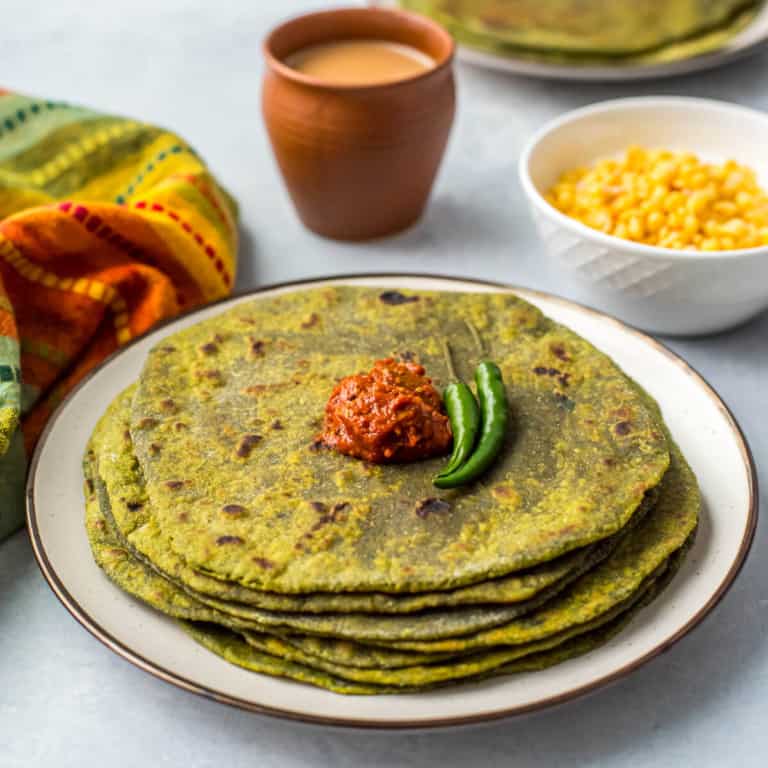
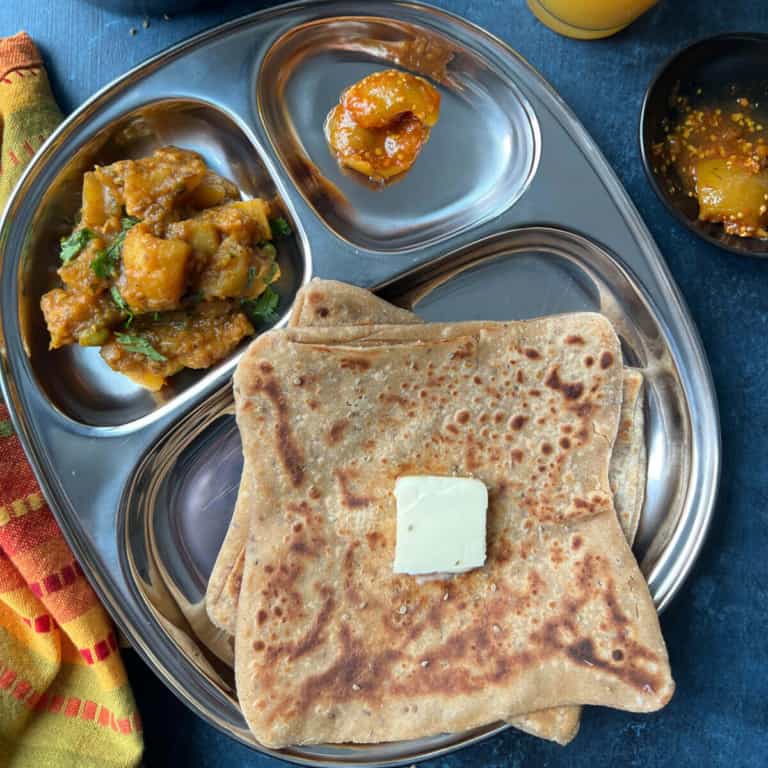
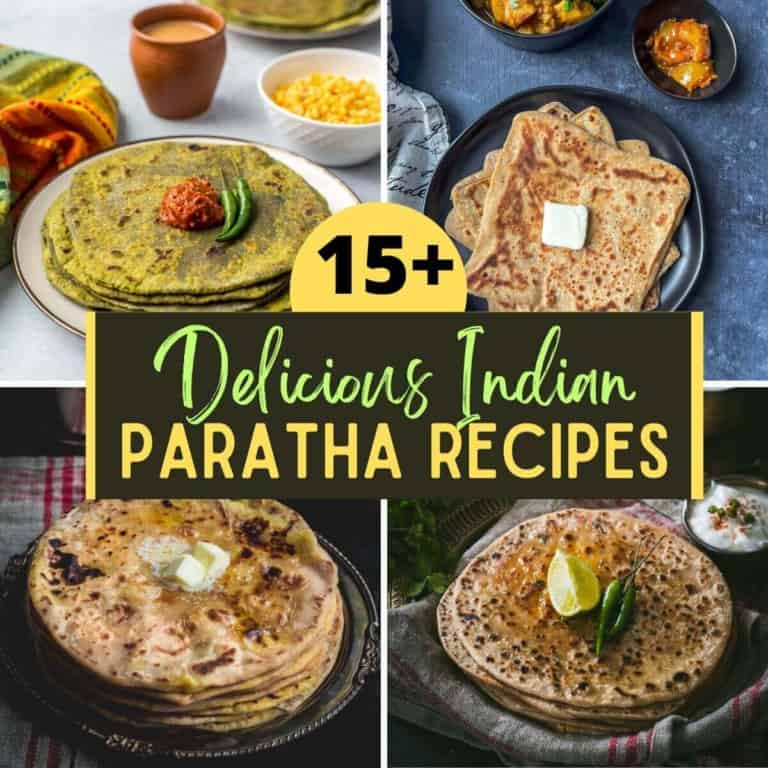
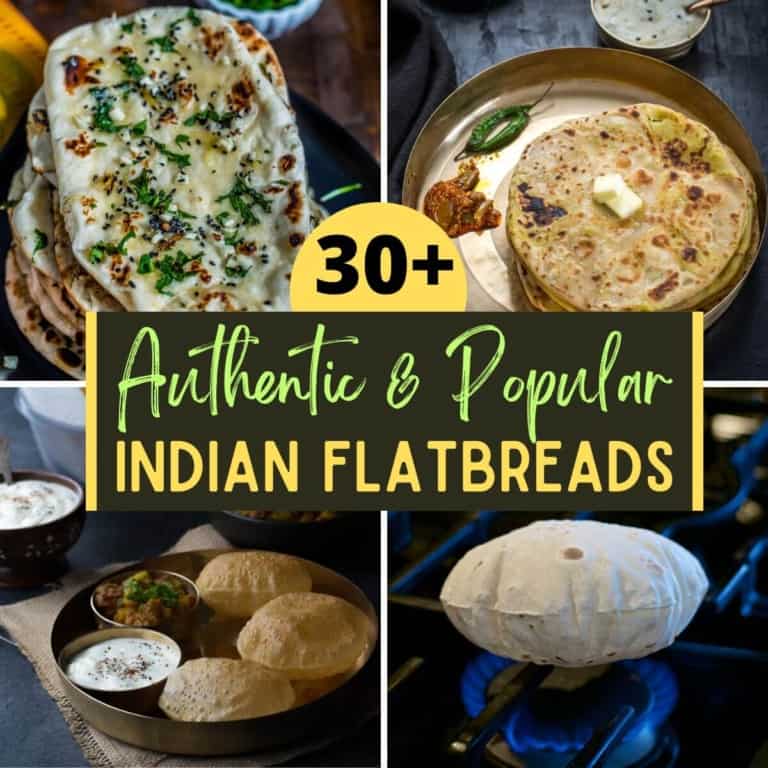
Easy Paratha Recipes
Love parathas? Here’s a collection of some of favorite easy to make parathas with loads of tips so you get perfect results every time!