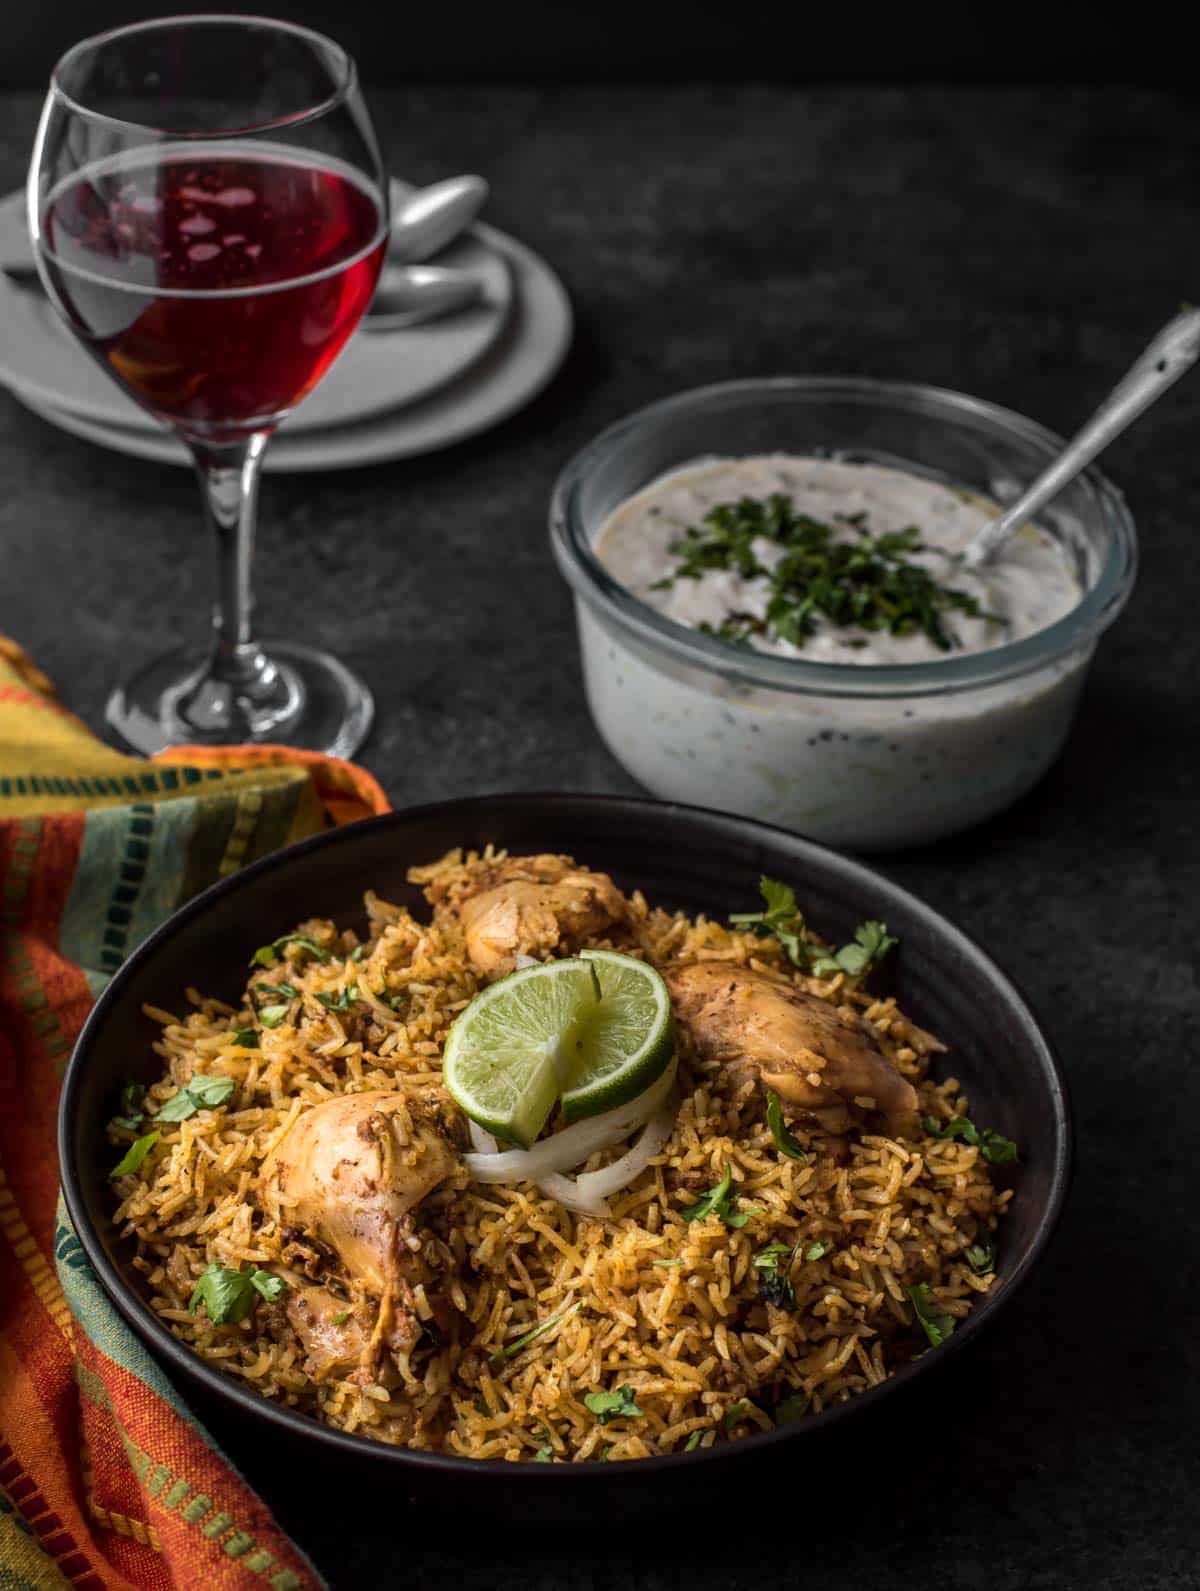
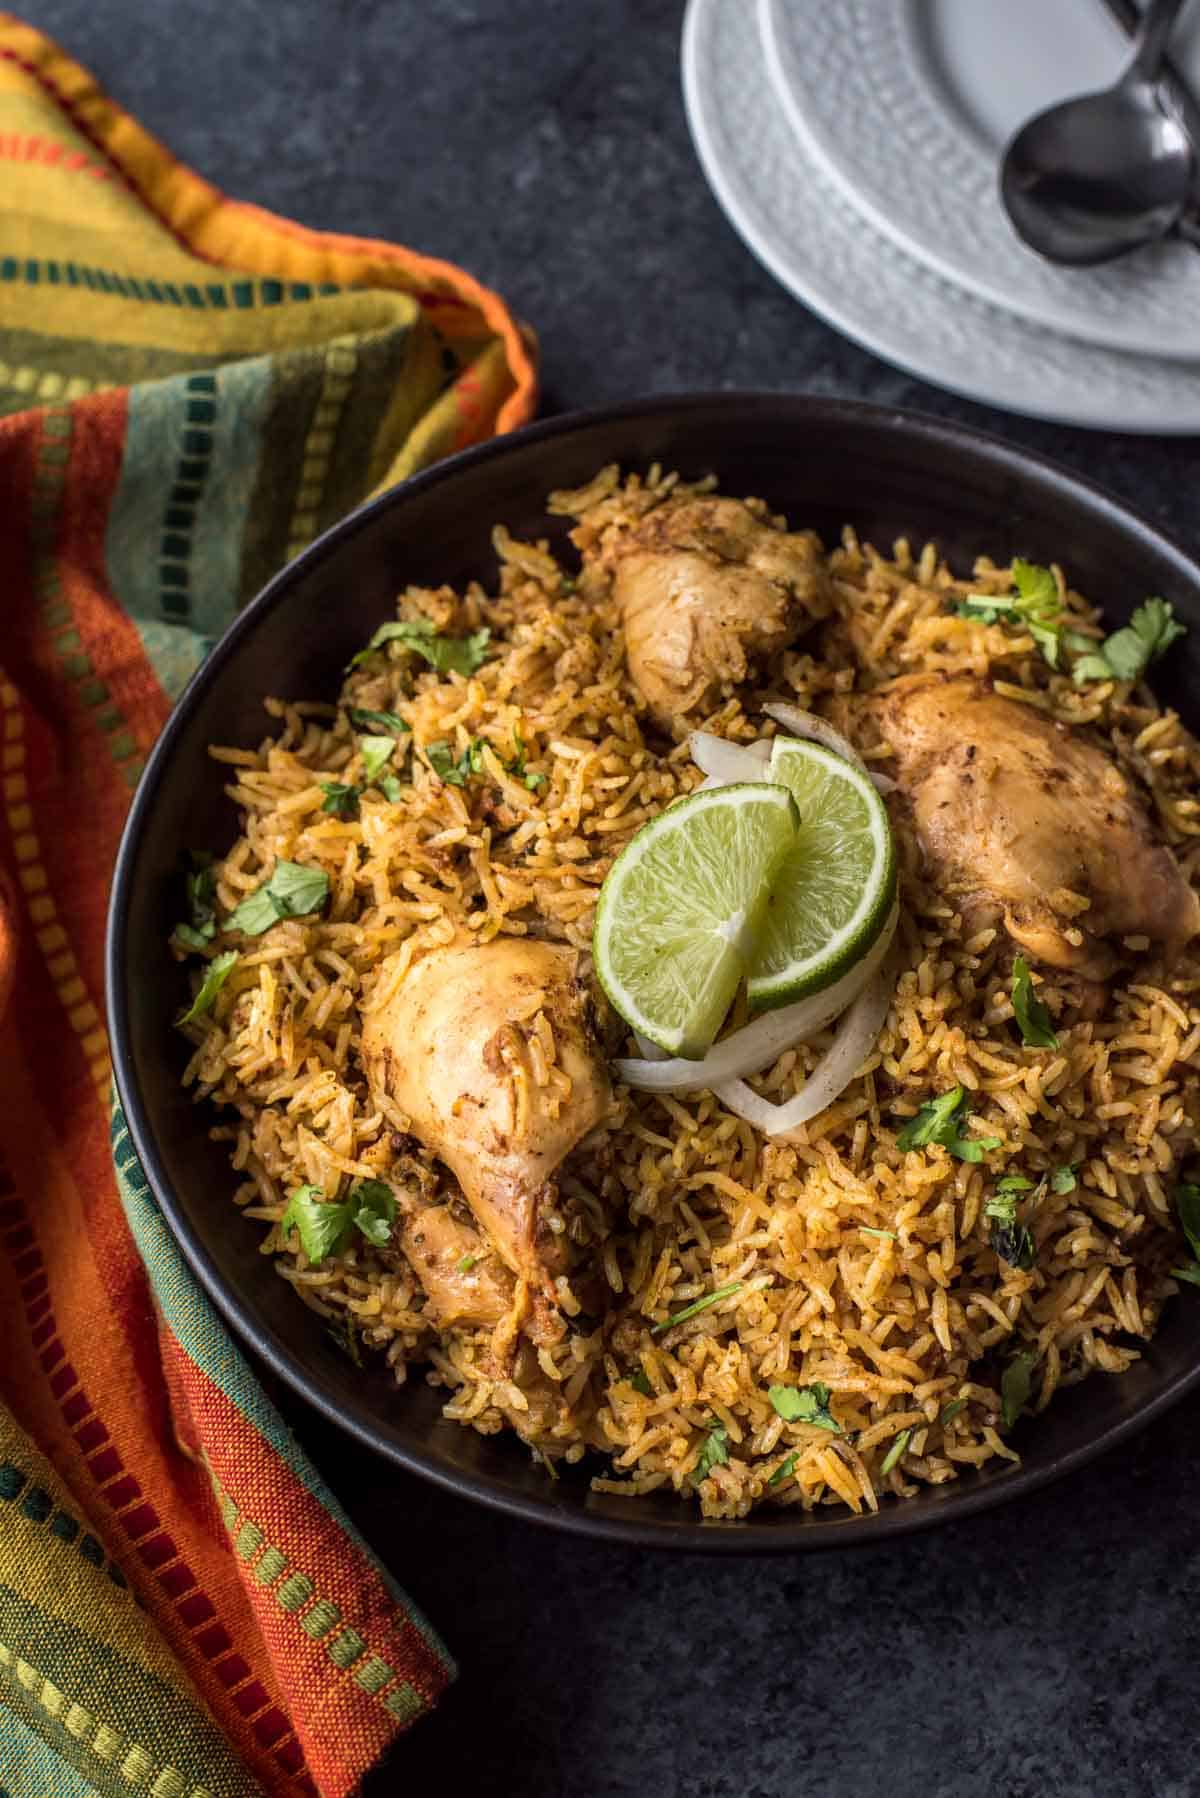
Chettinad Chicken Biryani
Note: This post contains affiliate links. As an Amazon Associate I earn from qualifying purchases.


For those who are tired of the same old way of making chicken biryani, you got to try making Chettinad chicken biryani in an Instant Pot. It is flavorful, spicy, and oh so satisfying…just like the traditionally made biryani..but with half the effort.
The first time I tried making biryani in an Instant Pot, I kept thinking that there was no way that these pressure-cooked biryanis were ever going to live up to the classic preparation. But boy, was I wrong! When the shrimp biryani came out so well, I had to try making chicken biryani as well.
I have been making the same kind of chicken biryani for the past 7-8 years, and I could sense the excitement that my family initially had for my biryani fading away. So I decided to switch things up a bit and picked up a packet of Chettinad chicken biryani masala at my local Indian store, and I am glad I did. The difference in taste is remarkable, and if you like spicy biryani with a bit of tang, then this recipe is for you.
How is Chettinad chicken biryani different from the traditional biryani?
Chettinad is an area in Tamilnadu (a state in the southern part of India), and Chettinad cuisine is known for being aromatic and spicy. The biryani masala used in Chettinad chicken biryani is slightly different from the traditional one. It has a few more spices, such as star anise, kalpasi (stone flower), Marathi moggu (dried flower pods), etc., than garam masala does. This biryani masala, when combined with coconut milk, adds an interesting touch to this rice dish.
For now, I have leveraged store-bought masala powder but plan to make it at home soon when I can source all the ingredients. Meanwhile, get this Chettinad biryani masala from your local Indian store.
Tips to make a successful Chettinad chicken biryani
- Adjust salt/chili powder before adding chicken – The last thing you want is a bland-tasting biryani. That’s why you need to add salt as well as chili powder a bit more than usual so that when you mix rice with the base curry, your biryani is full of flavor and doesn’t taste bland. That’s why I do a taste test of the gravy before I add chicken and make sure the gravy tastes a bit more salty and spicy than usual.
- Do not add more water than needed. What does that even mean? Just add enough water such that every grain of rice is just about submerged. That’s all the water that is needed. If you add more water than that – your biryani will end up being mushy.
- Pay attention to the cooking times for boneless vs. bone-in chicken – I typically use boneless chicken thighs for my biryani, but if you plan to use bone-in chicken, pressure cook the chicken for 3 minutes (high pressure, followed by quick release) before adding rice.
- The quantity of Chettinad chicken masala – I used storebought Chettinad masala, and four tablespoons of masala was the perfect quantity for 2 pounds of chicken. If you are using any other brand, start with two tablespoons of the biryani masala, mix it well with the yogurt, and do a taste test before proceeding to add more.
If you love rice dishes, check out these recipes –
- Lemon rice – a simple tangy rice preparation made with limes.
- Yogurt rice (thayir sadam) – a soothing and delicious combination of yogurt and rice
- Shrimp biryani made super easy using Instant Pot.
- 20-minute Instant Pot Palak rice (spinach rice) – Learn how to make this flavorful spinach rice, packed with fresh vegetables and aromatic spices, in just 20 minutes with your Instant Pot.

Chettinad Chicken Biryani Recipe
Ingredients
- 2.5 cups of rice presoaked for 30 minutes
For the marinade
- 1 cup plain thick yogurt
- 1 teaspoon salt
- 4 tablespoons Chettinad chicken masala
- 2 pounds boneless chicken thighs cut into 3-inch cubes
Gravy Ingredients
- ¼ cup oil
- 1- inch cinnamon stick
- 5-6 whole cloves
- 1-2 Indian bay leaves
- 4 whole black peppercorns
- 1 star anise seed
- 1 black cardamom
- 2 cups finely chopped onions
- 4-5 garlic cloves minced
- 1- inch piece ginger minced
- 3-4 pieces dried plum alu bukhara [optional]
- 1 cup finely chopped tomatoes
- salt to taste
- 2 teaspoons chili powder
- ¼ cup coconut milk
- 2 teaspoons garam masala powder
- water as needed
- 2 tablespoons ghee
- ½ cup finely chopped cilantro / coriander leaves for garnishing
Instructions
Make marinade:
- Whisk all the ingredients listed in the marinade section except chicken.
- Coat the chicken with the prepared marinade and refrigerate it for 30 minutes.
Make the gravy
- Add oil to the steel insert of the Instant Pot and press the Saute function. Press the Adjust button to move the selection to “Normal” and wait till the display reads “Hot.”
- Add cinnamon stick, cloves, bay leaves, peppercorns, star anise, black cardamom, and dried plum and when they start to sizzle (around 10-15 seconds) add onions. Fry the onions till they turn soft and translucent (approximately 10-12 minutes).
- Add garlic and ginger and saute it with the onions for a minute or so. Add tomatoes, salt, and chili powder and continue frying them till they are soft and mushy, (approximately 10-12 minutes).
- Add chili powder, garam masala and coconut milk to the Instant Pot. Do a taste test – the salt should slightly be on the higher side.
- Add marinated chicken and mix well. [NOTE – if using chicken with bones, pressure cook on high for 3 minutes and do a quick release and proceed with the steps below]
- Drain the water from the soaked rice and add the rice on top of the chicken and add just enough water to completely submerge the rice.
- Press “Warm / Cancel” button and then select “Pressure Cook.” Adjust the time to 6 minutes and set the pressure selection at low. Cover the Instant Pot lid and lock it. Make sure the vent is at sealing position.
- Once the cooking cycle completes, the Instant Pot will switch to the Warm cycle. Press the Warm/Cancel button and carefully release pressure.
- Open the lid and let the steam escape. Add a tablespoon of ghee and wait for 5 minutes before fluffing the rice and mixing in the ghee.
- Garnish with coriander leaves and gently mix before serving.
- Serve hot with raita or yogurt.
Disclaimer: Approximate nutritional information is provided as a courtesy and can vary depending on the exact ingredients/brands used. If you have health issues, please work with a registered dietician or nutritionist.
Nutrition
Make this chicken biryani in an Instant Pot today, and you’ll never go back to the laborious way of making biryanis again.
Other recipes for you to try on your Instant Pot
- Indian Chickpeas curry (Chole)
- Dal fry
- Kidney beans curry (Rajma)
- How to make yogurt in Instant Pot
- How to ferment Idli batter in Instant Pot