Creamy Homemade Paneer (Step by Step Guide)
Note: This post contains affiliate links. As an Amazon Associate I earn from qualifying purchases.


Making fresh paneer is easier than you think. Learn how to make this delicious Indian cottage cheese in under 20 minutes using your Instant Pot or over the stovetop.

When I first thought about making my own paneer at home, I feared it would be a difficult process that would result in a disappointing mess.
This couldn’t have been farther from the truth!
Homemade paneer comes together in 20 minutes with just 2 ingredients. While you can buy blocks of paneer at many local grocery stores, making your own at home results in a cheese that has a fresh, creamy taste that can’t be beaten.
Table of contents
What is paneer? What does it taste like?
Paneer is an unsalted, firm cheese made from cow’s or buffalo’s milk. It is unaged, which means that you can eat it right after making it.
It is soft, spongy, and has a mild, milky flavor.
Here are some fun facts about paneer :
- Called Indian cottage cheese in English.
- Can be eaten uncooked – though it is unsalted, it is flavorful enough to eat uncooked.
- Is a non-melting cheese high in protein, with about 18 grams per serving.
- Maintains its shape when cooked – paneer has a firm texture like tofu that allows it to be chopped into cubes and cooked without falling apart.
- Made with an acidic agent instead of rennet unlike most cheeses – This results in a cheese you can fry, grill, or even bake without it melting over everything.
Origin story
Paneer is thought to have originated from the Indus valley civilization by curdling milk with sour leaves, barks, berries, and even yogurt. Aryans later invaded the area and put an end to the practice of curdling milk, because they considered the cow sacred, and spoiling its milk was considered taboo.
It was believed to have been reintroduced in the Northern parts of India during the 16th century by Persian and Afghan rulers. This form of paneer, made from sheep or goat rennet was sometimes spelled ‘panir’ and was derived from the word ‘peynir’ which meant cheese in Persian.
The other theory is that when the Portuguese settled in India in the 17th century, they brought fresh cheese with them and reintroduced the process of curdling milk, but with an acid like lime juice instead of rennet. This method of making paneer became popular and is being followed to this day.
Read more: Paneer and the origin of cheese in India.
Is cottage cheese the same as paneer?
No! Cottage cheese is loose and liquid cheese made with rennet, while paneer tends to be more firm and made with lime juice or vinegar.
How is homemade paneer different from store-bought
Homemade paneer tends to be slightly more crumbly and does not have perfect edges like the store-bought ones. You could always use a tofu press (I don’t own one but this one has good reviews) to get the perfect shape and texture.
How to make paneer (Indian cheese)
To make paneer, you need only two ingredients –
Whole / full-fat milk
Skim or low-fat milk won’t work because it doesn’t have enough fat. Also, do not use ultra-pasteurized milk, as it is heated to a high temperature for increased shelf life. This destabilizes the protein, causing the milk curds to not bond properly.
Acids needed to make paneer
Though the appearance may not match, homemade paneer is definitely superior in taste because it is freshly made and has a soft melt-in-your-mouth texture.
Though my favorite acidic agent to use is yogurt, others include lime juice, vinegar, and citric acid which are used commercially. The reason I like to use yogurt is because it makes the paneer creamy without leaving a sour aftertaste.
Fun fact – When you add an acid to milk, the pH is lowered. This causes the protein inside the milk to break down and unfold. The unfolded proteins then clump together, giving the milk a curdled appearance.
Read this article for more info – The science behind curdling milk.
Paneer – Frequently asked questions
Can I make paneer with spoiled milk?
Yes, you can. Follow the same recipe as below. Heat up the milk and add the acidic agent.
How do you make paneer firm?
To obtain firm paneer, press the cheese with a weight, such as a heavy pot filled with water, to help drain out any excess moisture in the homemade cheese. The longer you keep the weight on, the firmer the paneer will be.
What vinegar is best for paneer?
If you use vinegar to make paneer, white vinegar works best.
How do you store homemade paneer?
Slice into cubes and store in an airtight container in the refrigerator for up to a week. If you want to freeze your paneer, wrap the cheese tightly in plastic wrap and store it in a freezer bag or freezer-safe container. Thaw it overnight in the refrigerator before use.
What can I do with paneer water / leftover whey?
Store the leftover whey or paneer water in the refrigerator for up to 5 days. You can also freeze them in an ice-cube tray. You can use the whey water in your chapati dough, sambar, or kadhi.
Homemade Paneer (Indian Cheese) Recipe
Equipment
Ingredients
- 8 cups whole milk ~0.5 gallons / 2 liters
- 1 cup whole milk yogurt or 3 tablespoons lime juice or white vinegar
Instructions
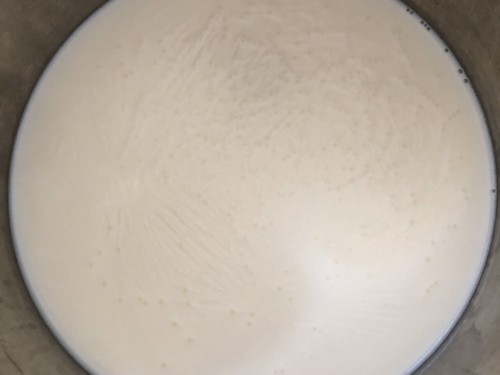
- Pour milk into a large saucepan or use an Instant Pot as I did. Set it on medium heat. Alternatively, use an Instant Pot to boil the milk. Press "Yogurt" and then press "Adjust" to the "More" mode and you should see the word "boil" on the display. The milk will start to boil. When it's done, Instant Pot will beep and display "yogt".

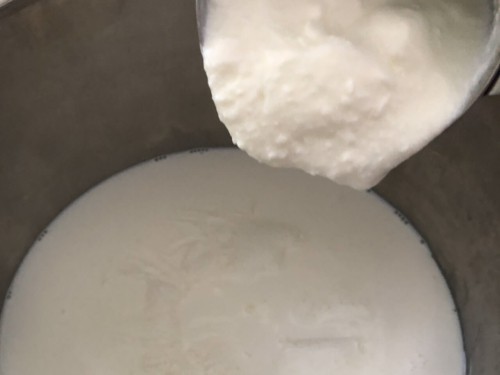
- Stir the milk occasionally to prevent scalding. Once the milk comes to a boil, reduce the heat to low. If using the Instant Pot, switch to the Saute mode and set it to "Less". Add the acidic agent [please read note]
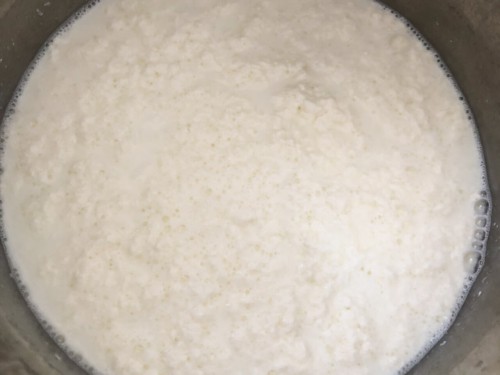
- Once the milk starts to separate turn off the heat. Do not stir more than twice or thrice, we want the curd chunks to retain its size and not get scrambled.
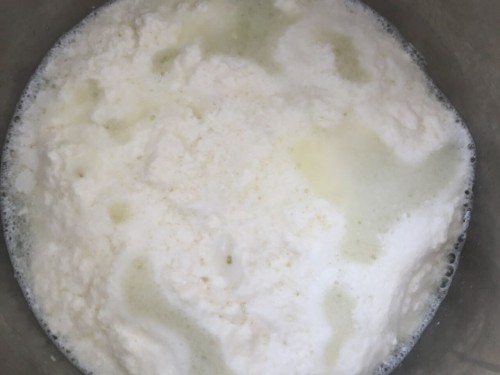
- Let the mixture cool down for about 10 minutes. At this point, the milk should have completely separated into clear yellow liquid and curd.
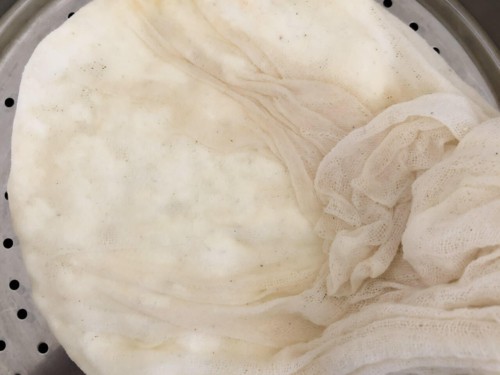
- Place a colander over a large bowl. Line it with two layers of cheesecloth. Carefully pour the curdled milk into the cheesecloth.
- Gather the ends of the cheesecloth and gently squeeze to get rid of excess whey. Note – Do not discard the whey – use it in your chapati dough, sambar or kadhi.
- Place the cheesecloth with paneer in a bowl of cold water. Dunk the cheesecloth with paneer in the water couple of times to give a quick rinse. This will allow it to cool down and also, helps get rid of any sourness.
- Gently squeeze again to get rid of excess water/ whey.
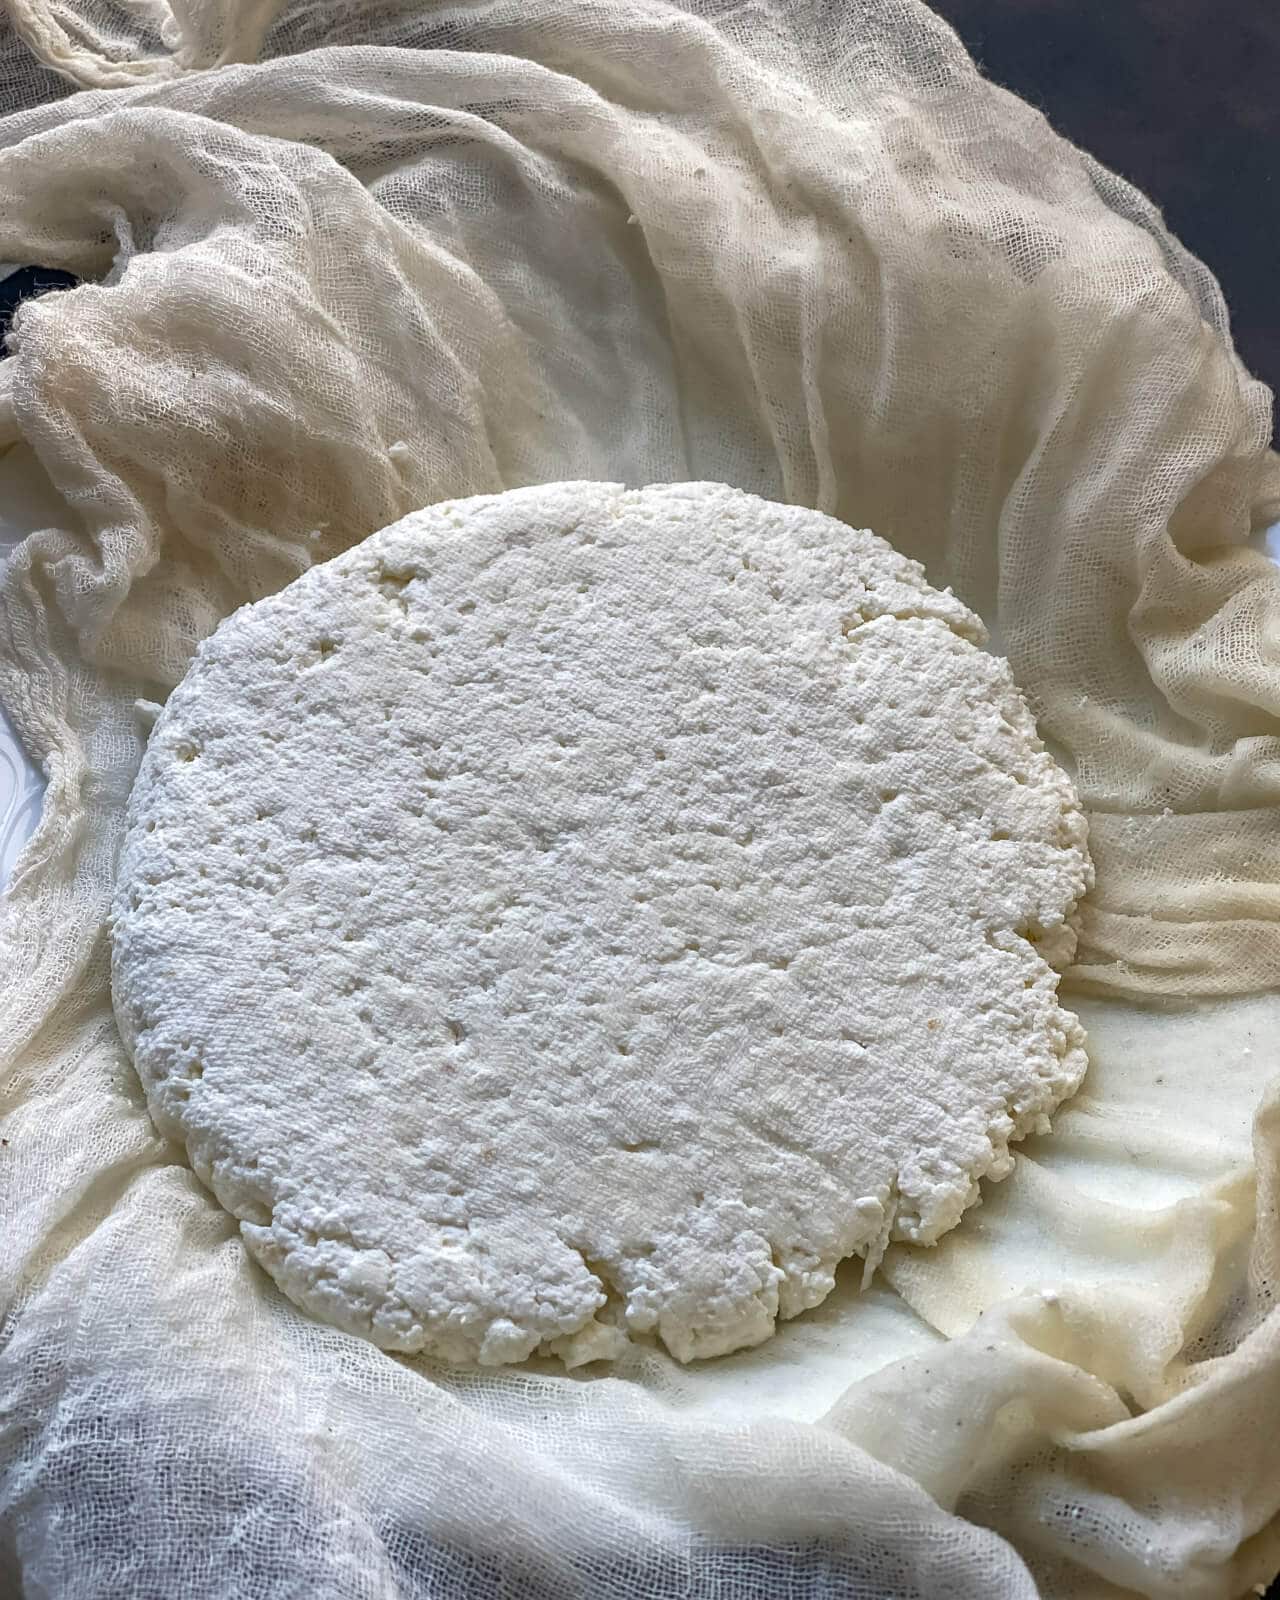
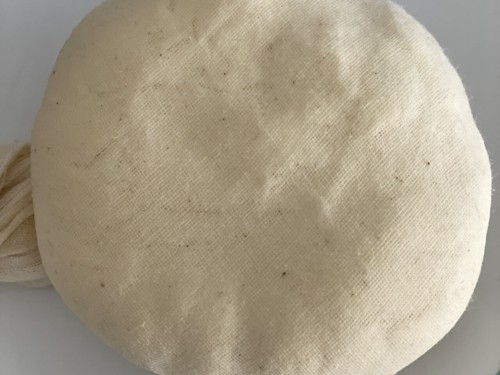
- Place the curd along with the cheesecloth on a plate or a flat colander if you have one. Shape the cheese into a disc (or a square).
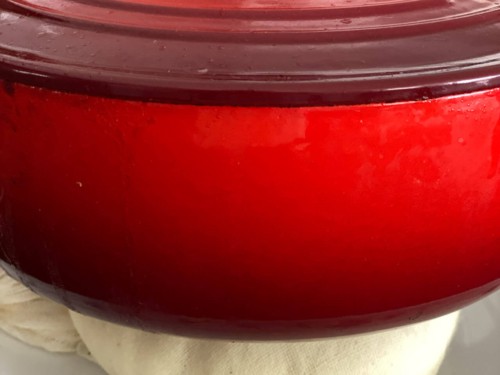
- Place another plate on top of it and weigh it down with a heavy object. I used my Le Creuset. You could use a heavy mortar and pestle too.
- Leave the cheese undisturbed for about an hour after which take the paneer out of the cheesecloth. I prefer to firm it up a bit more so I leave it in the refrigerator in an air-tight container for an hour.
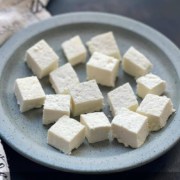
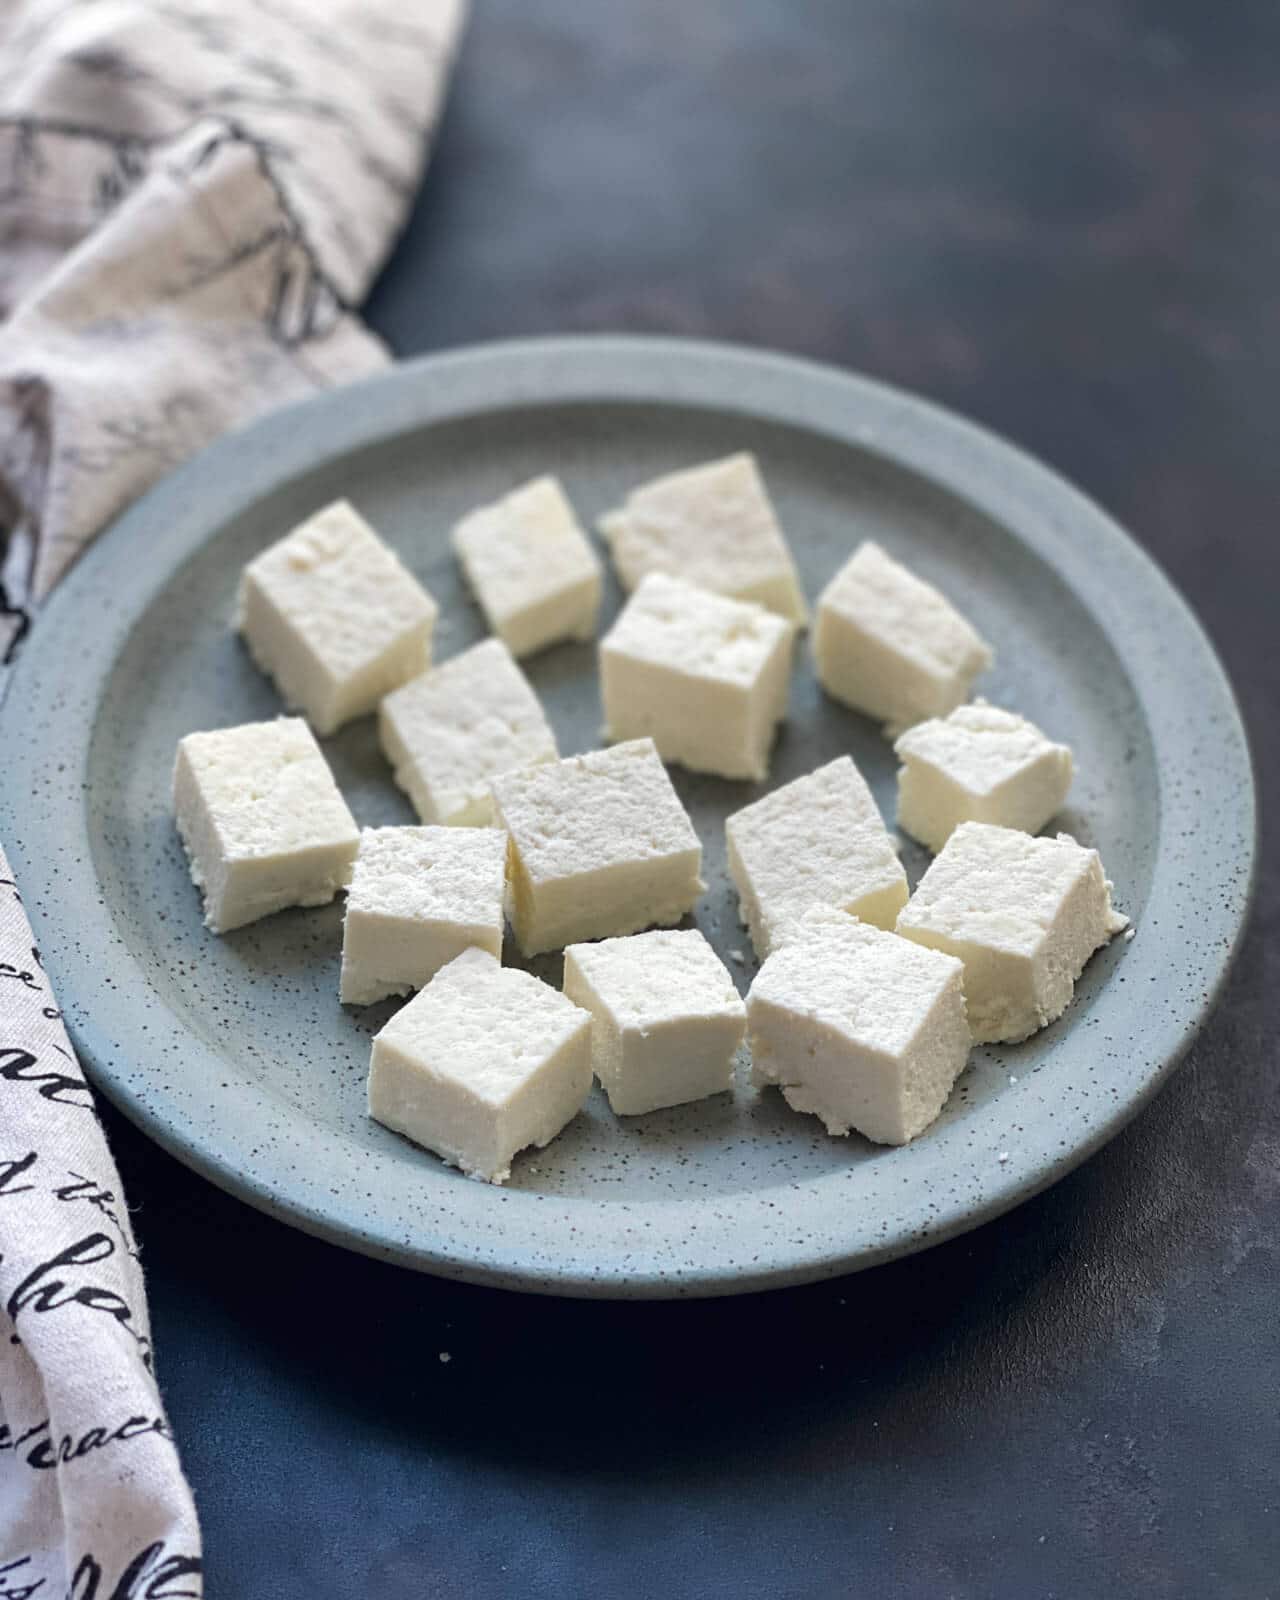
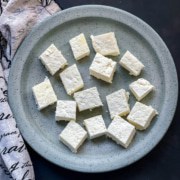
- Cut into cubes to use. Refrigerate the leftovers for 3-4 days or in the freezer for up to 2-3 months.


Notes
- A tip while using an acidic agent – If you are using yogurt you can add it all of it at once. If using vinegar, lime juice, or citric acid, add 1/2 the quantity first and give it a stir. If the milk does not start to curdle, then add the remaining portion. This is because lime juice/vinegar makes the paneer sour and the lesser you use the better it is.
- For firmer paneer – The longer you allow the paneer to drain through the cheesecloth the firmer the cheese. This allows the moisture to drain.
- To make malai paneer, replace 2 cups of milk with an equivalent amount of heavy cream.
- Storage instructions – Slice into cubes and store in an airtight container in the refrigerator for up to a week. If you want to freeze your paneer, wrap the cheese tightly in plastic wrap and store in a freezer bag or freezer-safe container. Thaw it overnight in the refrigerator before use.
- I love using Instant Pot to boil the milk because you just have to set it to Yogurt- Boil mode and walk away. The Instant Pot will beep when it is done and you can then add the acidic agent.
- An alternative way to use the Instant Pot to make paneer includes pressure cooking the milk with the acidic agent for 2 minutes. Allow the pressure to release naturally. This is a completely hands-off process that takes the same amount of time as the Yogurt-Boil method.
- If your Instant Pot does not have a Yogurt function, you can also the saute mode and set it to “Medium”. The milk should take about 10-15 minutes to come to a boil. Make sure to stir occasionally to prevent scalding.
Disclaimer: Approximate nutritional information is provided as a courtesy and can vary depending on the exact ingredients/brands used. If you have health issues, please work with a registered dietician or nutritionist.
Nutrition
Troubleshooting
Here are some common causes –
– Ultra-pasteurized milk was used. Always use whole or full-fat milk.
– Acidic agent was added before the milk had come to a boil.
– Acidic agent used was more than required.
– The whey in the paneer was not completely drained.
Before using your paneer, microwave it for 2-3 minutes. This softens the paneer, and the excess whey oozes out.
You could increase the amount of the acidic agent – add a tablespoon at a time till the milk separates. If it still doesn’t, it is likely that the milk is ultra-pasteurized. Instead of discarding the milk, mix it with a little yogurt, and make kadhi.
If the excess whey in the paneer was not removed before setting it in the refrigerator, it will become crumbly. Also, remember to add the paneer in the gravy at the end and always lower the heat once the paneer is added. You don’t need to boil the paneer in the gravy.
How to cook and use paneer
Make sure to chop them into cubes before using them. You can use the chopped paneer as is or stir-fry them in a little oil to give it a crispy-brown exterior and a soft interior.
What should we do with paneer before cooking?
Always microwave the refrigerated paneer for 1-2 minutes to soften it before using. This also helps remove any excess whey.
Do you need to fry paneer before cooking?
No, but sauteing the paneer in a bit of oil gives it a nice golden-brown exterior make it crispy on the outside and soft inside.
How do you use frozen paneer cubes?
Thaw in the refrigerator overnight. If you forgot to do that, here’s what you can do instead: place the paneer block on a microwave-safe plate and heat it in the microwave for 2-3 minutes. Take a quick look and if it hasn’t softened, heat it for an additional 2 minutes or as needed.
Dishes using paneer
Here are a few of my favorite ones. If you are looking for a variety of recipes, check out this post – 30+ simple Indian paneer dishes worth trying.
- Restaurant Style Paneer Makhani– This restaurant-style Paneer Makhani consists of Paneer cooked in a buttery, rich, and creamy tomato-cashew sauce.
- Methi Malai Matar Paneer– Methi Malai Matar Paneer is an unforgettable vegetarian dish made with fresh fenugreek leaves, green peas, and soft chunks of paneer.
- Palak Paneer– This simple and easy Palak Paneer recipe is a healthier take on the popular restaurant-style spinach and cottage cheese curry.
- Matar Paneer-Paneer lovers rejoice! Here’s a delicious and creamy, easy restaurant-style matar paneer recipe that you’ve got to check out.
- Paneer Paratha– This Indian bread stuffed with crumbled cottage cheese makes for a filling breakfast and serves as a great lunch box option too.
What are the alternatives to paneer?
If you run out of paneer or need a substitute, a few options exist. Halloumi is a firm non-melting cheese that works well as a paneer alternative. Another good alternative is queso blanco. This cheese is acid-set like a paneer and can readily be found in supermarkets.
Alternatively, firm tofu works well as a paneer substitute when following a vegan or dairy-free diet.
This post was first published on Aug 15, 2020, and has been updated with new information on Dec 5, 2021.