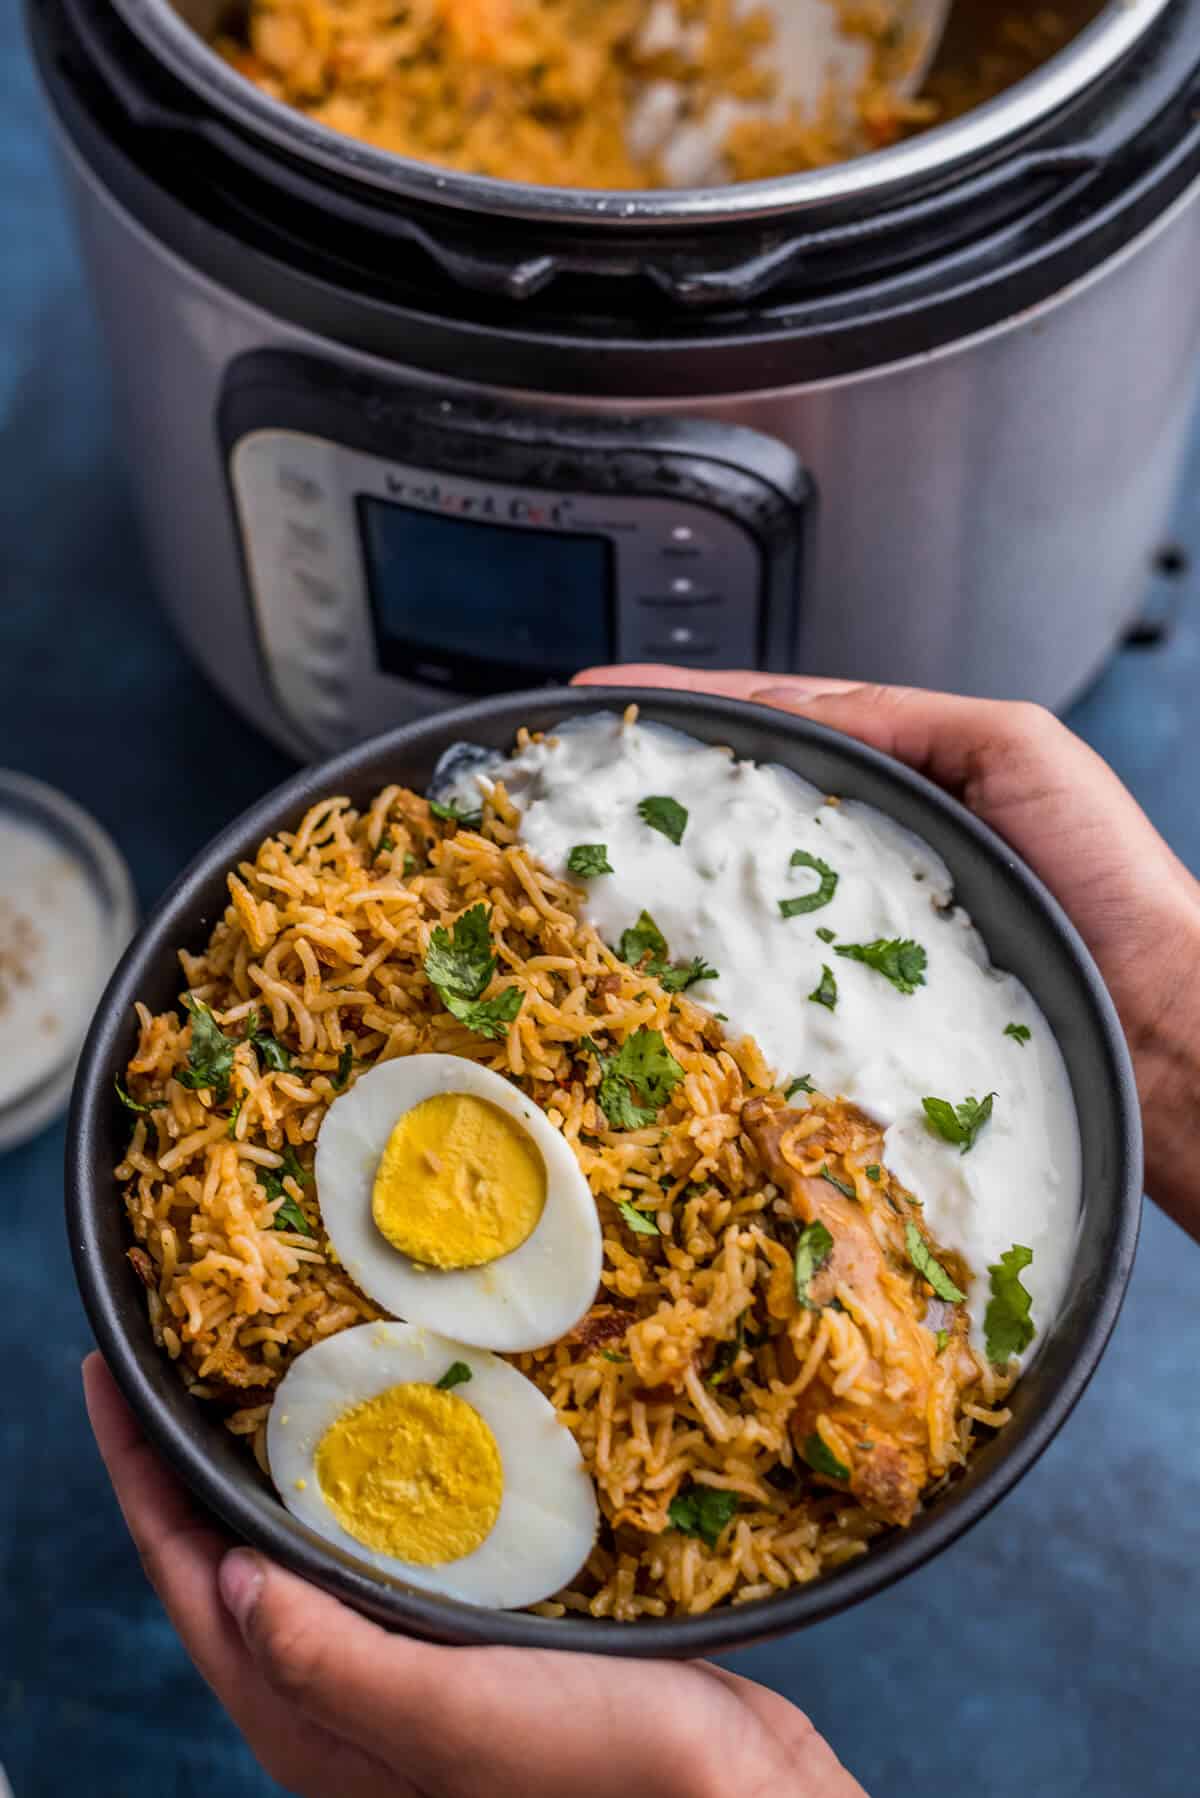
Delicious Instant Pot Chicken Biryani
Note: This post contains affiliate links. As an Amazon Associate I earn from qualifying purchases.


Layers of seasoned rice, tender marinated chicken, along with homemade biryani masala come together for an authentic and filling dinner in this Instant Pot chicken biryani recipe. Made in one pot, this Hyderabadi chicken biryani is an aromatic and savory rice dish perfect for any night of the week.

Just thinking about biryani sends my mouth watering and brings back some of my fondest memories. From the chicken biryani at Kareem’s in Bombay to the many dinners with my family over Chettinad chicken biryani.
This Instant Pot chicken biryani recipe is my take on the classic Hyderabadi chicken biryani.
Typically biryanis are made by layering partially cooked rice with meat and cooking them together over low, slow heat. Making it in Instant Pot means cooking both the chicken and rice together in one go. It is a simple one-pot recipe that makes the whole process easier with perfect results every time.
What is chicken biryani?
Chicken biryani is an extremely popular and flavorful rice dish made in the Indian subcontinent. Consisting of layers of spicy marinated chicken, rice, and aromatics, this comforting dish packs in the flavor.
Traditionally cooked in a covered dum – a pot sealed with dough over a low flame, biryani is often considered a special occasion meal.
One of the things I truly love about this classic dish is how there is no one right recipe, and each household might make it just a little differently.
Regional variations
Biryani, much like rice kheer or turmeric rice, is a universally made dish with numerous regional variations. Depending on the location, the ingredients used differ slightly. Some of the more common regional variations include:
- Hyderabadi Biryani– Made by layering rice, meat, and vegetables, this is one of the most popular variations of making biryani.
- Thalassery Biryani– Originated in the Kerala region, this variation uses khaima rice instead of Basmati while also including a host of spices such as fennel, cumin, and mace.
- Kolkata Biryani -Typically has a sweeter flavor, this biryani also features egg and potatoes.
- Tehri– A vegetarian-based biryani typically made with potatoes, rice, and spices but might also include more vegetables, herbs, and spices.
Different ways to make biryani
Traditionally biryani is cooked in a pot that is sealed with dough and cooked over a low flame. This technique is called dum. Almost all biryanis are cooked this way.
There are two different ways to assemble and make the biryani:
- Pakki biryani – This involves partially cooking the rice and chicken separately before bringing them together to finish cooking the dish as one. Lucknowi biryani is cooked this way.
- Kacchi biryani – Tender cuts of marinated chicken along with uncooked rice are layered and cooked together low and slow over indirect heat. Hyderabad dum biryani is one such example of kacchi biryani.
Difference between biryani and pulao
Biryani and pulao (pilaf) have many similarities; for example, they are both rice dishes made with meat, vegetables, and spices. However, they also have distinctive differences that help identify a biryani from a pulao.
- Preparation– Biryani drains the par-boiled rice before continuing to cook, while pulao keeps the liquid in the dish for the meat and spices to soak as well.
- Layering– Biryani always consists of layering the rice, meat, and vegetables, while pulao mixes all of the ingredients together.
- Aromatics– Traditional biryani contains more aromatic essences such as screw pine, rose, jasmine, or saffron. Pulao does not contain aromatic essences.
- Cooking Time – Pulao cooks quickly over a medium-high flame, while biryani traditionally takes longer to make over a low amount of heat.
- Serving– Biryani makes a whole meal, while pulao is often served as a side dish.
History of the biryani
The name biryani (pronounced bee-ree-ya-nee) comes from the Persian word “birij birian” which means “fried rice”.
There are many different theories regarding where and how biryani came into existence. Some of the most common theories include:
- The dish possibly originated in Persia as a rice and meat dish before traveling to India.
- Others would argue that references to a spice-infused rice and meat dish (Oon Soru) existed in Tamil literature long before the Persians came to India.
- Another theory states Mumtaz Mahal, the wife of Shah Jahan, once visited the army barracks and found the Mughal army to be malnourished. That’s when she ordered the chef to cook a nutritious meal combining rice, protein, and spices, a.k.a biryani.
Reasons to love this recipe
Quick, filling, one-pot meals make the perfect weeknight dinner. This Instant Pot biryani recipe is one of our most-loved weeknight dinners for quite a few reasons.
- One pot meal – Everything cooks up in the Instant Pot, making cleanup a breeze.
- Less cooking time compared to the traditional method – The Instant Pot decreases the total cooking time of this dish, making it an easy weeknight meal.
- Filling and flavorful – Packed with rice, vegetables, and chicken, this meal provides everything you need in one dish.
Here’s what you need to make chicken biryani
Ingredient notes
- Chicken – Boneless, skinless chicken thighs cut into 3-inch cubes. You can also use bone-in chicken thighs. I have used 2 lbs of whole chicken in this recipe, which had mixed cuts. Don’t use only chicken breasts for this recipe since it has a dry, chewy texture.
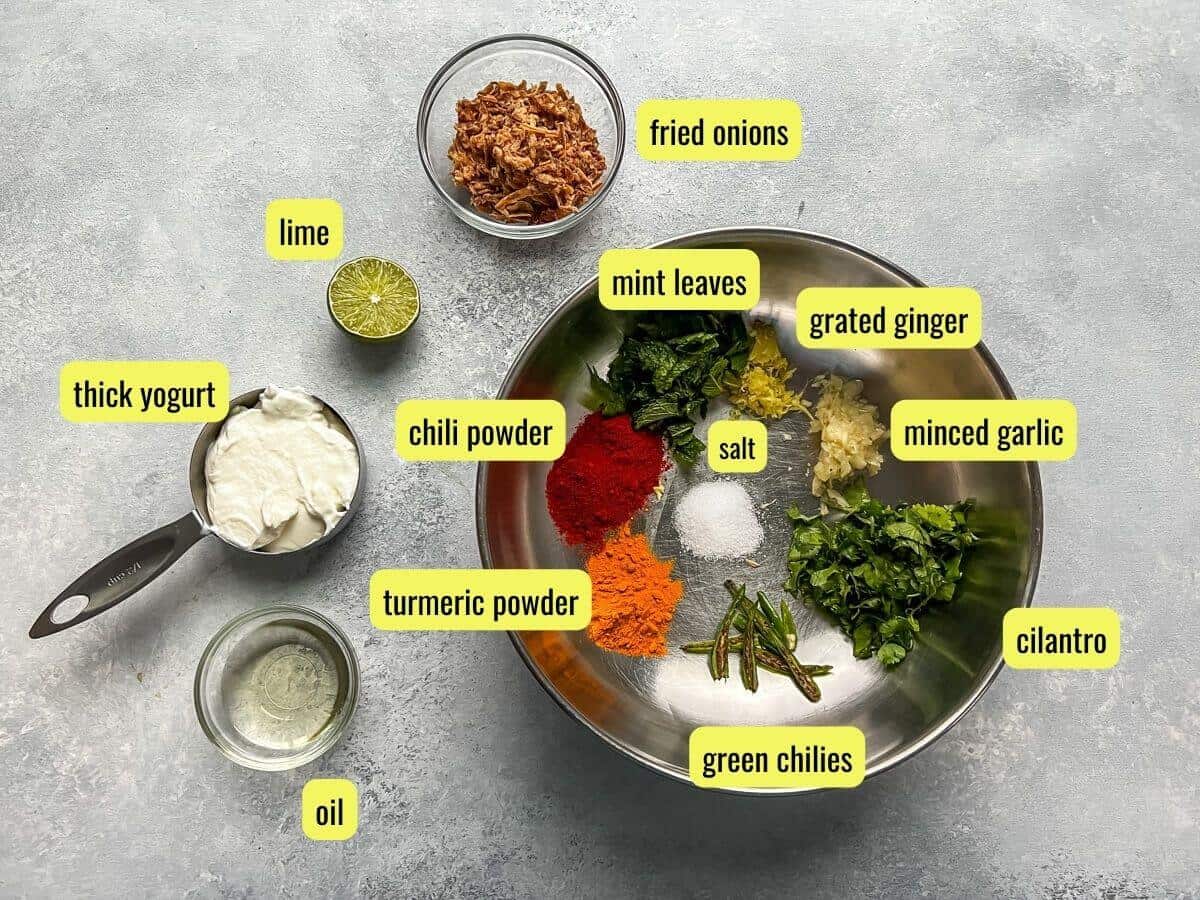
- Marinade– A mixture of thick hung yogurt (Greek yogurt works too), chili powder, turmeric, ginger garlic paste, green chilies, salt, lime or lemon juice, mint leaves, cilantro, fried onions, and oil, go in the marinade, along with Biryani masala.
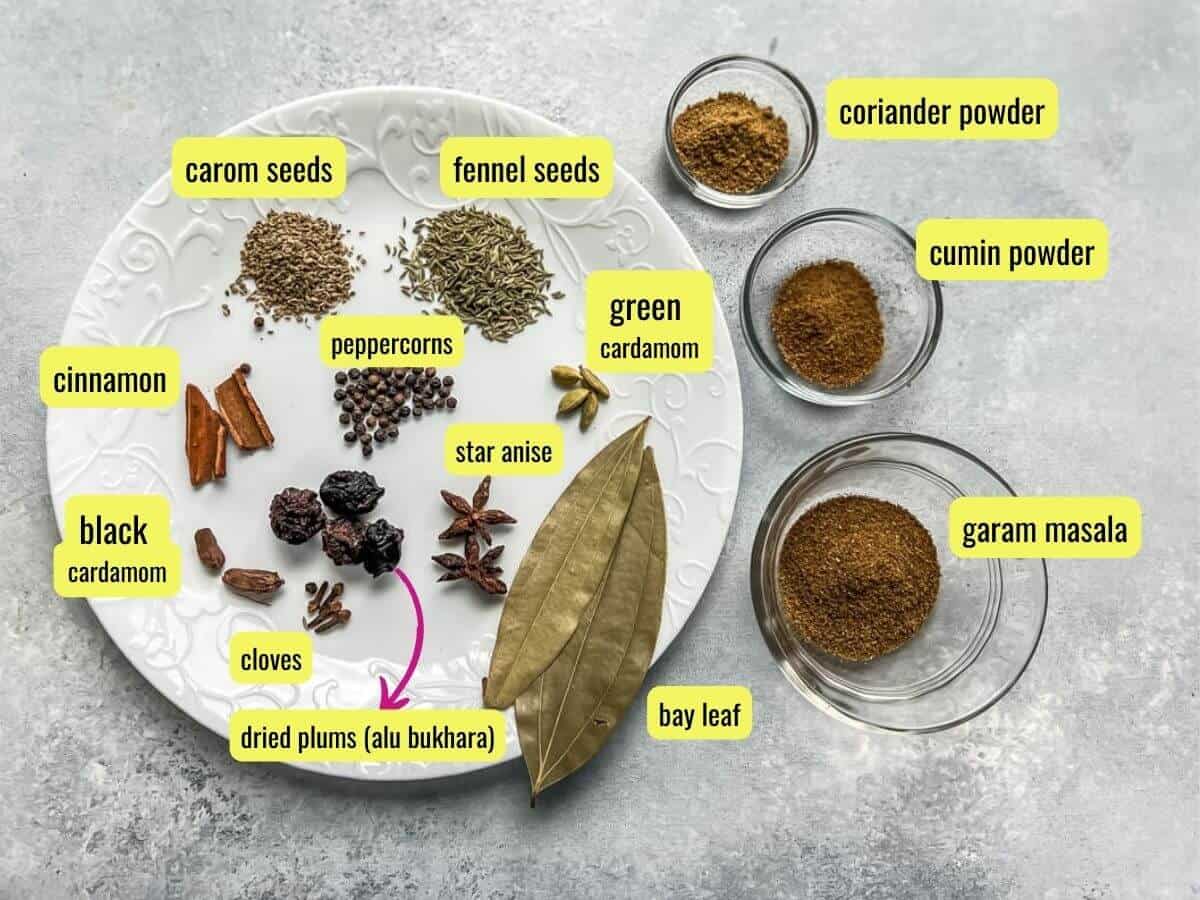
- Biryani masala – Either you can use storebought Biryani masala or make it your own from the spices and spice powders available in your pantry. Commonly used whole spices include black and green cardamom, cinnamon stick, bay leaves, alu Bukhara (dried plum, etc.), to name a few. Spice powders include red chili powder, garam masala, coriander, and cumin powder.
- Long grain Basmati rice – Royal Basmati Rice is the one I recommend and have been using for more than a decade. Other brands are available but stick to the Indian or Pakistani ones to get the authentic varieties of aged Basmati rice.
- Ghee or oil – Used to cook the onions and chicken, can also substitute oil.
- Onions – Caramelized in the Instant Pot.
- Aromatics – Cilantro, saffron strands, kewra water.
- Cups of water – to cook the rice and chicken.
How to prep ahead
Making this chicken biryani in the Instant Pot cuts your cooking time down considerably. If you want to save a little more time during the cooking process, here are just a few ways to prep in advance.
- Marinate chicken up to 24 hours in advance.
- Slice and fry the onions up to a day in advance.
How to avoid the burn signal
- Use the specified amount of oil mentioned in this recipe – this will prevent the onions from sticking to the base.
- Deglaze the pot before adding rice.
- Don’t add spice powders to fried onions – Spice powders burn pretty quickly when there isn’t enough moisture. That’s why add them to the marinade instead.

Frequently asked questions
Basmati rice works best for biryani. This long-grained rice is aromatic, fluffs up beautifully, and, when cooked properly, yields separate grains which is essential for a good biryani.
Ideally, yes. Soaking elongates the grains and makes them less brittle.
When using an Instant Pot, ensure you deglaze the pot before using the pressure cooking setting. Deglazing means scraping the bottom of the inner pot with a spatula to remove any stuck bits.
Chicken thighs and drumsticks, when cooked, yield a moist and succulent biryani. Chicken breasts tend to have a dry, chewy texture, so I usually don’t use them.
If you find Biryani low in salt or heat after it is cooked, the best way to add them is to mix the salt/chili powder in a tablespoon of melted ghee. Pour this ghee over the biryani and mix it in.
TIPS
Even though we are taking shortcuts and using Instant Pot to recreate the magic of dum cooking, there are a few things we can do to make the biryani taste as authentic as possible.
- Marinate the chicken in a spicy yogurt marinade: This allows the chicken to soak in the flavors. It also makes it tender and prevents it from drying during the cooking process.
- Brown the onions till they caramelize: This adds a hint of sweetness to the dish, which complements the tangy, spiced-up yogurt base.
- Use the amount of oil or ghee specified in the recipe – you’ll need that much for the onions to brown nicely.
- Don’t cook more than 2 lbs of chicken in a 6-quart Instant Pot – I tried 3 lbs, and it was a bit too much.
- Use Basmati rice – This long-grained rice is aromatic, fluffs up beautifully, and, when cooked properly, yields separate grains which is essential for a good biryani.
- Don’t forget to deglaze the pot – The newer models of Instant Pot are more sensitive than the older ones. Make sure to scrape the bottom of the inner pot with a spatula to remove any stuck bits before you pressure cook.

Instant Pot Chicken Biryani Recipe
Equipment
Ingredients
- 2 pounds chicken legs or boneless chicken thighs
For the marinade
- ½ cup plain thick yogurt
- 2 teaspoons Kashmiri chili powder
- 1 teaspoon turmeric powder optional
- 1 teaspoon cumin powder
- 1.5 teaspoons coriander powder
- 2 teaspoons garam masala
- 2 teaspoons salt or as needed
- 1 inch-piece ginger, grated
- 4 garlic cloves, minced
- 2-4 Indian or Thai green chilies (Bird's eye), finely chopped
- 2 tablespoons lime juice optional
- ½ cup mint leaves
- ½ cup cilantro
- ½ cup fried onions
- 2 inch cinnamon stick
- 3-4 green cardamom
- 1-2 Indian bay leaves
- 1 teaspoon whole black peppercorns
- 2 star anise seed
- 2 black cardamom
- 5-6 whole cloves
- 1 teaspoon fennel seeds optional
- 1 teaspoon carom seeds optional
- 3-4 pieces dried plum alu bukhara [optional]
- 1 tablespoon oil
For the rice
- 2 cups rice presoaked for 30 minutes
- 2.5 cups water for soaking
Rest of the ingredients
- ½ cup avocado oil or ghee
- 3-4 cups finely sliced onions
- 2 roma tomatoes, finely chopped
- 1- 1.25 cups water or as needed
- ¼ cup ghee
- 7-8 saffron strands soaked in a tablespoon of warm water
- 1 drop kewra essence optional
- ½ cup finely chopped cilantro / coriander leaves for garnishing
- ½ cup fried onions
Instructions
- Pat dry the chicken. For chicken legs, make horizontal slits on the chicken with a sharp knife. If using chicken thighs, chop them into 3-inch pieces.
Make marinade:
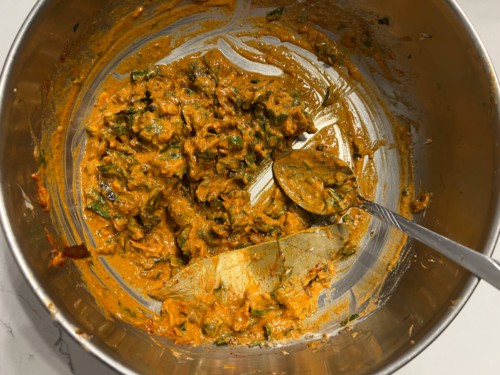
- Whisk all the ingredients listed in the marinade section except chicken.

- Do a taste test. Add more salt and chili powder, if needed.
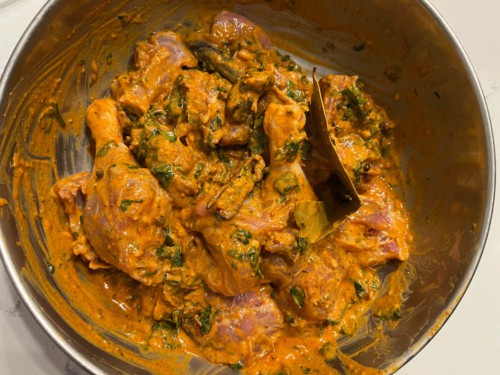
- Coat the chicken with the prepared marinade and refrigerate it for 30 minutes or overnight.
Soak the rice
- Soak the rice in water. Let it rest for 30 minutes.
Make the gravy
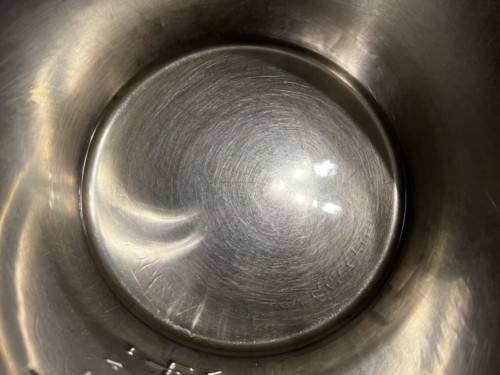
- Press the Saute function. Press the Adjust button to move the selection to “Normal” and wait till the display reads “Hot.” Add oil.
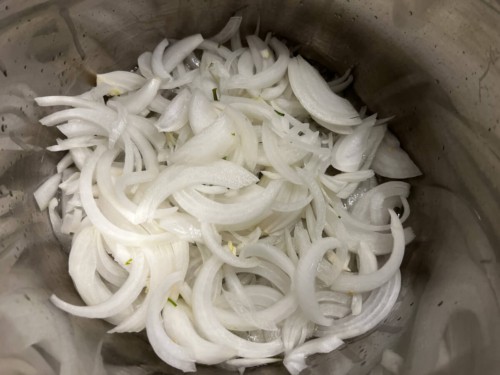
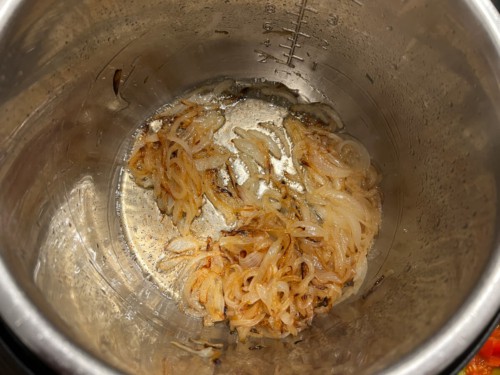
- Once the oil is heated, add onions. Fry them till they turn soft and have caramelized (approximately 12-15 minutes).
- I cook it covered for the first 6-8 minutes while checking them on frequently. This fastens the browning process.
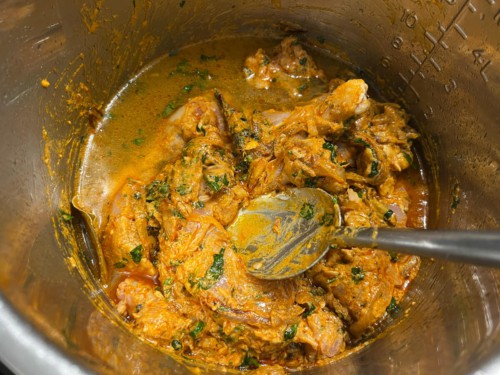
- Add the marinated chicken, sauté for 2-3 minutes.
- Deglaze the pot – Add a cup of water and mix well. Use a spatula to scrape the bottom to ensure nothing is sticking to the base of the steel insert.
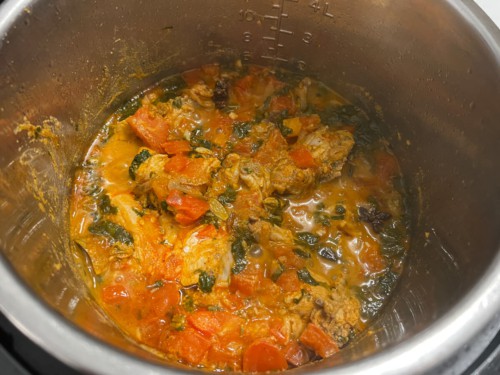
- Add chopped tomatoes. Mix well. IMPORTANT – if using chicken with bones, pressure cook on high for 3 minutes and do a quick release and proceed with the steps below.
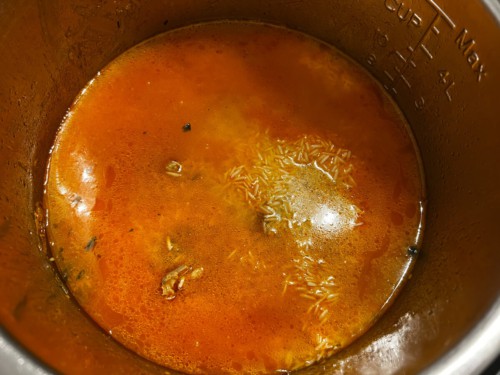
- Drain and discard the water from the soaked rice.
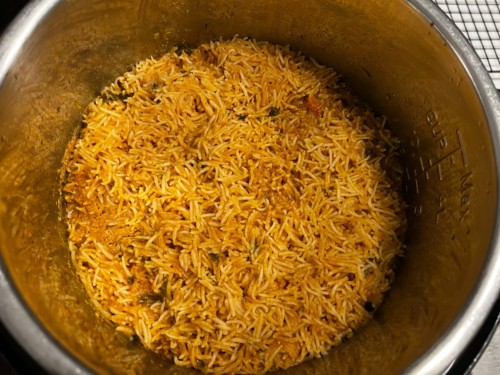
- Add the drained rice on top of the chicken. Add just enough water to submerge the rice completely.
- Press “Warm / Cancel” button and then select “Pressure Cook.” Adjust the time to 5 minutes. Make sure to select high pressure. Cover the Instant Pot lid and lock it. Make sure the vent is at sealing position for older Instant Pots.
- Once the cooking cycle completes, quickly release pressure.
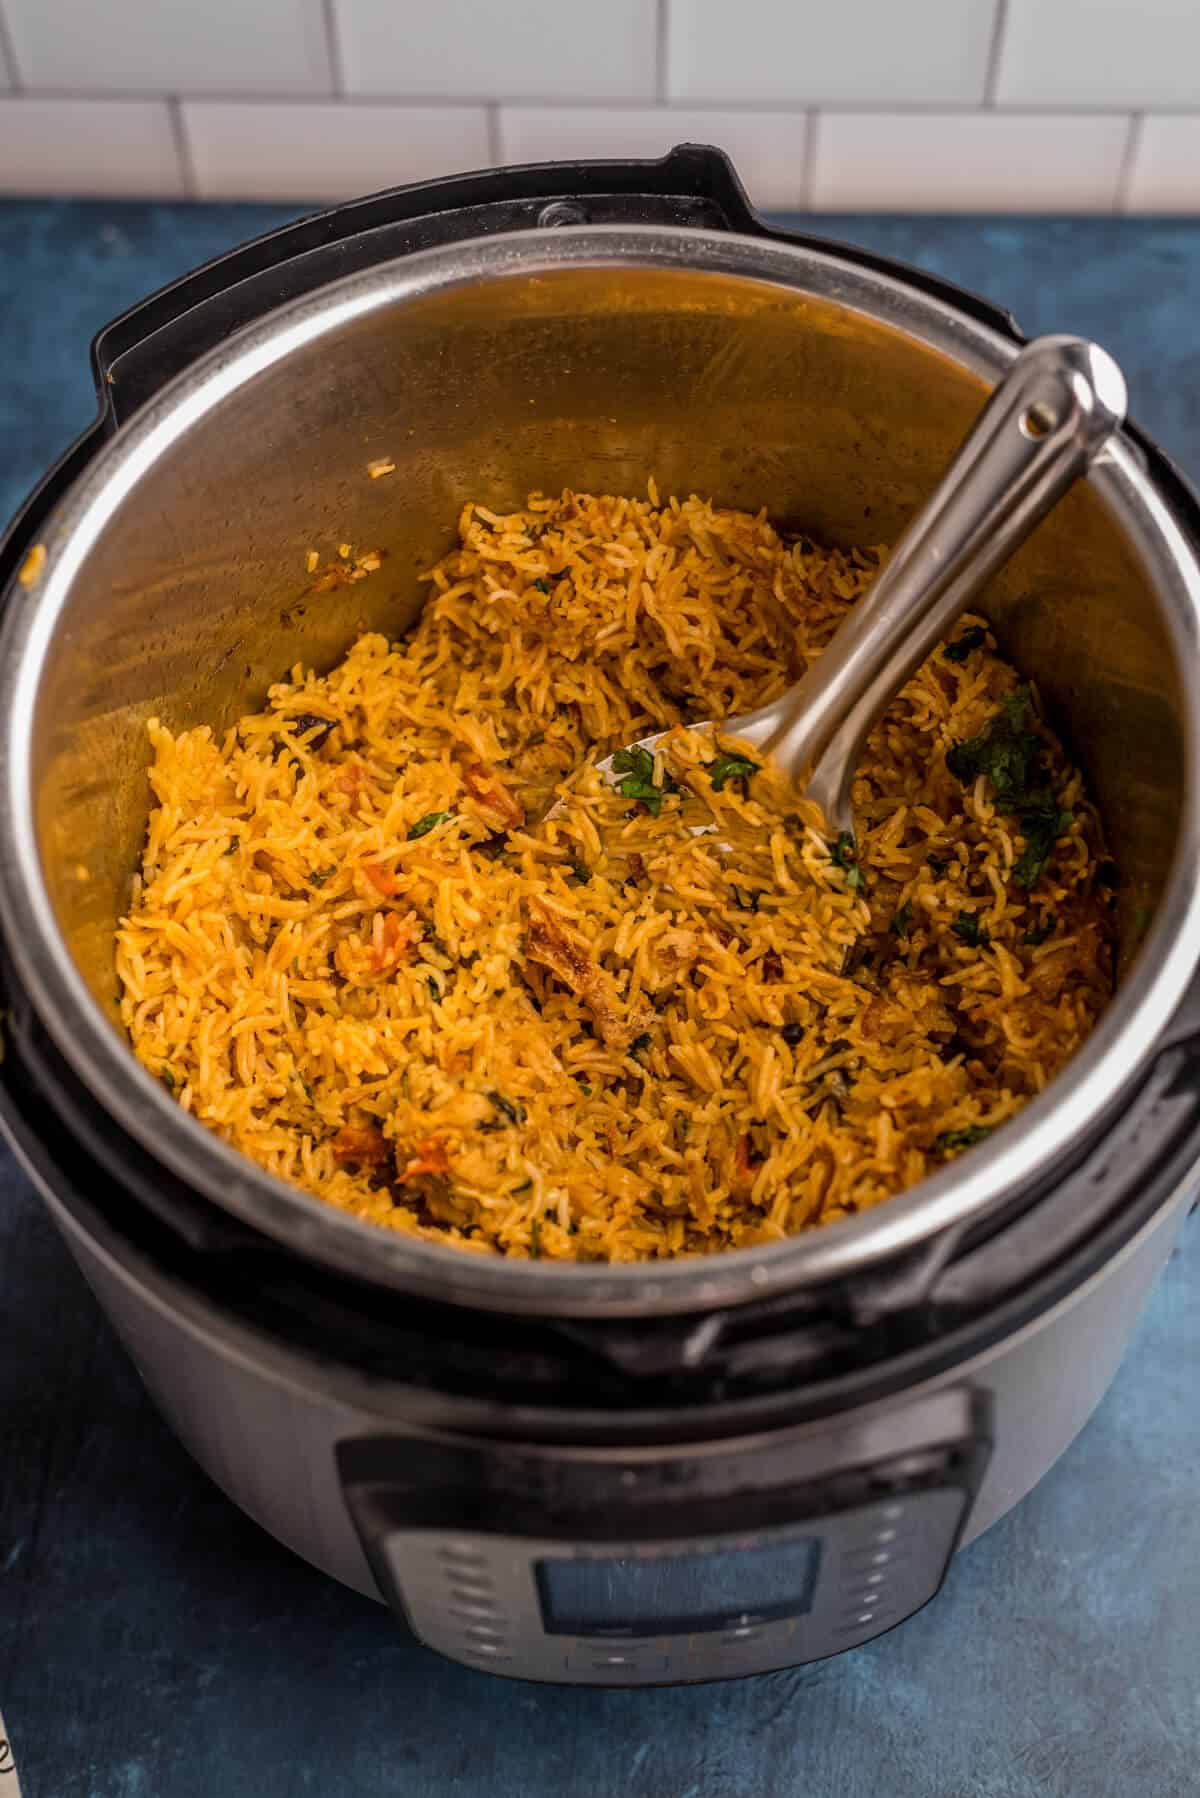
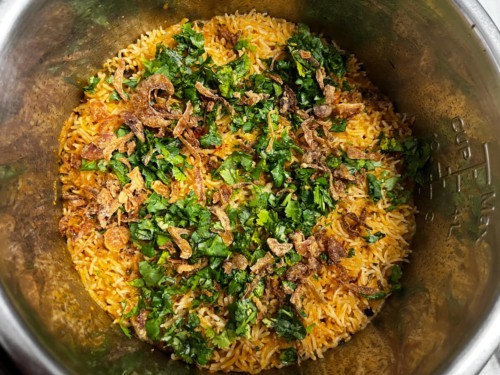
- Open the lid and let the steam escape.
- Add chopped cilantro and fried onions over it. Finally pour the saffron water evenly over the rice. Sprinkle the kewra essence (if using). Add 1/4 cup ghee and wait for 5 minutes before fluffing the rice and mixing in the ghee.
- Serve hot with raita or yogurt.


Notes
- Chicken with bones – I have used 2 lbs of whole chicken, which has mixed cuts. Since it includes chicken legs, I pressure cook the chicken for 3 minutes, do a quick release and then add rice + water and cook for an additional 5 minutes. For chicken legs, follow the same process.
- For boneless chicken thighs, cook the chicken with rice for 5 minutes.
Disclaimer: Approximate nutritional information is provided as a courtesy and can vary depending on the exact ingredients/brands used. If you have health issues, please work with a registered dietician or nutritionist.
Nutrition
Serve it with
This Instant Pot chicken biryani recipe makes a complete meal in itself. Some sides or toppings you might want to serve up include:
- Onion Raita
- Cucumber Raita
- Sliced masala egg
- Sliced onion
- Mango lassi
Storage tips
If you find yourself with leftover biryani, here are my tips for keeping and reheating your leftovers.
Refrigerator: Keeps for up to 5 days in an air-tight container.
Freezer: Transfer completely cooled chicken biryani into air-tight containers. Freeze for up to a month. Thaw it in the refrigerator overnight.
Reheat: Microwave the leftovers for about a minute until it is heated through.
Other biryani recipes to try
Looking for even more delicious biryani recipes to try? Check out this collection of 10+ biryani recipes.