Instant Pot Water Test
Note: This post contains affiliate links. As an Amazon Associate I earn from qualifying purchases.
Did you run the water test on your Instant Pot? If not, this step-by-step video tutorial will guide you on how to do this quickly and in less than 20 minutes.
Just got your Instant Pot? Don’t forget to do the water test – an initial test run that you must perform to ensure the cooker is functioning properly. It is an easy way to familiarize yourself with the Instant Pot.
Table of contents
What is a water test?
The Instant Pot water test involves adding water inside the inner pot and pressure cooking it for 5 minutes. I know what you are thinking – that sounds silly, why should I do it? Let’s address that right away :-).
How does the water test help? Is it necessary?
The water test is not necessary but doing a water test is an easy and quick way to understand how your pressure cooker functions. Pressure cooking involves 3 stages –
- Preheating and pressurization cycle – In this stage, the pressure cooker heats up the liquid in the inner pot to create steam which in turn raises pressure. When sufficient pressure is built inside the pot, the float valve will pop up and the lid will lock. This stage can take between 10-20 minutes (or more) – it depends on the volume of liquid and food in the Instant Pot.
- Cooking cycle – Once the cooker comes to pressure, the cooking cycle begins in about 5 minutes and the countdown starts. When the set time is reached, the pressure cooker will beep to signal the end of the cooking cycle.
- Depressurization and Keep warm cycle – In this stage, the cooker cools down, releases pressure and loses its heat with time. This process could also take about 15-20 minutes. Once this process is complete, the float valve (or steel pin) drops and it is safe to open the lid. Note – Some recipes call for the pressure to be immediately released by moving the vent to the venting position to prevent overcooking.
It is important to understand that the total cooking time = time to preheat & pressurize + cooking time (the time you set in the Instant Pot) + time to depressurize.
Often people get disappointed when they realize that the total time to cook a dish is much more than the time that has been set on the Instant Pot. That’s why I call water testing an expectation-setting exercise:-).
How long does the Instant Pot water test take?
The water test takes about 20 minutes from start to finish.
How to do a water test?
Before you do a test run, quickly wash the steel insert (NOT the unit or the cooker base) and the lid with warm and soapy water. ALWAYS dry the steel insert completely before inserting it into the unit.
Video instructions for the Instant Pot water test
Here are the step by step instructions –
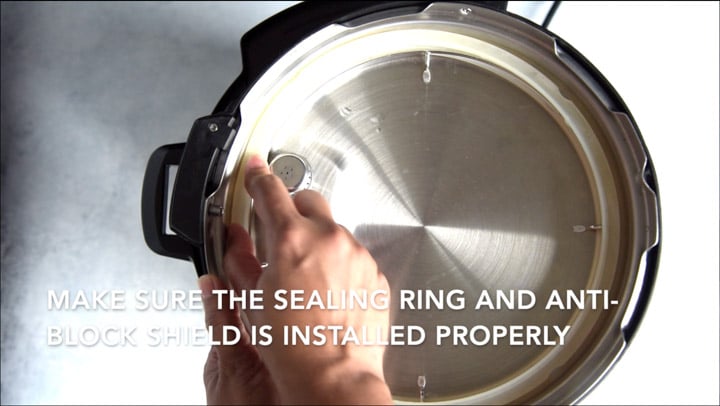
- Make sure the Anti-Block Shield and sealing ring are properly installed.

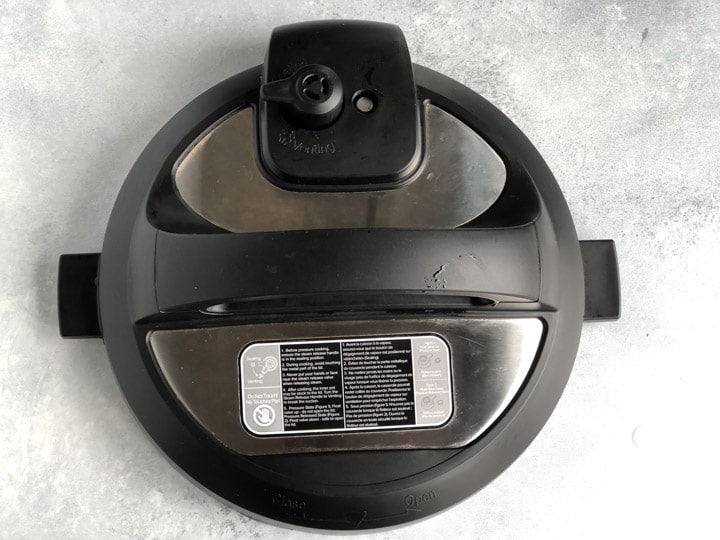
- Check to see if both the steam release handle and the float valve are clean and unobstructed.

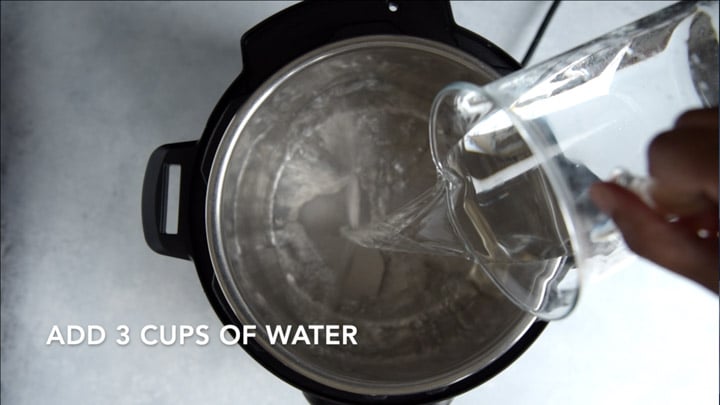
- Insert the inner pot in the cooker base and add 3 cups of water in it.

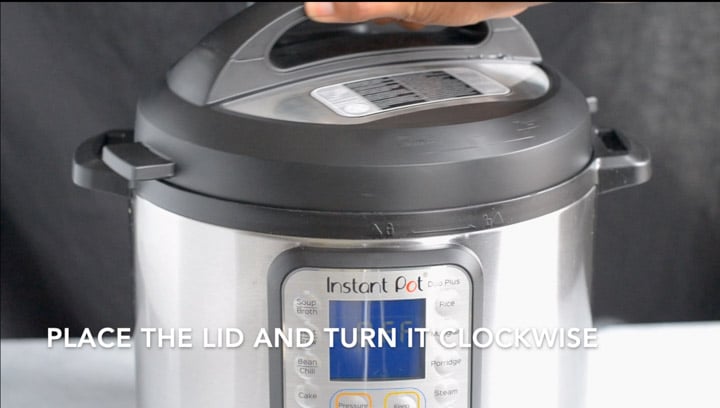
- Place the lid and turn it clockwise to close it. A chime will confirm that it is fully closed.

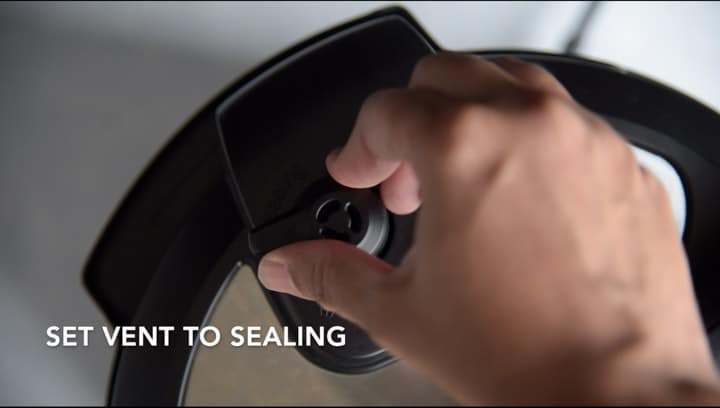
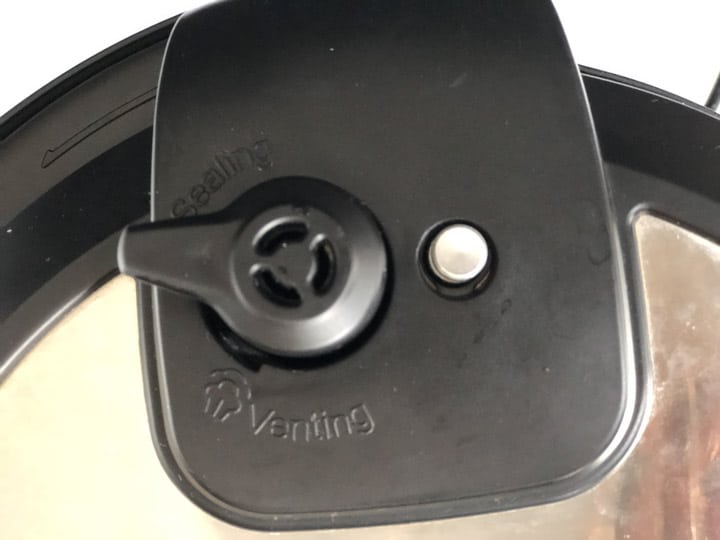
- Set the Vent to the sealing position.
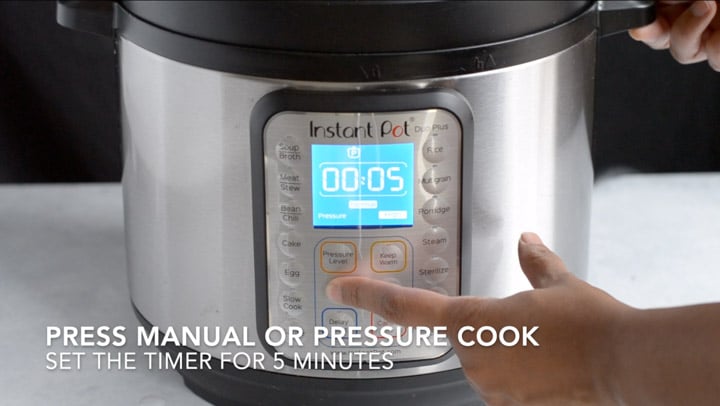
- Select Manual or Pressure cook (newer models). Press on the “-” button to adjust the time to 5 minutes. In about 10 seconds, the display will change to “On” indicating that the preheating cycle has begun.
- A few minutes later, steam will start coming out and in a minute or two, the float valve will pop up and seal the cooker.
- Once the working pressure is reached, the countdown timer will begin.

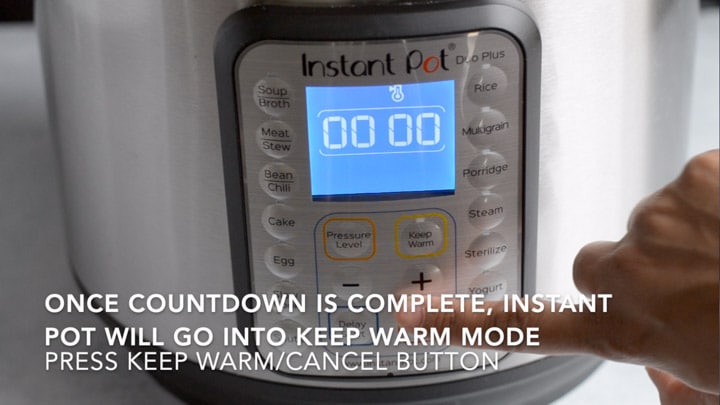
- Once the countdown is finished, your Instant Pot will beep and go into the “Keep Warm” mode. Hit cancel.
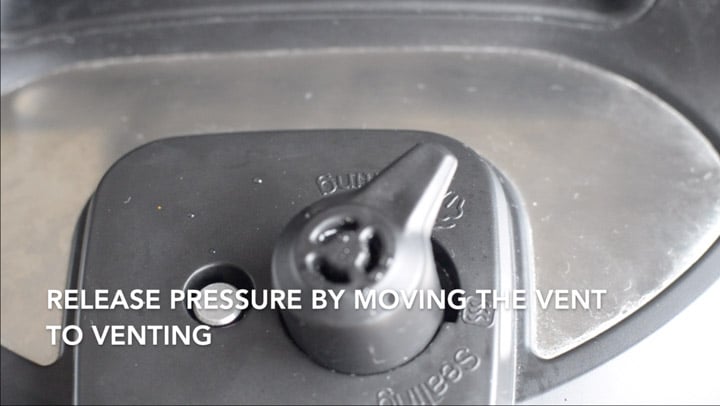
- Quickly release pressure by carefully moving the vent to the venting position.

This completes the test.
Instant Pot Water Test Failed – what do I do now?
The most common complaint with failed water tests is that steam is escaping all over and the Instant Pot is not pressurizing.
Does that mean your Instant Pot is a dud? Before you call Instant Pot customer service, check for these two things –
- The sealing ring is inserted properly. It should go all the way in.
- The vent is set to sealing position and NOT venting position.
If that doesn’t fix it, go ahead and make that call – Instant Pot customer service is extremely helpful and they’ll take care of the issue for you.
Easy Instant Pot Recipes to get you started
Now that you have the water test out of your way, check out these 5 easy recipes that you can make in the Instant Pot today.
- Instant Pot Boiled eggs – Once you make hard-boiled eggs in an Instant Pot, you’ll never go back to your old ways. The eggs not only cook in 5 minutes, but they are also super easy to peel and you get perfect eggs every time!
- Easy Indian potato recipe – Learn how to make this classic Indian potato recipe in under 30 minutes using a pressure cooker like Instant Pot. This versatile dish is easy to make and it is perfect for those who are new to Indian cooking.
- Instant Pot – One-pot dal– One pot recipes are the best! That’s why you’ll love this Tadka dal (tempered dal) recipe – make it in an Instant Pot or a pressure cooker – and you’ll have your meal ready in no time.
- Instant Pot Vegetable Biryani – You have to try this flavorful one-pot vegetarian meal that comes together in under 30 minutes.
- Instant Pot Ghee – Follow this detailed fail-proof recipe with step by step pictures to make ghee in Instant Pot and say goodbye to storebought ghee.
and many more Instant Pot recipes here.