Gujarati Methi Thepla (Fenugreek Flatbread)
Note: This post contains affiliate links. As an Amazon Associate I earn from qualifying purchases.
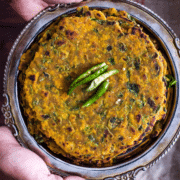

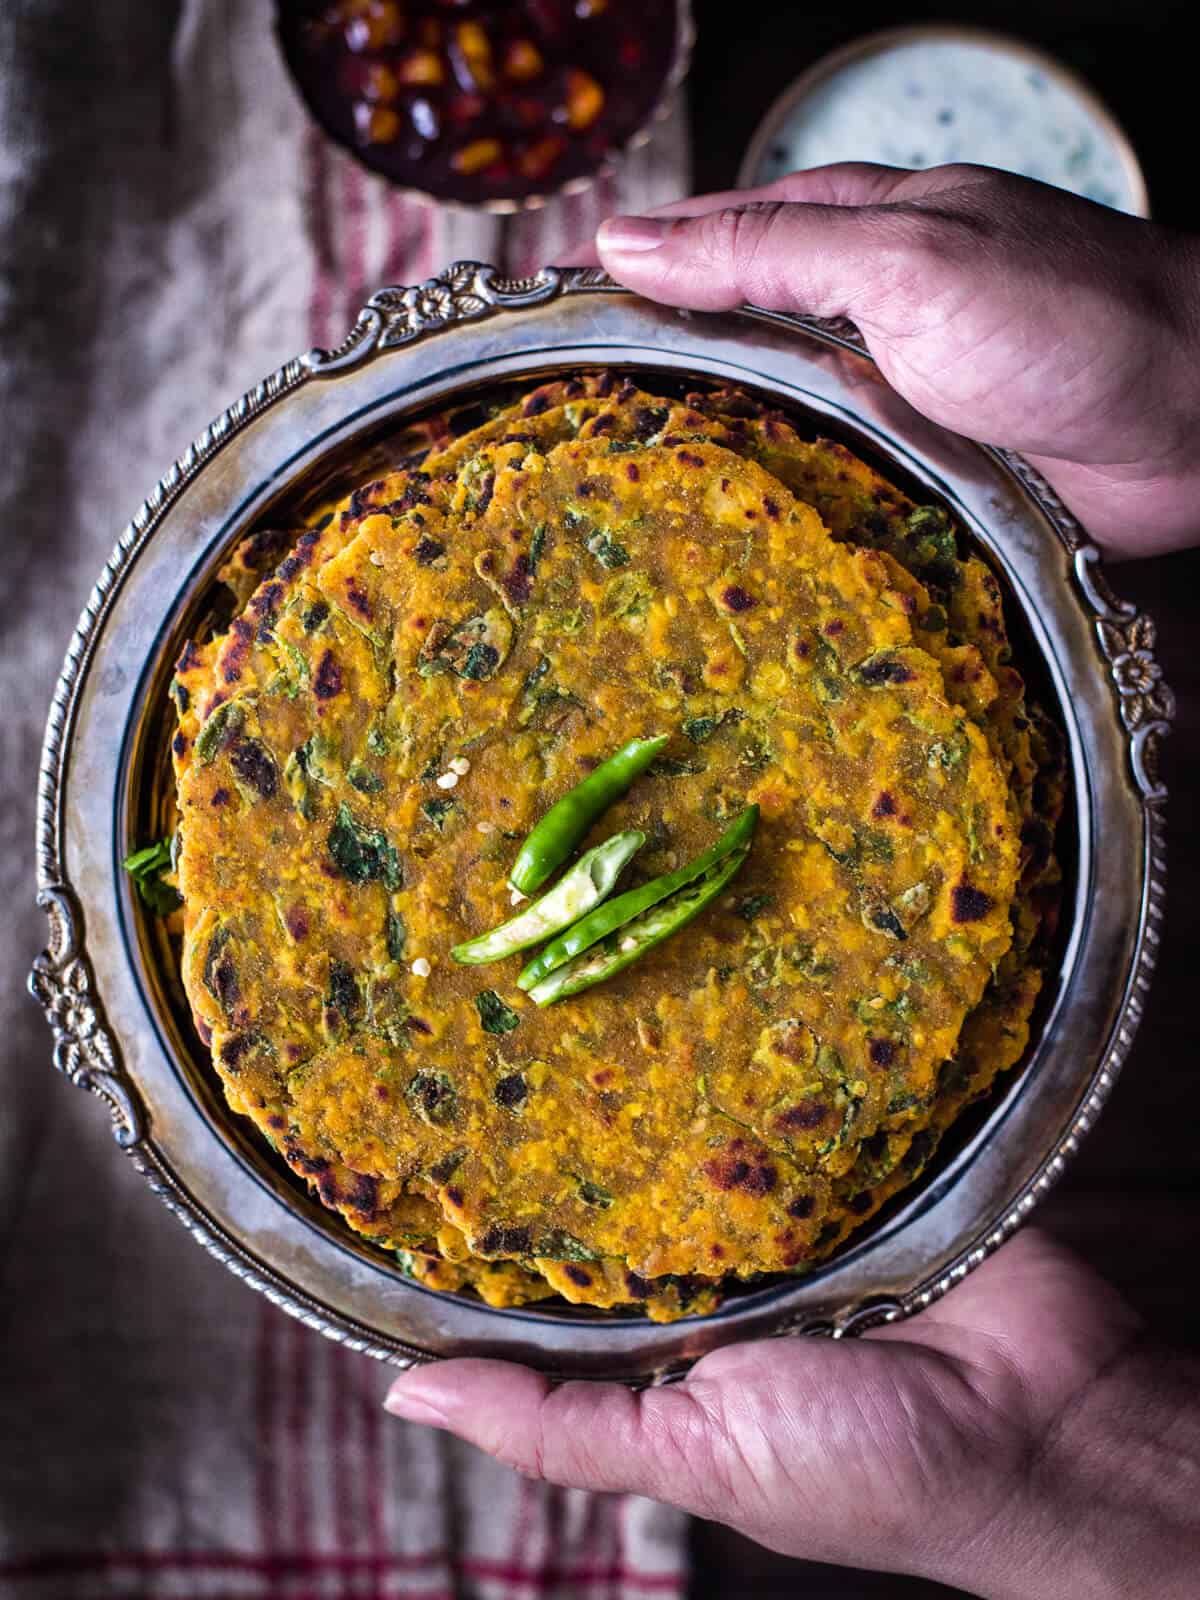
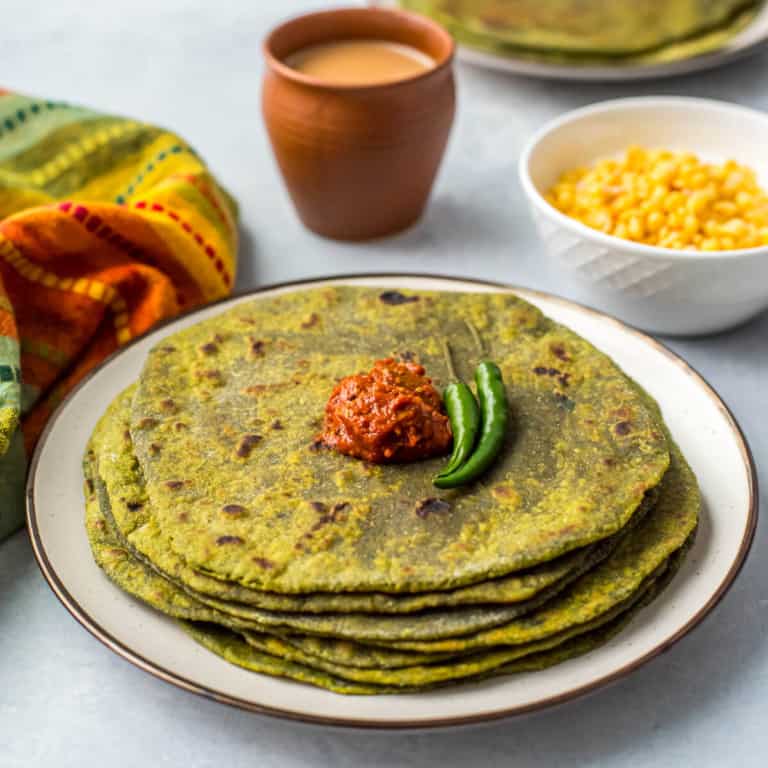
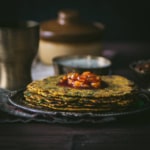
Methi na thepla combines fresh fenugreek leaves, whole wheat flour, and aromatic spices to make this delicious spiced Indian flatbread recipe. Ideal for a nutritious breakfast or snack, convenient for travel, or as a tasty inclusion in lunch boxes, the Gujarati methi thepla hits the spot every time – thanks to its unique flavor and remarkable shelf life.
What is methi thepla?
Thepla, an unleavened bread made with wheat flour, often features a mix of finely chopped leafy greens or grated vegetables, such as bottle gourd or radish (mooli), adding both nutrition and flavor.
Methi thepla, a variant of this bread, incorporates fenugreek leaves (methi) and is a prominent dish in Gujarati cuisine. While it shares some characteristics with parathas, methi thepla stands out with its distinct composition.
In preparing Gujarati methi thepla, finely chopped fenugreek leaves are combined with yogurt and spices and then mixed into whole wheat flour. The key ingredient, methi, is celebrated for its unique and aromatic flavor, making this thepla a flavorful and healthful choice.
Are thepla and parathas the same thing?
Although thepla and paratha are both Indian flatbreads that may appear to have similarities, here’s how they are different –
- Flour composition: Parathas are traditionally made using only whole wheat flour, while thepla often incorporates a blend of flours like bajra (millet) and besan (Bengal gram flour), adding to their unique texture and taste.
- Dough preparation: For paratha, the dough is typically made with water. In contrast, thepla dough is kneaded with yogurt.
- Shelf life: A notable difference lies in their shelf life. Parathas usually don’t last long without refrigeration. On the other hand, theplas have a much longer shelf life, making them an ideal choice for long journeys.
- Cooking technique: Both are cooked on a griddle and shallow fried in oil or ghee. However, while parathas are allowed to puff up, which helps create their layers, Theplas are pressed down on both sides with a spatula during cooking, resulting in a crispier texture.
How does methi thepla taste?
Methi thepla beautifully balances spicy and savory flavors, creating a unique and appealing taste mainly derived from fenugreek leaves (methi). Although methi leaves are naturally bitter and can be overpowering by themselves, their addition to the thepla dough transforms the dish. The leaves impart a delightful aroma and a rich, complex flavor, very similar to their role in enhancing dishes like Aloo methi.
How to make methi thepla
As a South Indian in a Gujarati-speaking neighborhood, I grew up amidst a fusion of culinary traditions, where dhokla, khaman, and theplas were as familiar as idlis and dosas. Even though we didn’t make them at home, I had my fill of theplas from my friend’s lunch boxes.
After moving to the US, my craving for theplas led to several experiments in the kitchen until I developed a recipe I truly enjoyed, one that I relied on for years. However, this changed when I tasted the theplas made by a dear friend. Her theplas were a class apart, and that’s why I have updated my old recipe with hers.
Whenever we take a road trip, I whip up a batch of 20-25 theplas for us to enjoy on the road. It is perfect for times when you want to take a break from eating out. They store well for up to a week without being refrigerated, and that’s what makes them a popular travel food.
Note – This recipe makes around 28-30 theplas. They refrigerate and freeze well. That’s why I make a huge batch every time.
Ingredient notes/swaps
- Whole wheat flour (atta) – forms the base of our thepla dough.
- Bengal gram flour (besan) – adds a subtle nutty flavor. You can use chickpea flour as a substitute.
- Bajra millet flour – for texture and added nutrition
- Fresh methi leaves, rinsed and finely chopped
- Thick yogurt – to make the dough soft and balance the bitterness of the methi leaves.
- Oil – for frying and making a soft dough. You can use any neutral-flavored oil of your choice, such as avocado oil or sunflower oil.
- Sesame seeds – for a nutty taste.
- Cumin seeds – offer an earthy and warm flavor.
- Carom seeds (ajwain) – for its unique taste and digestive benefits
- Fennel seeds (saunf) – Adds a sweet aroma and flavor.
- Seasonings: A blend of turmeric powder, Kashmiri red chilli powder, salt, and a hint of sugar to enhance the taste.
- Garlic cloves to build in flavor
- Green chilies – for a spicy kick
- Water – to make a soft and pliable dough
Be sure to check out the full recipe and ingredient list below.
Equipment needed
- Large mixing bowl
- Rolling pin
- Hot tawa (griddle) for cooking
Step-by-step guide – Methi na thepla
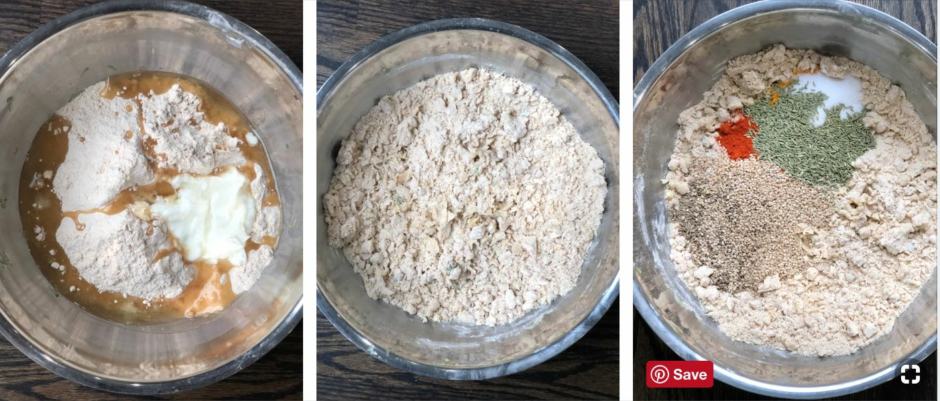
Step 1 – Add whole wheat flour, yogurt, and oil in a bowl and mix them together. Add all the remaining ingredients except methi leaves and water till they are well combined.
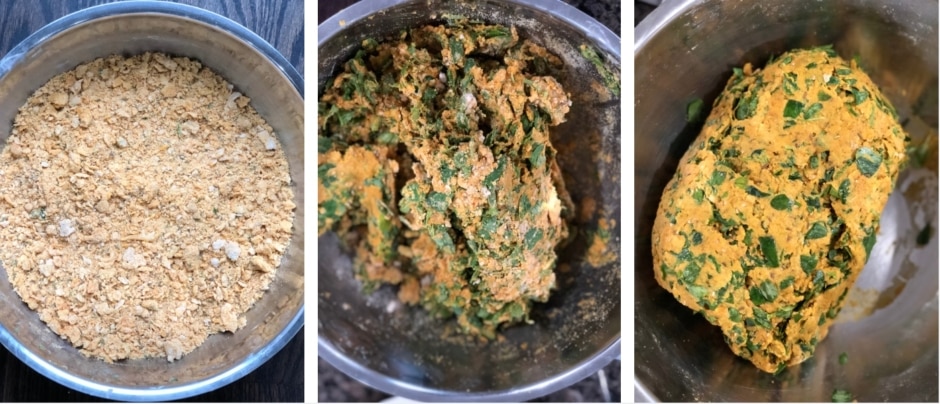
Step 2 – Add methi leaves and knead the mixture into a dough using water as needed.
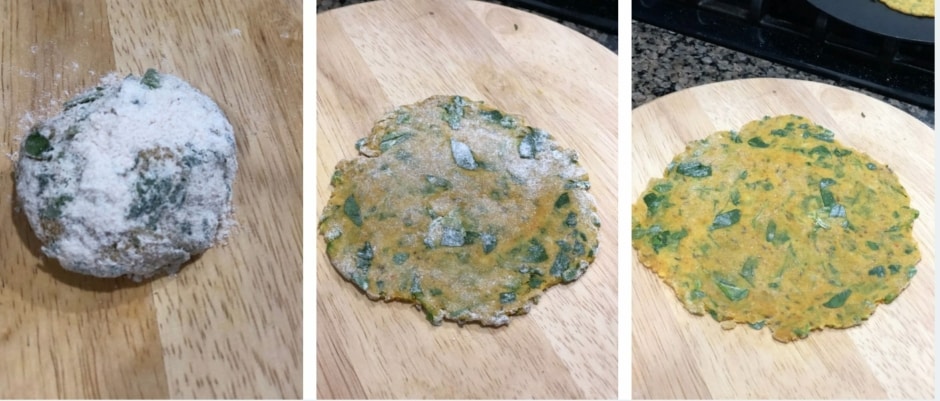
Step 3 – Divide the dough into 30 equal-sized balls.[Cover the dough while working with a damp cloth to prevent them from drying]. Roll out each ball into a circle (roughly 5-6 inch diameter circle), dusting it with flour as needed to prevent it from sticking.
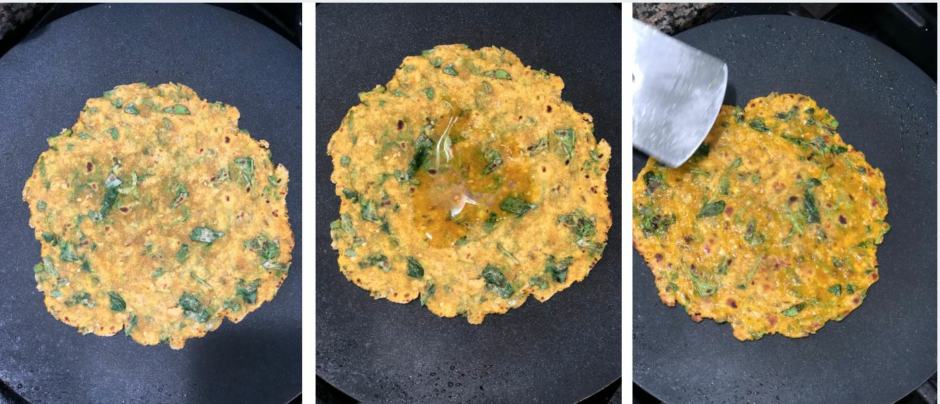
Step 4 – Heat a griddle over medium heat. Dust off excess flour from the thepla by placing it on the palm of one hand and then flipping it onto the palm of your other hand. Repeat this process 3-4 times. Place the thepla on the hot griddle. When one side starts to bubble up (approx 60 seconds later), flip it to the other side, carefully pressing the thepla down with a cloth or a ladle to make sure it is fully cooked.
Flip the thepla; add a teaspoon of oil to the pan and cook on both sides for about 15 seconds each. Use a spatula to press the edges to ensure the sides are cooked through.
Variations
Keeping the rest of the ingredients and the process same, here are a few variations to the thepla recipe that you can try at home
- Bottle gourd / Lauki thepla – Add 1 cup of grated dudhi or bottle gourd along with whole wheat flour and the rest of the ingredients in this recipe to form a dough.
- Radish or mooli theplas – You can also add a cup of grated radish/muli to the ingredients.
- Spinach thepla – Add 1-2 cups of chopped spinach to the dough mix instead of methi leaves.
- Vegan methi thepla – For a vegan version, substitute dairy yogurt with either water or a vegan yogurt alternative.
What to serve with methi thepla?
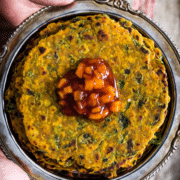
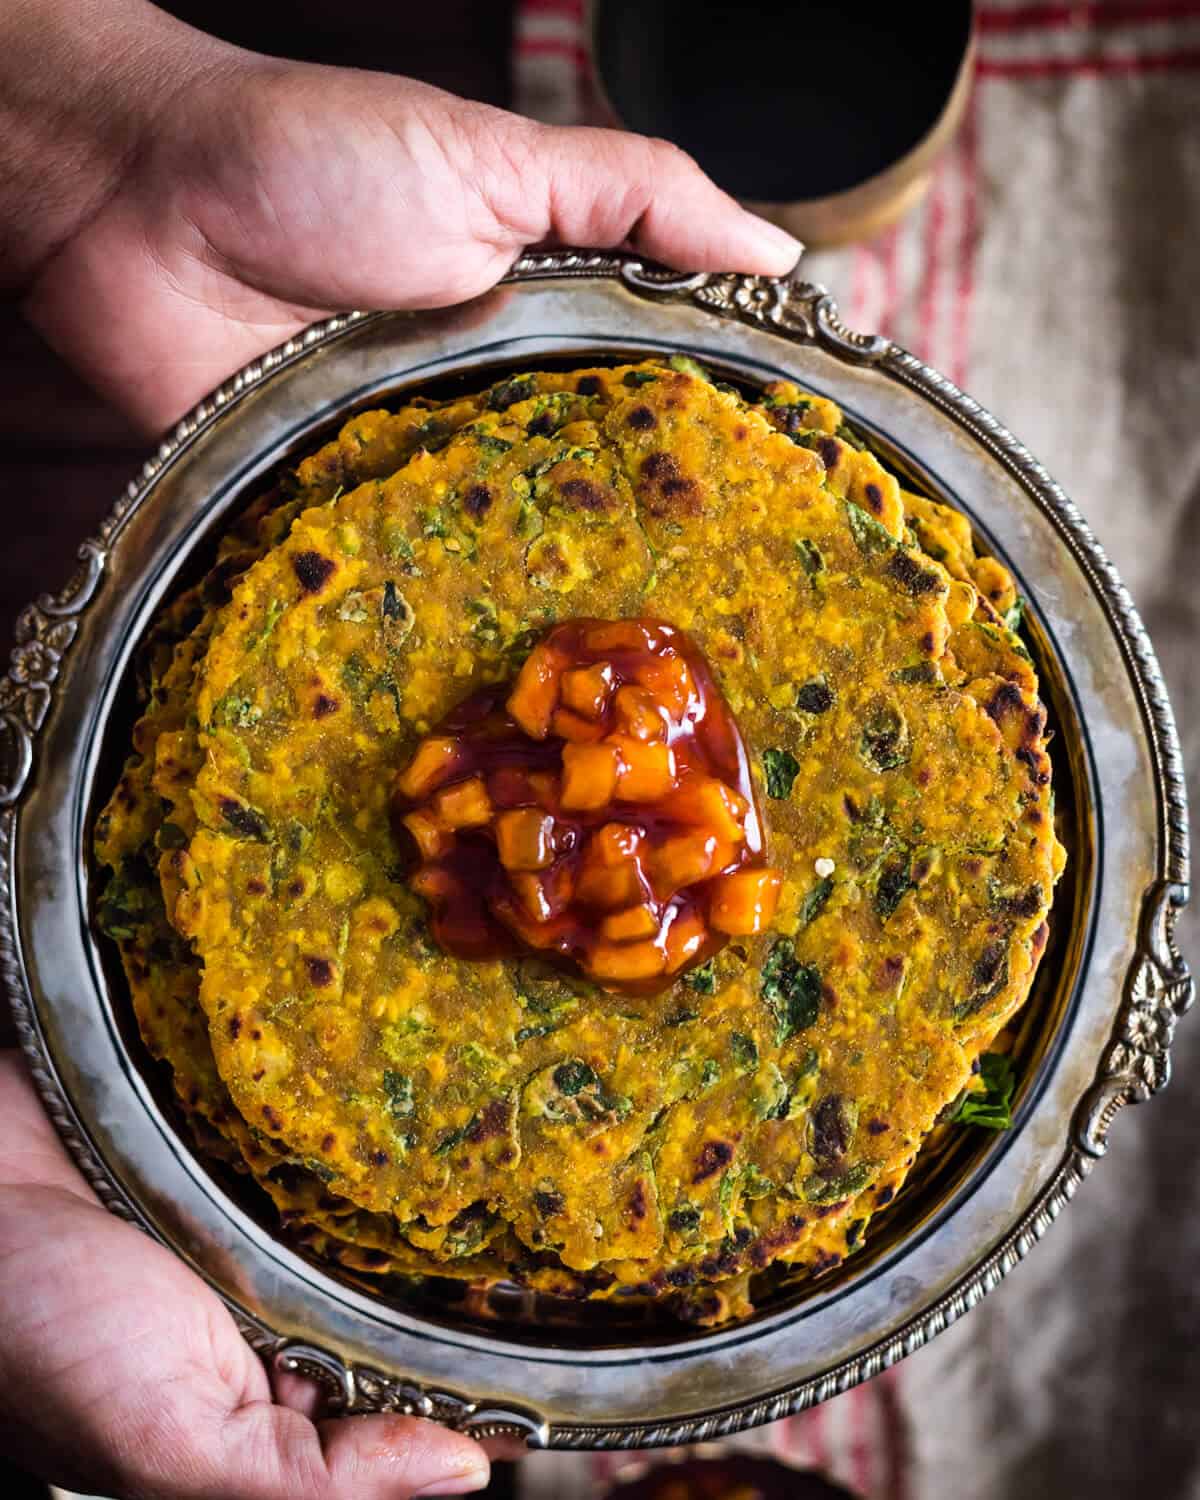
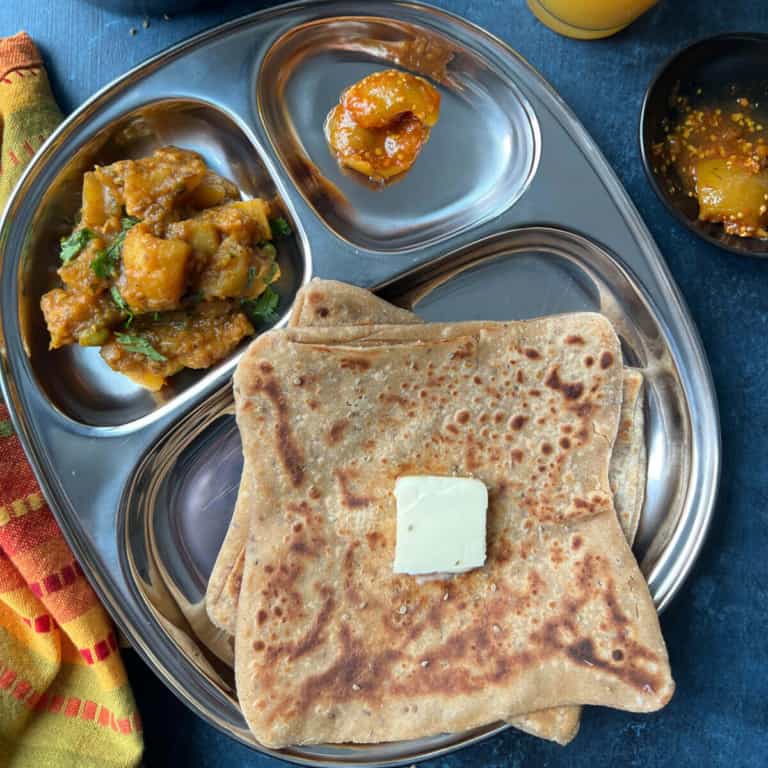
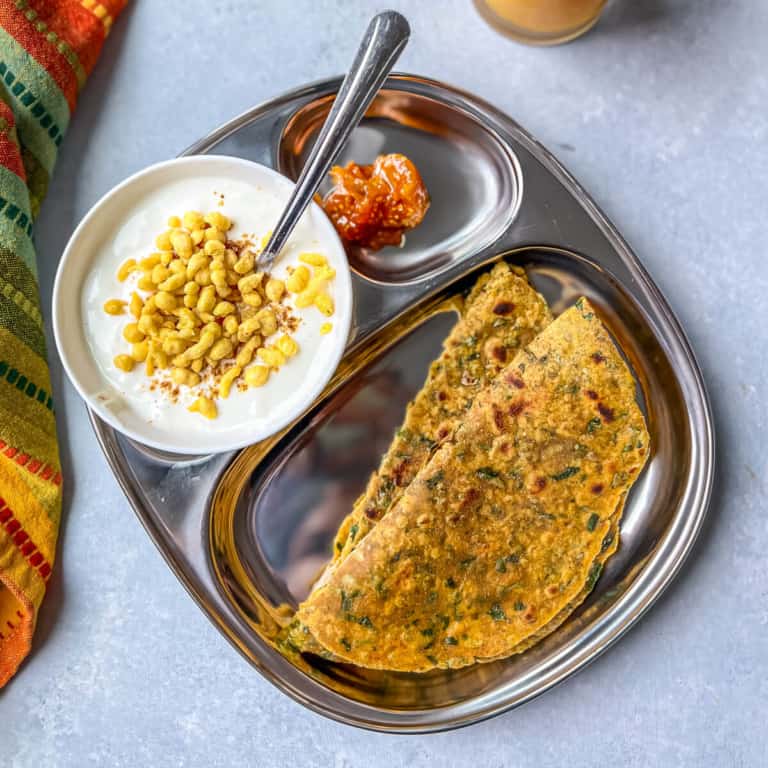
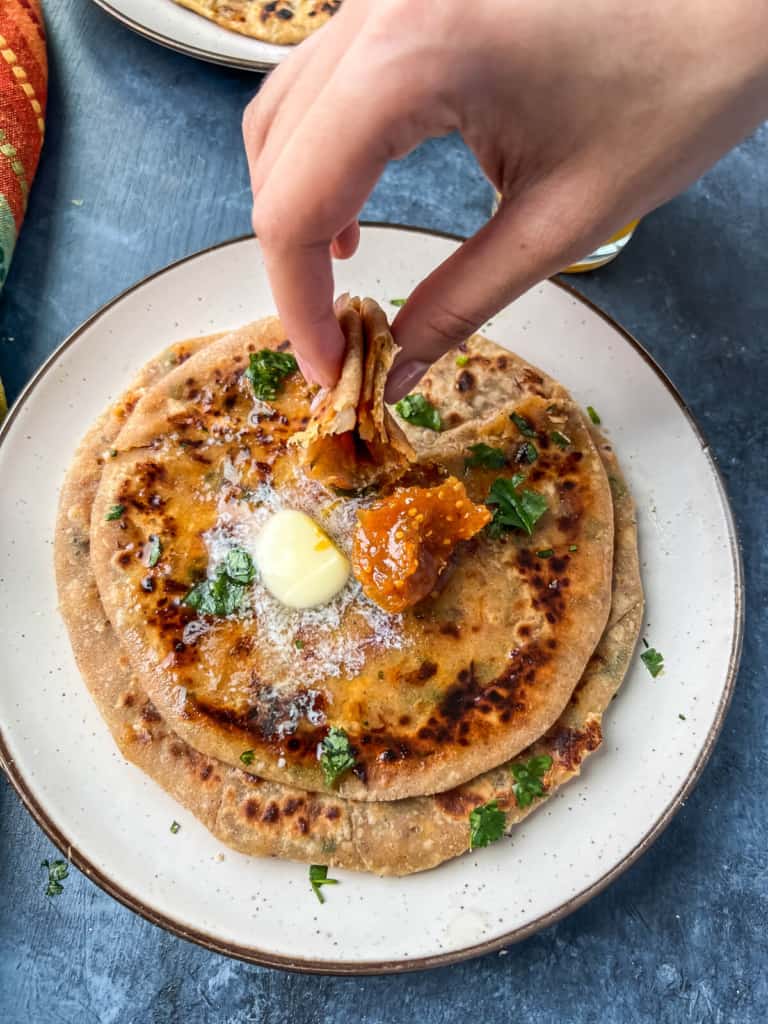
Methi thepla is usually served hot or at room temperature, accompanied by chundo (a sweet and tangy mango pickle). You can also serve it with green chutney or plain yogurt. They’re perfect at any time of the day and pair well with masala chai.
How to prep ahead
The best way to prep for this healthy spiced flatbread recipe is to make the dough ahead of time. Follow the steps for making the dough as listed in the instructions, and then store it in either the refrigerator or the freezer.
- Refrigerated dough stays well in an air-tight container for up to 3 days.
- The frozen dough keeps for a month.
- Bring the dough to room temperature before rolling out methi theplas.
Storage instructions
After cooling down completely, your methi thepla can be stored at room temperature in an air-tight container for 1-2 days if made with yogurt. If prepared without yogurt, it can last for about 7-10 days, unrefrigerated.
For extended storage, you can also refrigerate or freeze the leftover thepla.
- Refrigerator – When cooled and placed in an air-tight container, the thepla lasts for 4-5 days in the fridge.
- Freezer – Thepla keeps for 2-3 months when frozen. I recommend separating them with parchment paper when freezing, or they’ll stick together.
- Reheat – For refrigerated theplas, reheat in a microwave (15-20 seconds) or reheat in a tava / skillet kept over medium heat. For frozen theplas, use a tava/skillet to reheat – no need to thaw beforehand.
How to make methi thepla for travel?
When cooking thepla for traveling or storing for more than a week, make the dough with water instead of yogurt. Also, add an additional 2 tablespoons of oil to the dough to prevent the theplas from becoming too dry or going off. If made and stored properly, theplas can easily last 7-10 days without refrigeration.
How do you make methi thepla soft?
Theplas are usually not as soft as rotis are, but if you prefer soft theplas, you should knead the dough with 2-3 tablespoons of oil to make the dough softer, leading to softer theplas.
Can we substitute Methi leaves with Kasoori methi?
Kasuri methi (dried fenugreek leaves) are about three times more potent than fresh leaves. So make sure you use 1/3rd the quantity if you are substituting for fresh fenugreek leaves.
How many calories are in methi thepla?
If you follow this recipe, each thepla comes out to be 137 calories.
Tips on preserving methi leaves
Storing methi (fenugreek) leaves properly ensures they remain fresh and retain their flavor for a longer period. Here’s how you can store them:
- Rinse and dry:
- Start off by chopping off the roots. They can contain soil sometimes.
- Separate the leaves from the stems. Discard the stems as they tend to be bitter.
- Rinse the methi leaves thoroughly under cold water to remove any dirt or impurities.
- Gently pat them dry with a clean kitchen towel or paper towel. It’s important to remove as much moisture as possible to avoid them from going bad quickly.
- Wrap in paper towels:
- Lay out a dry paper towel and place the methi leaves in a single layer on it.
- Gently wrap the paper towel around the leaves. This helps absorb any excess moisture.
- Store in an airtight container or Ziploc:
- Place the wrapped methi leaves in an airtight container or a zip-lock plastic bag.
- If using a container, ensure it’s dry and clean before adding the leaves.
- Refrigeration:
- Store the container or plastic bag in the refrigerator, preferably in the vegetable crisper section.
- This method typically keeps methi leaves fresh for about a week.
- Freezing (for longer storage):
- For longer storage, you can freeze methi leaves.
- Dry them thoroughly, then store them in freezer-safe bags or containers.
- Frozen methi leaves can last several months. No need to thaw before using.
- Drying (Alternative method):
- Methi leaves can also be dried for long-term storage.
- Spread the leaves out in a single layer in a dry, well-ventilated area away from direct sunlight.
- Once completely dried, store them in an airtight container in a cool, dry place.
- Soak them in warm water for a few minutes before using it.

There you have it – a simple yet delightful methi thepla recipe. It’s a wonderful way to bring a piece of Indian culinary tradition into your kitchen. Give it a try, experiment with accompaniments, and don’t forget to share your Gujarati thepla adventures with us! Happy cooking!
Other Indian flatbreads
Check out these easy, step-by-step recipes to make your favorite Indian flatbread at home.


Gujarati Methi Thepla Recipe (With Step-by-Step Photos)
Ingredients
- 3 cups whole wheat flour
- ½ cup yogurt
- 2 tablespoons oil
- 1 tablespoon sesame seeds
- 1 tablespoon cumin seeds jeera
- 1 tablespoon ajwain
- 1 tablespoon fennel seeds
- 1 tablespoon turmeric powder
- 1 tablespoon chili powder
- 1 tablespoon salt
- 3 tablespoons sugar
- 12 garlic cloves minced
- 6 green chilies finely chopped
- ⅓ cup besan / chickpea flour Bengal gram flour, optional
- ⅓ cup bajra millet flour, optional
- 6 cups methi leaves rinsed and finely chopped
- ¼ cup water
- ½ cup olive oil for frying
Instructions
- Mix together all the ingredients except methi leaves and water till they are well combined. Add methi leaves and knead the mixture into a dough using water as needed.
- Divide the dough into 30 equal sized balls.[Cover the dough while working with a damp cloth to prevent them for drying]
- Roll out each ball into a circle (roughly 5-6 inch diameter circle) dusting it with flour as needed to prevent them from sticking.
- Heat a griddle over medium heat.
- Dust off excess flour from the thepla by placing it on the palm of one hand and then flipping it onto the palm of your other hand. Repeat this process 3-4 times. Place the thepla on the hot griddle.
- When one side starts to bubble up (approx 60 seconds later), flip it to the other side carefully pressing the thepla down with a cloth or a ladle to make sure it is fully cooked.
- Flip the thepla and add a teaspoon of oil to the pan and cook on both sides for about 15 seconds each. Use a spatula to press the edges to ensure the sides are cooked through.
- Serve hot with chundo.
Disclaimer: Approximate nutritional information is provided as a courtesy and can vary depending on the exact ingredients/brands used. If you have health issues, please work with a registered dietician or nutritionist.
Nutrition
This post was originally written on December 4, 2018, and was republished with additional information on December 20, 2023.