No Oil Almond Butter
Note: This post contains affiliate links. As an Amazon Associate I earn from qualifying purchases.


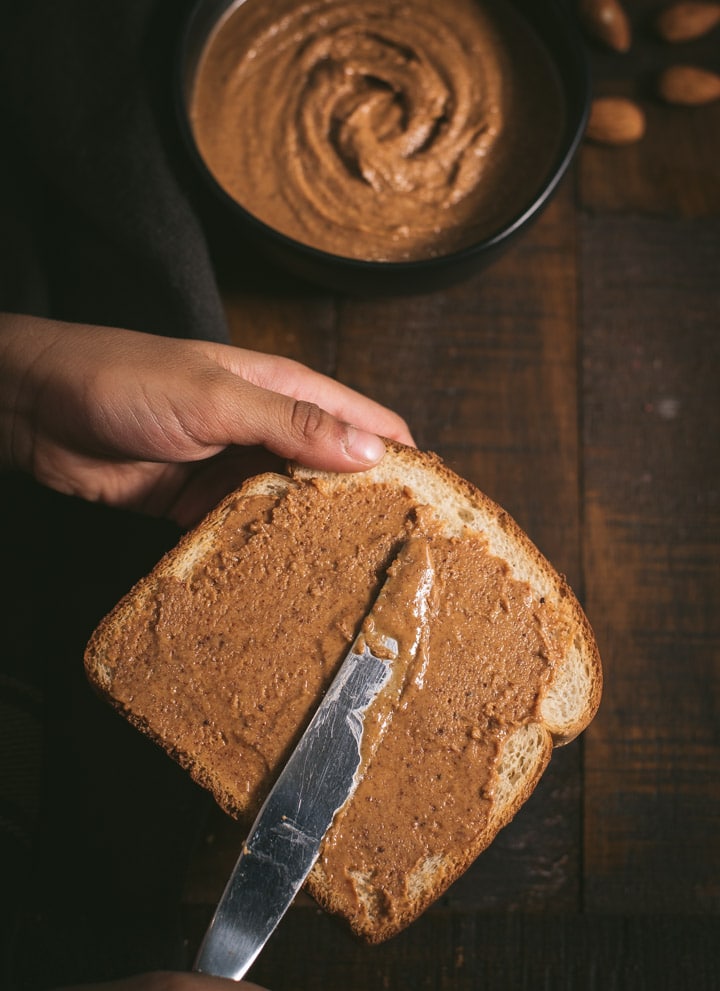
Get tips on how to make this delicious and creamy almond butter recipe at home. It makes for a great addition to smoothies, desserts and on toast too!
If you have never made nut butter at home let me tell you this – they are super easy to make, very hard to mess-up and are so much more flavorful than store-bought. While you can add flavorings you can actually make most nut butter with only one ingredient.
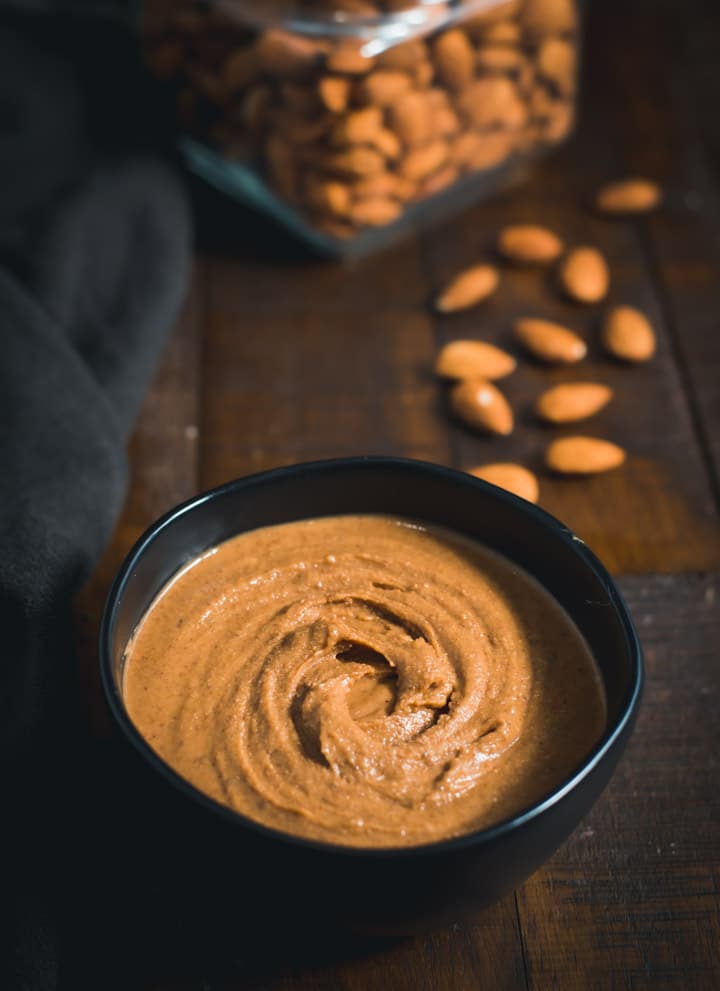
Almond butter is just as delicious as cashew butter but has a nutty taste to it because it is roasted with the skin on. We love it on our morning toast and sometimes add it to our smoothies for an extra dose of protein, carbs, and fiber.
Why is almond butter good for you
Made from almonds, almond butter provides healthy fats, protein, slow-digesting carbs and fiber. The benefits of having almonds include –
- It lowers bad cholesterol.
- The fiber and probiotics in almonds keep your gut healthy.
- My favorite reason – due to its high protein content, it fills you up and keeps you satiated for a long time – no more snacking on junk food.
Read more: Almond butter benefits
How to make almond butter
Ingredients: roasted almonds. Optional add ons – salt, honey or maple syrup (to sweeten it), vanilla essence, ground cinnamon, etc.
Process
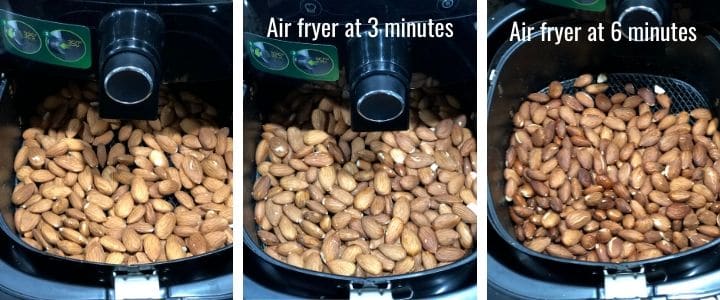
Step 1 – Roast almonds (or get store-bought roasted almonds)
You can either use an air fryer or an oven but I prefer an air-fryer because it is faster and gives perfect results every time.
Roasting almonds takes about 6 minutes in an air-fryer at 325°F and about 10-12 minutes in an oven kept at the same temperature. Don’t forget to toss the almonds at the half-way mark for even browning.
Note: Let the almonds cool down for at least 10 minutes before grinding.
Step 2 – Blend almonds
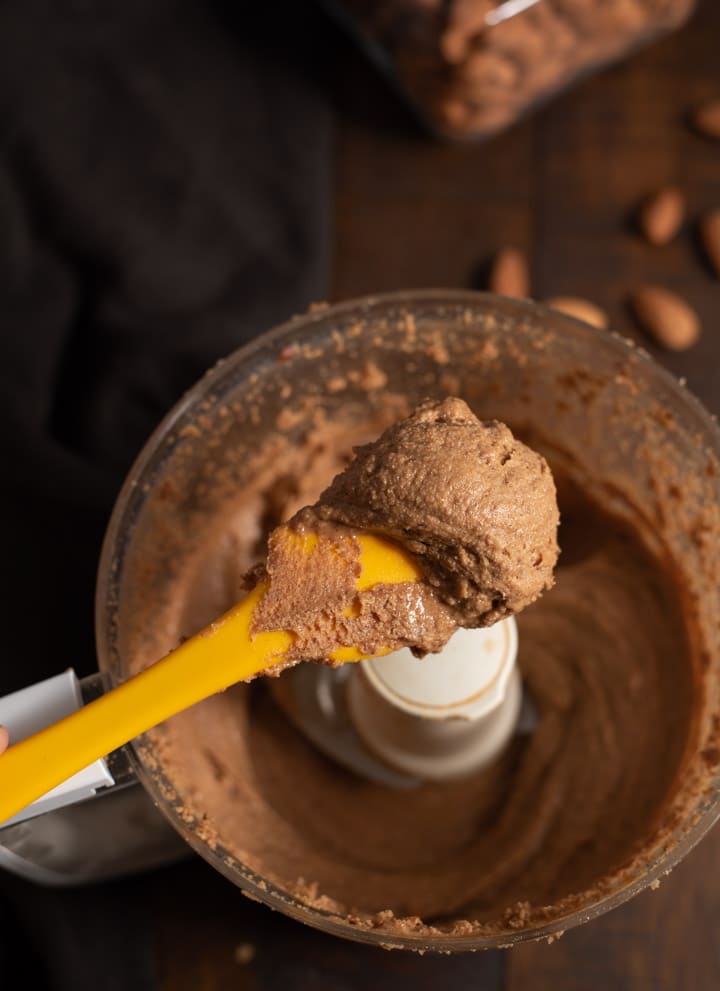
- Place the roasted almonds in the bowl of a food processor.
- Blend the almonds till they turn into a smooth and creamy paste. Stop and scrape every 2-3 minutes or as needed. The blending process should take about 6-8 minutes. It may be faster or take longer depending on your blender – the key is to be patient. (Note: When you start blending the almonds will turn into a dry powder first, it then rolls up into a dough and then finally starts turning into a paste.)
- Add salt and maple syrup at this point and mix well with a spatula to incorporate it in. You can also blend it in but you’ll need to run it for a few more minutes to get that creamy paste.
- Store the almond butter in a glass jar or airtight container in the refrigerator for about 2-3 months.

Tips
- Let the roasted nuts cool down for about 5-10 minutes before blending them.
- From what I have seen the food processor grinds nut butter faster compared to a high-performance blender. So if you have a food processor try that first.
- You’ll need to determine the minimum quantity of nuts you need to add to your food processor so that these nuts grind properly. For my food processor, it was about 2 cups.
- Blenders and food processors can overheat and shut down. That’s why don’t run your machine for more than 3 minutes at a stretch. Stop and scrape the sides every 3 minutes and wait for about 30-60 seconds before blending again.
- The blending time will vary depending on the device you use. Be patient and look for visual cues as explained in the instructions above.
- You don’t need oil for this recipe but you can add it if you prefer to make almond butter more spreadable. I prefer using either avocado oil or coconut oil.
Flavoring options – add salt, avocado or coconut oil, cinnamon, vanilla essence etc.
Frequently asked questions about almond butter
How to store almond butter
Refrigerate and use it within 2-3 months.
What can I use almond butter for?
- Smoothies
- As a dip with apples.
- As a topping in oatmeal
- Granola / Granola bars.
- On a warm toast.
- Makes for a lovely gift too!
You can pretty much use it as a substitute for peanut butter or cashew butter.
- Homemade peanut butter – This 2-ingredient Peanut butter is super easy to make and tastes so much better than store-bought.
- Homemade cashew butter – You have to try this creamy and delicious cashew butter and it might just become your favorite nut butter. Spread it on toast, add it to smoothies or even when making granolas – you will love the fresh, homemade taste!
- Hazelnut butter – This hazelnut butter recipe is a healthy take on the popular hazelnut spread – Nutella. Make it at home in less than 10 minutes using your food processor.

Homemade Almond Butter Recipe
Ingredients
- 2 cups unsalted almonds roasted [see note]
- 1 tablespoon maple syrup or honey, optional
- ⅛ tsp salt optional
Instructions
- Add the roasted almonds [see note] in the bowl of a food processor.
- Blend the almonds turn into a smooth and creamy paste. The almond butter goes through various phases as you grind it - starts with a dry powder, rolls up into a dough and then finally starts turning into a paste [see step by step pics in the post].
- Stop to scrape the sides of the bowl every couple of minutes, if needed. Takes about 3-5 minutes to get a fine paste. The timings may vary depending on your blender.
- Add salt and maple syrup, if using and mix well with a spatula to incorporate it in.
- Store the almond butter in a glass jar or airtight container in the refrigerator for about 2 months.
Notes
How to roast almonds
You can either use an air fryer or an oven but I prefer an air-fryer because it is faster and gives perfect results every time. Roasting almonds takes about 6 minutes in an air-fryer at 325°F and about 10-12 minutes in an oven kept at the same temperature. Don't forget to toss the almonds at the half-way mark for even browning. Note: Let the almonds cool down for at least 10 minutes before grinding. Tips- Let the roasted nuts cool down for about 5-10 minutes before blending them.
- From what I have seen the food processor grinds nut butter faster compared to a high-performance blender. So if you have a food processor try that first.
- You'll need to determine the minimum quantity of nuts you need to add to your food processor so that these nuts grind properly. For my food processor, it was about 2 cups.
- Blenders and food processors can overheat and shut down. That's why don't run your machine for more than 3 minutes at a stretch. Stop and scrape the sides every 3 minutes and wait for about 30-60 seconds before blending again.
- The blending time will vary depending on the device you use. Be patient and look for visual cues as explained in the instructions above.
- You don't need oil for this recipe but you can add it if you prefer to make almond butter more spreadable. I prefer using either avocado oil or coconut oil.
Disclaimer: Approximate nutritional information is provided as a courtesy and can vary depending on the exact ingredients/brands used. If you have health issues, please work with a registered dietician or nutritionist.