Perfect Instant Pot Jasmine Rice
Note: This post contains affiliate links. As an Amazon Associate I earn from qualifying purchases.
Perfect, fragrant, and fail-proof, this easy recipe for Instant Pot Jasmine rice yields fluffy, soft, and chewy rice time and time again. Learn the perfect ratio of rice to water for perfectly cooked rice in under 30 minutes.
I was introduced to Jasmine rice when I had my first Thai meal at a restaurant. It was just as aromatic and fluffy as Basmati rice but plumper, moist, and slightly sticky. The fragrance is not overpowering, making it a perfect accompaniment to Thai curries.
If you are out of sona masoori rice or Basmati rice, you can always substitute them with Jasmine rice. This long-grain rice pairs well with Indian curries, too.
What is Jasmine rice?
Jasmine rice is a medium to long-grain rice variety grown primarily in Thailand, Cambodia, Laos, and Vietnam. This fragrant rice, also known as aromatic rice, gets its name not from the fragrance but from the appearance resembling the jasmine flower.
Perfectly cooked Jasmine rice has a fluffy texture and is slightly sticky but not mushy. Compared to American long-grain rice, it’s roughly three times stickier, and the grains are also four times as long as they are wide!
Types of Jasmine rice
Two of the main types of Jasmine rice include Thai Jasmine and Cambodian Jasmine rice. They differ in their growing region as well as their shape.
Thai Jasmine rice is grown in Thailand and typically has a more slender shape. It is also the most commonly exported variety of Jasmine rice. Cambodian Jasmine rice, on the other hand, comes from Cambodia with a wider shape than Thai.
There are also different colors of jasmine rice which include white, brown, black, purple, and red. Each variety has its own different set of health benefits, so we will primarily look at the benefits of white Jasmine rice.
Health benefits
Fluffy and fragrant, Jasmine rice is a low-cost food universally enjoyed all around the world. Some of the benefits associated with eating Jasmine rice include:
- Low-fat food with no added sugars.
- Good source of fiber and protein.
- Contains folic acid and iron.
Along with the benefits, there is one risk to consider when consuming Jasmine rice, the high glycemic index. While there is no sugar in this grain, it contains a substantial amount of carbohydrates from starch which your body then converts into sugar, causing your blood sugar to spike.
For more information, read – Is Jasmine rice good for you?
Reasons to love this recipe
Quick, easy, and fool-proof, there is so much to love about this Jasmine rice recipe made in an Instant Pot pressure cooker.
- Say goodbye to mushy rice – With the ideal ratio of water to rice, you can easily make the perfect batch of rice time and time again.
- So much faster than a rice cooker!
- Cooks in under 15 minutes between the cooking time and the wait time before venting.
- Hands-free – Set and forget the rice until you vent the steam from the Instant Pot.
Ingredient notes/swaps
- Jasmine rice – Royal sona masoori or Organic tantra is the brand I recommend.
- Water- Room temperature, tap water works great in this recipe
- Salt– Just a pinch gives a little flavor to the Jasmine rice
TIPS
- Rinse the rice – Rinse the rice in a few changes of cold water to remove dirt and extra starch (which makes it easier to digest).
- Sauteeing the rice along with oil or ghee helps build flavor.
- Let the rice rest – Once cooked, let the rice rest – this allows the steam to redistribute, and all the layers of the rice are evenly cooked. That is why it is important to wait 10 minutes before releasing pressure.
- Fluff the rice once it is cooked to prevent it from sticking to each other.
- If not serving immediately, remove the inner pot from the Instant Pot to prevent the rice from drying out and sticking to the bottom.
- Cooking time will not change even if you double or triple the recipe.
- Avoiding burn signal in 8-quart Instant Pot – 8-quart Instant Pots need at least 2 cups of water to function. If you want to cook rice in an 8-quart, I would suggest cooking it pot-in-pot (more details below)
- Replace the water with broth for additional flavor.

Cooking white Jasmine rice pot-in-pot
Looking to make this Jasmine rice using the pot-in-pot method? Use this method to:
- Cooking less than 2 cups of rice.
- Save time during your clean-up at the end.
- Serve directly from the cooking pot to the table.
- Cook dal or heat water in the inner pot while the rice cooks.
Here’s how pot-in-pot cooking works
- Add Jasmine rice, water, and salt to a steel bowl. Mix well. For white rice, use a 1:1 ratio of water and rice and for brown, for every 1 cup of rice, use 1.25 cups of water.
- Add a cup of water in the inner pot for 6-quart and 2 cups for 8-quart Instant Pot. Place a trivet over it.
- Place the steel bowl on the trivet.
- Pressure cook for 8 minutes on high pressure for white Jasmine rice and 25 minutes for brown Jasmine rice.
- When the cooking cycle is complete, wait 10 minutes before moving the valve to ‘venting’ to release pressure.
- Open the lid and let the steam escape. Wait for a minute or two, and then fluff the rice gently with a fork. It is ready to serve.
For more information about pot-in-pot cooking, check out my Ultimate Guide to Pot-in-Pot Cooking in the Instant Pot.
How to prep ahead
Since this recipe comes together so quickly with just 3 ingredients, there isn’t much to do to prep in advance. I would recommend making this simple Jasmine rice recipe as part of your weekly meal prep to serve with other dishes throughout the week.
Allow Jasmine rice to cool completely before storing it in an airtight container for up to 3 days.
Storage tips
Reheating leftover rice – Add a tablespoon of water for every cup of leftover rice. Mix well and pressure cook for zero minutes. When the cooking cycle is complete, move the valve to ‘venting’ to release pressure immediately.
Serve it with
Simple and versatile, Jasmine rice is perfect for stir-fries, sides to curries, lentils, and more! Some of my favorite dishes to serve Jasmine rice with include:

Frequently asked questions
I prefer to rinse my rice before cooking to remove any excess starch. This process yields grains that are more separated when fully cooked.
You do not need to soak Jasmine rice before cooking. A rinse through a fine-mesh strainer should do the trick.
Yes. All rice is gluten-free. If you follow a gluten-free diet, you might want to check to confirm that the brand of rice you are using has not been processed in a facility where cross-contamination with gluten-containing ingredients may be an issue.
While both Jasmine and Basmati are long-grain white rice varieties, there are a few differences between them, starting with where they are grown and ending with their overall texture.
Jasmine rice is grown primarily in Thailand and yields a plump, soft grain. Basmati rice typically grows in India, Pakistan, and Nepal. The cooked grain has a nuttier and slightly firmer texture.
No. Basmati rice is typically considered the healthier rice of the two due to a lower glycemic index.
For Jasmine rice cooked in the Instant Pot, the ideal water-to-rice ratio is 1:1. This means for each cup of water, use 1 cup of rice.
Other Instant Pot rice recipes to try
- Instant Pot Black Rice
- Instant Pot Rice Pudding (Kheer)
- 20-Minute Instant Pot Palak Rice
- Sona Masoori Rice
Instant Pot Jasmine Rice
Equipment
Ingredients
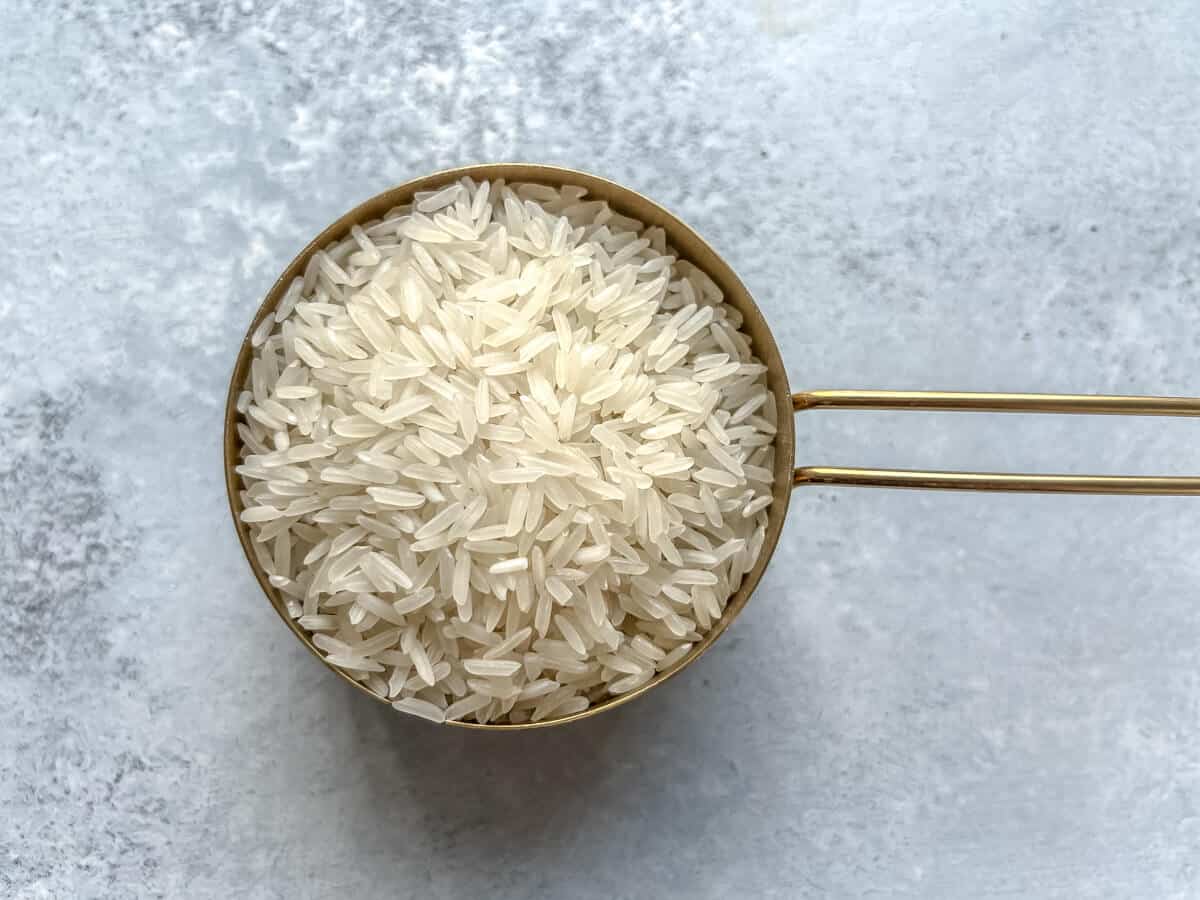
- 2 cups jasmine rice
- 2 cups water
- ¼ tsp salt
Instructions
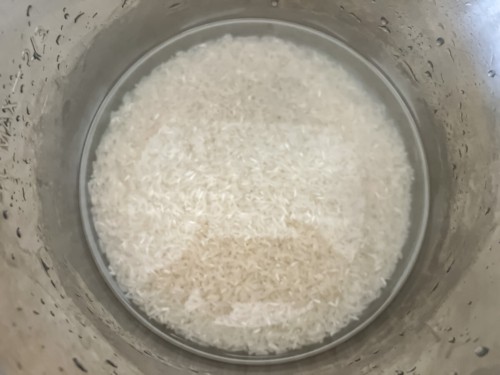
- Rinse the rice using a strainer till the water runs clear.
- Add water to the inner pot. For white rice, use a 1:1 ratio of water and rice and for brown rice, for every 1 cup of rice, use 1.25 cups of water.
- Drain the rice and add it to the inner pot. Add salt and mix well.

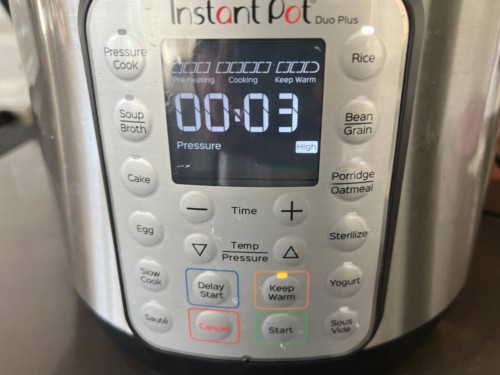
- Close the lid and set the steam valve to sealing.
- Pressure cook for 3 minutes on high pressure for white Jasmine rice and 22 minutes for brown Jasmine rice.
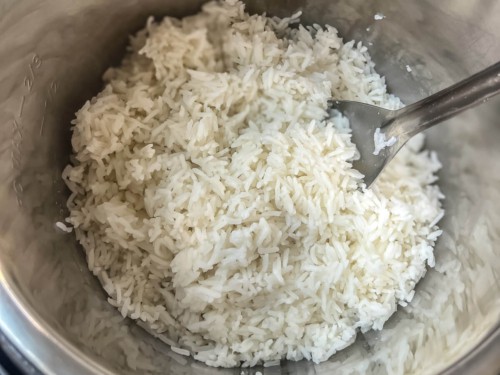
- When the cooking cycle is complete, wait 10 minutes before moving the valve to 'venting' to release pressure.
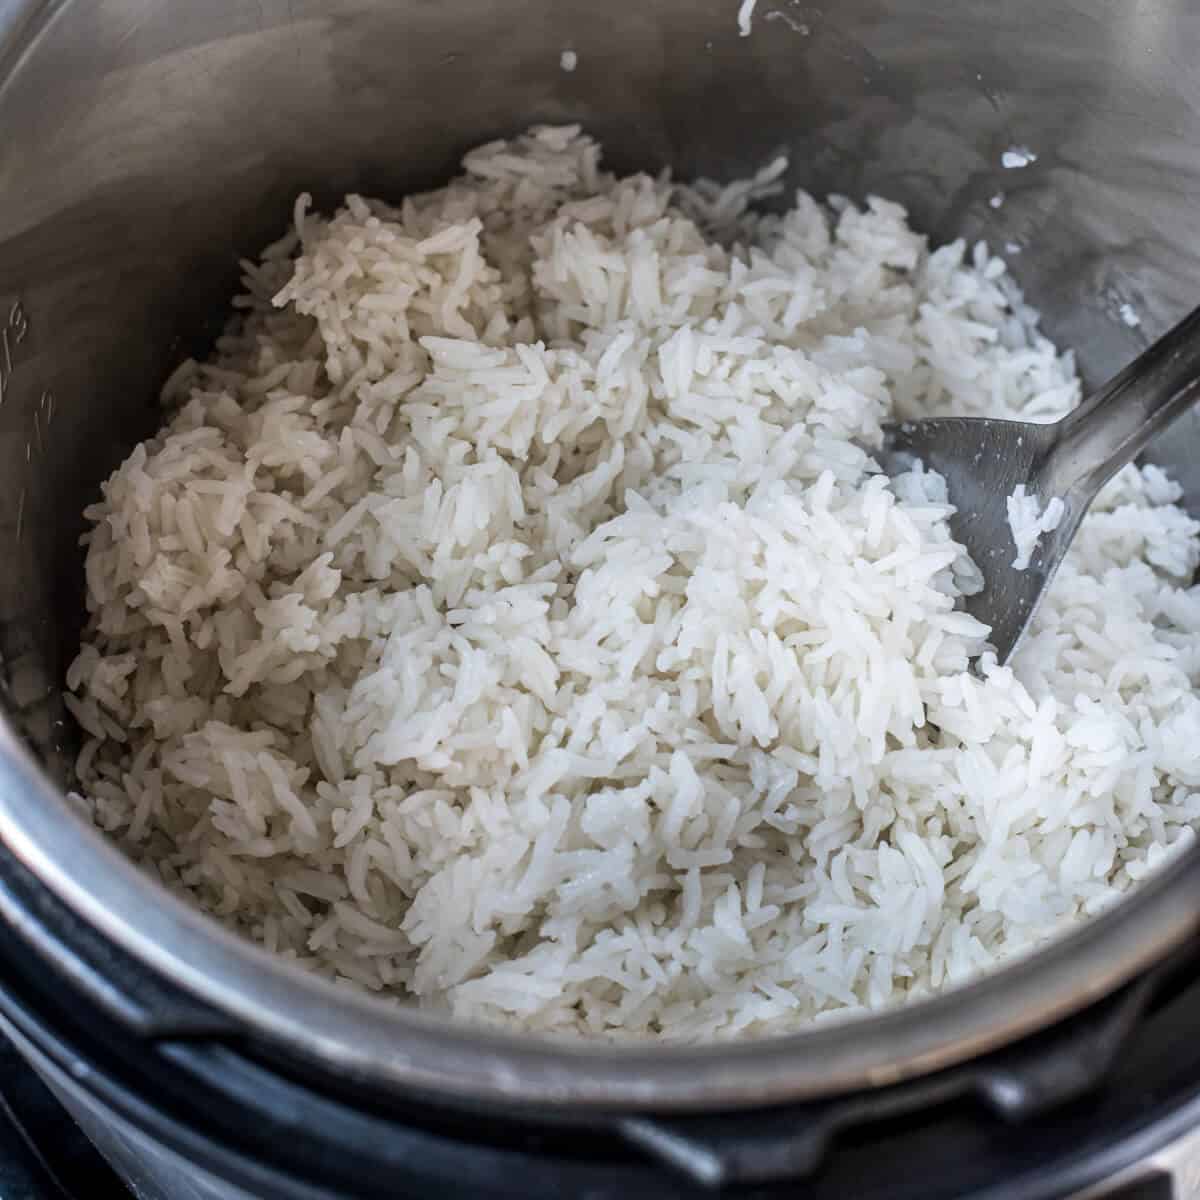
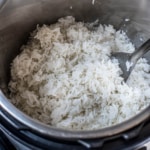
- Open the lid and let the steam escape. Wait a minute or two, fluff the rice gently with a fork, and it is ready to serve.
Pot in Pot Cooking
- Add Jasmine rice, water, and salt to a steel bowl. Mix well. For white rice, use a 1:1 ratio of water and rice and for brown rice, for every 1 cup of rice, use 1.25 cups of water.
- Add a cup of water in the inner pot for 6-quart and 2 cups for 8-quart. Place a trivet over it.
- Place the steel bowl on the trivet.
- Pressure cook for 10 minutes on high pressure for white Jasmine rice and 22 minutes for Brown Jasmine rice.
- When the cooking cycle is complete, wait 10 minutes before moving the valve to 'venting' to release pressure.
- Open the lid and let the steam escape. Wait for a minute or two and then fluff the rice gently with a fork and it is ready to serve.
Notes
- I used a standard measuring cup for the recipe, not the rice cup that came with Instant Pot.
- Rinse the rice – Rinse the rice in a few changes of cold water to remove dirt and extra starch (which makes it easier to digest).
- Sauteeing the rice along with oil or ghee helps build flavor.
- Let the rice rest – Once cooked, let the rice rest – this allows the steam to redistribute, and all the layers of the rice are evenly cooked. That is why it is important to wait 10 minutes before releasing pressure.
- Fluff the rice once it is cooked to prevent it from sticking to each other.
- If not serving immediately, remove the inner pot from the Instant Pot to prevent the rice from drying out and sticking to the bottom.
- Cooking time will not change even if you double or triple the recipe.
- Avoiding burn signal in 8-quart Instant Pot – 8-quart Instant Pots need at least 2 cups of water to function. If you want to cook rice in an 8-quart, I would suggest cooking it pot-in-pot (more details below)
- Replace the water with broth for additional flavor.
Disclaimer: Approximate nutritional information is provided as a courtesy and can vary depending on the exact ingredients/brands used. If you have health issues, please work with a registered dietician or nutritionist.