One-Pot Shrimp / Prawn Biryani (Instant Pot + Stovetop)
Note: This post contains affiliate links. As an Amazon Associate I earn from qualifying purchases.

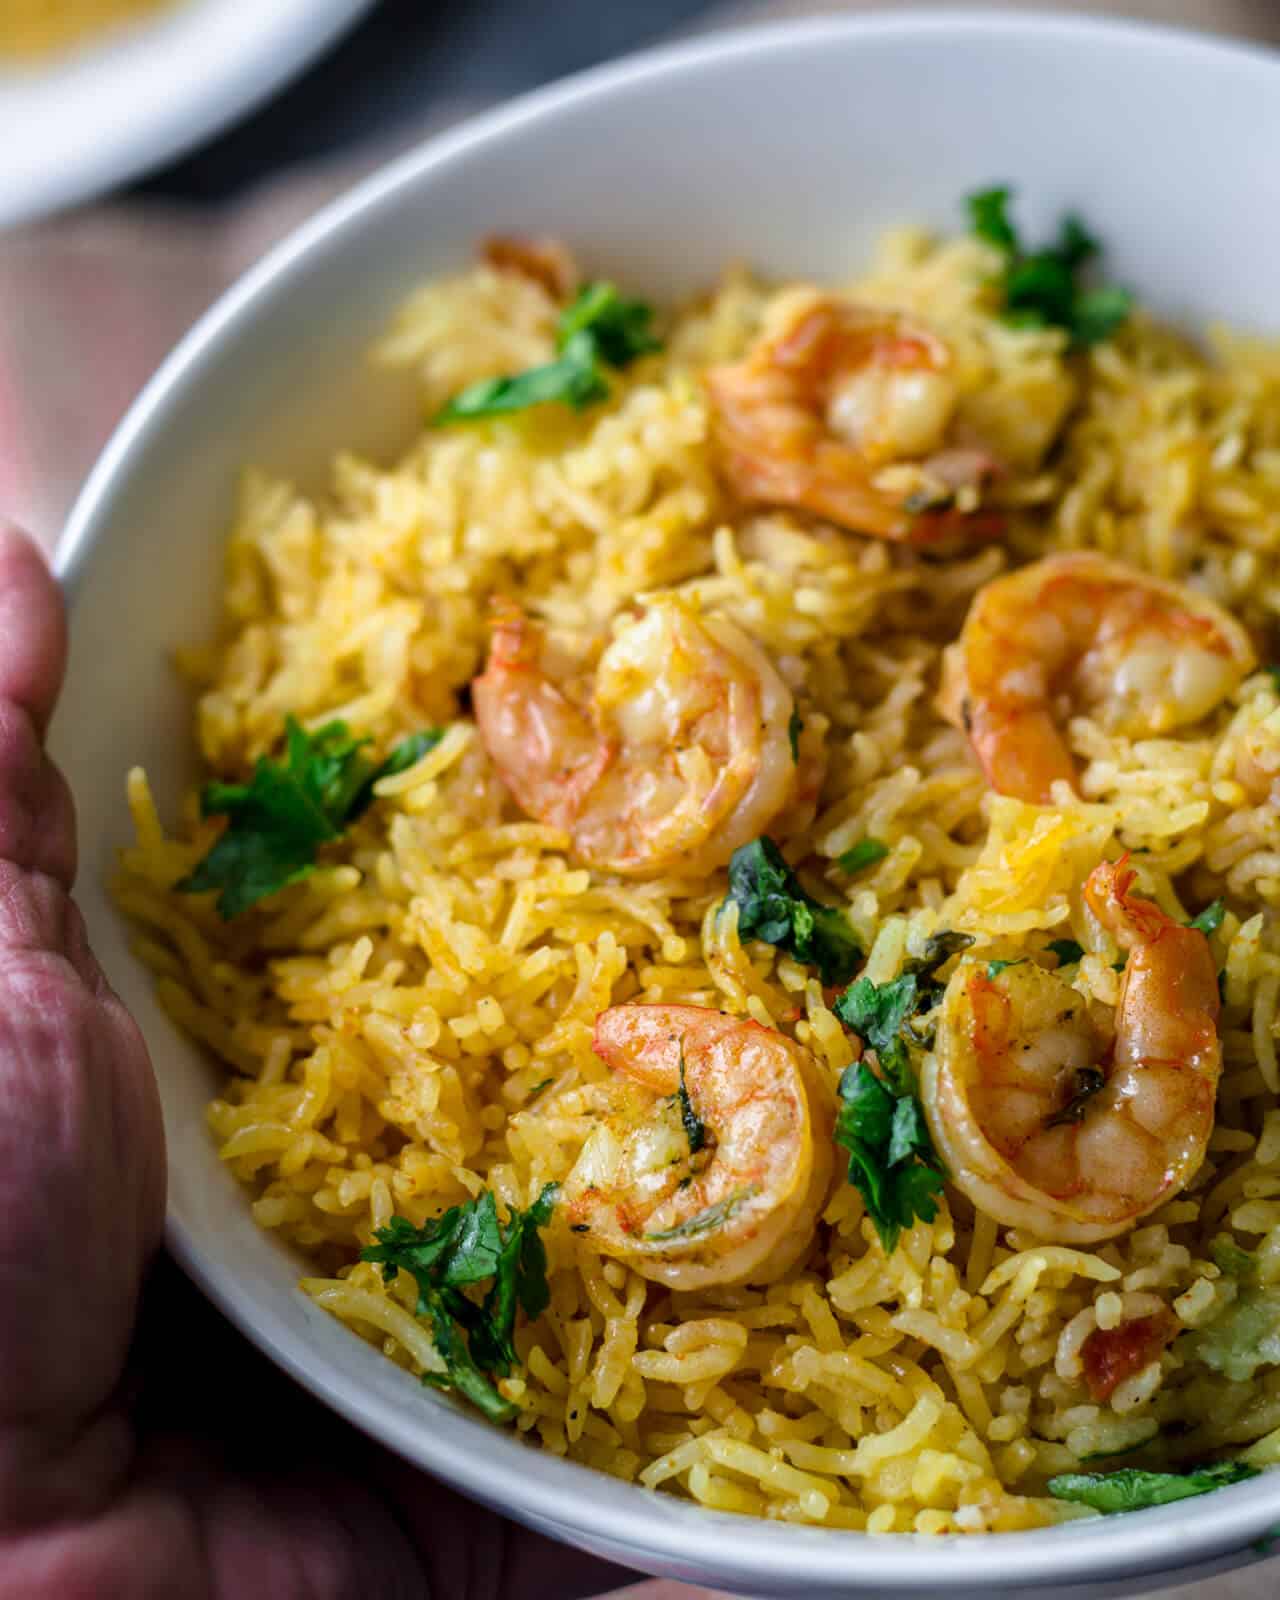
Looking for a failproof shrimp/prawn biryani recipe? I have one for you! This Instant Pot recipe will yield the most flavorful, one-pot biryani without a lot of hard work.
Note: If you don’t own an Instant Pot, don’t worry- you can still make great-tasting prawn biryani on your stovetop. Just check out the recipe below.
Cooking shrimp biryani in the Instant Pot
This shrimp or prawn biryani recipe is an absolute favorite for my family of biryani enthusiasts. I’ve prepared it over 100 times, and the appeal never fades. What makes this dish a standout is its robust flavor profile – it’s spicy (though you can adjust to a milder taste), packed with flavor, and irresistibly aromatic, a result of using Basmati rice, homemade garam masala, and ghee.
And guess what? It’s incredibly easy to make, especially with an Instant Pot.
The Instant Pot brings numerous benefits to the kitchen, including consistent cooking results, a clean stovetop, and the convenience of hands-free cooking. But for me, the real game-changer is how it transforms the process of making biryani into a simple, almost foolproof endeavor. [Read more – Biryani – a complete guide with 10+ recipes]
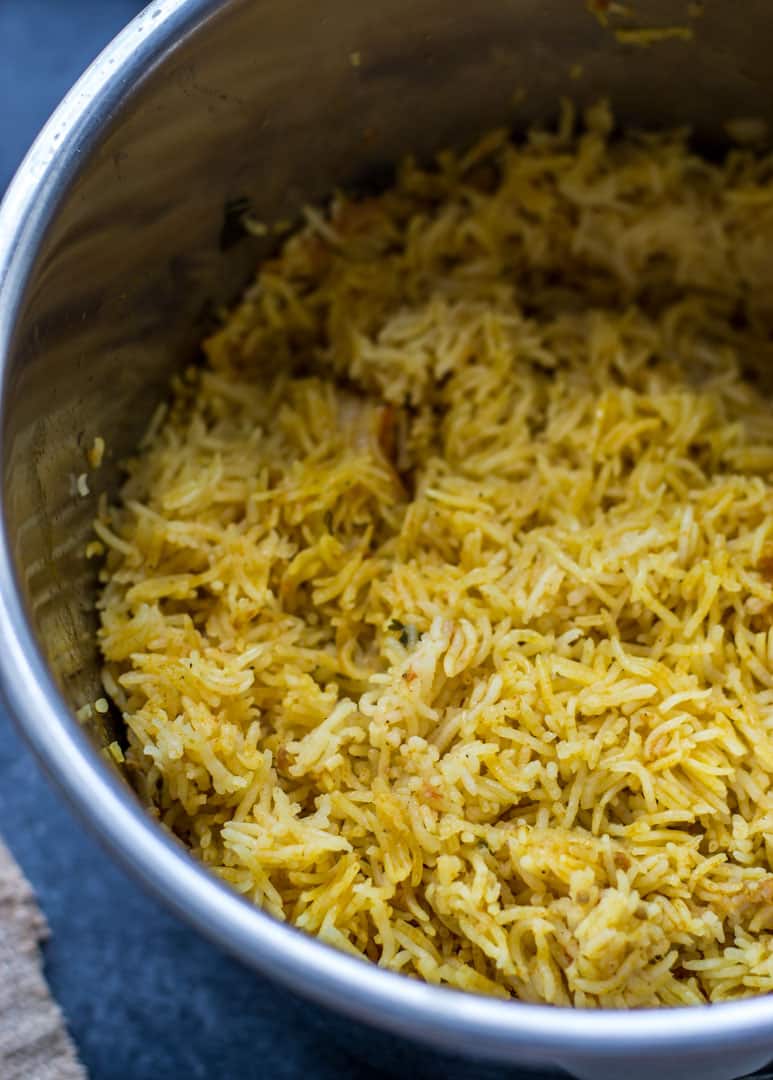
Every time I use it, the shrimp cooks to perfection, and the rice grains come out flawlessly separated – it’s like a little bit of culinary magic.
The process is straightforward: once your prawn masala base is prepared, add the prawns, rice, and water. In just 5 minutes (plus the time to build pressure), your shrimp biryani is ready to be served.
It really does feel like magic!
Ingredient notes/swaps
- Shrimp/Prawns: Peeled and deveined. You can use frozen shrimp, too, but make sure they are completely thawed and drained.
- Basmati rice: For its long grains and fragrant aroma
- Oil: For sautéing and cooking. I prefer avocado oil, olive oil, coconut oil, or sunflower oil.
- Whole spices: Including cloves, black Peppercorns, bay leaf, and a cinnamon stick for that biryani flavor
- Onions: Sliced, for sweetness and depth
- Salt: To taste
- Garlic cloves: Finely minced, for a robust flavor
- Ginger: Grated or minced, for a warm, spicy note. You can also substitute fresh garlic and ginger with a tablespoon of homemade ginger garlic paste.
- Tomatoes: Chopped, adding a mild tartness and color
- Green chilies: Slit or chopped, for heat
- Spice powders: Kashmiri red chili powder for color and mild heat, and turmeric powder for its earthy flavor and health benefits
- Plain yogurt: Whisked, adding tang and creaminess
- Coconut milk: For a rich, creamy texture and flavor
- Garam masala: to add a hint of warmth and heat
- Lime or lemon juice: Freshly squeezed, for a zesty kick
- Cups of water: For cooking the rice
- Ghee or clarified butter: For enriching the fragrance and keeping the rice grains separate and fluffy
- Cilantro/coriander leaves: Chopped, for garnishing and a fresh aroma
Be sure to check out the full recipe and ingredient list below.
Shrimp vs. prawns – what’s the difference?
Shrimp and prawns, while often used interchangeably in culinary contexts, have distinct differences in anatomy and habitat and are actually different species.
Anatomically, shrimp have a noticeable bend in their body due to the overlapping of their shell segments, while prawns have a straighter body with more uniform segment overlapping. Shrimp also have two pairs of claw-like legs, in contrast to the three pairs found in prawns.
Their habitats differ as well. Shrimp primarily inhabit saltwater environments, including both deep and shallow oceans. Some shrimp species are found in freshwater, but this is less common. Prawns, conversely, are mostly found in freshwater, although some species live in brackish waters. This difference in habitat can sometimes influence their flavor and texture, although these variations are often subtle.
In the culinary world, the choice between shrimp and prawns usually comes down to personal preference, availability, or specific recipe needs, as they can typically be used interchangeably in recipes. The perceived differences in taste and texture between the two are often subtle, with prawns generally considered to have a sweeter taste and more delicate texture.
However, regional terminology also influences their usage. “Prawn” is the more common term in places like India and the UK, while “shrimp” is predominantly used in the US.
But since they taste the same, they are often used interchangeably, so go ahead and substitute one for the other depending on what’s locally available.
For my visual readers, here’s an infographic that shows the difference between shrimp and prawns.
Tips to make the perfect shrimp biryani in Instant Pot
Have you ever accidentally overcooked shrimp?
I certainly have. It softens up, loses its crunch, and becomes almost jelly-like ..YIKES! Check out the tips below to ensure your shrimp doesn’t end up like that.
- Wash the rice properly – Rinse the rice in a few changes of cold water to remove dirt and extra starch (which makes it easier to digest).
- Soaking the rice – If time permits, soak the rice for 15-20 minutes. Soaking elongates the grains and makes them less brittle.
- Deglaze: Use a wooden spoon to gently scrape off any bits stuck to the bottom before adding the rice. This will prevent the burn signal from turning on during the pressure cooking process.
- Adjust salt/chili powder before adding shrimp – The last thing you want is a bland-tasting biryani. That’s why you need to add salt as well as chili powder a bit more than usual so that when you mix rice with the shrimp base, your biryani is full of flavor and doesn’t taste bland. That’s why I do a taste test before I add shrimp and make sure the gravy tastes a bit salty and spicy.
- Eyeball the water – Just add enough water such that every grain of rice is just about submerged. That’s all the water that is needed. If you add more water than that – your biryani will end up being mushy.
- Cook in low pressure – The low-pressure setting is best for delicate foods such as fish and seafood. If you don’t have a low-pressure setting, high-pressure is fine.
- Add ghee (optional step) – After the rice is cooked, add a tablespoon of ghee to it and lightly fluff the rice. Adding ghee makes the biryani, resulting in a fragrant and buttery Basmati rice.
- Let the rice rest – After adding ghee, let the biryani rest – this allows the steam to redistribute, and all the layers of the rice are evenly cooked. That is why it is important to wait for 5 minutes after adding ghee.
Serving suggestions
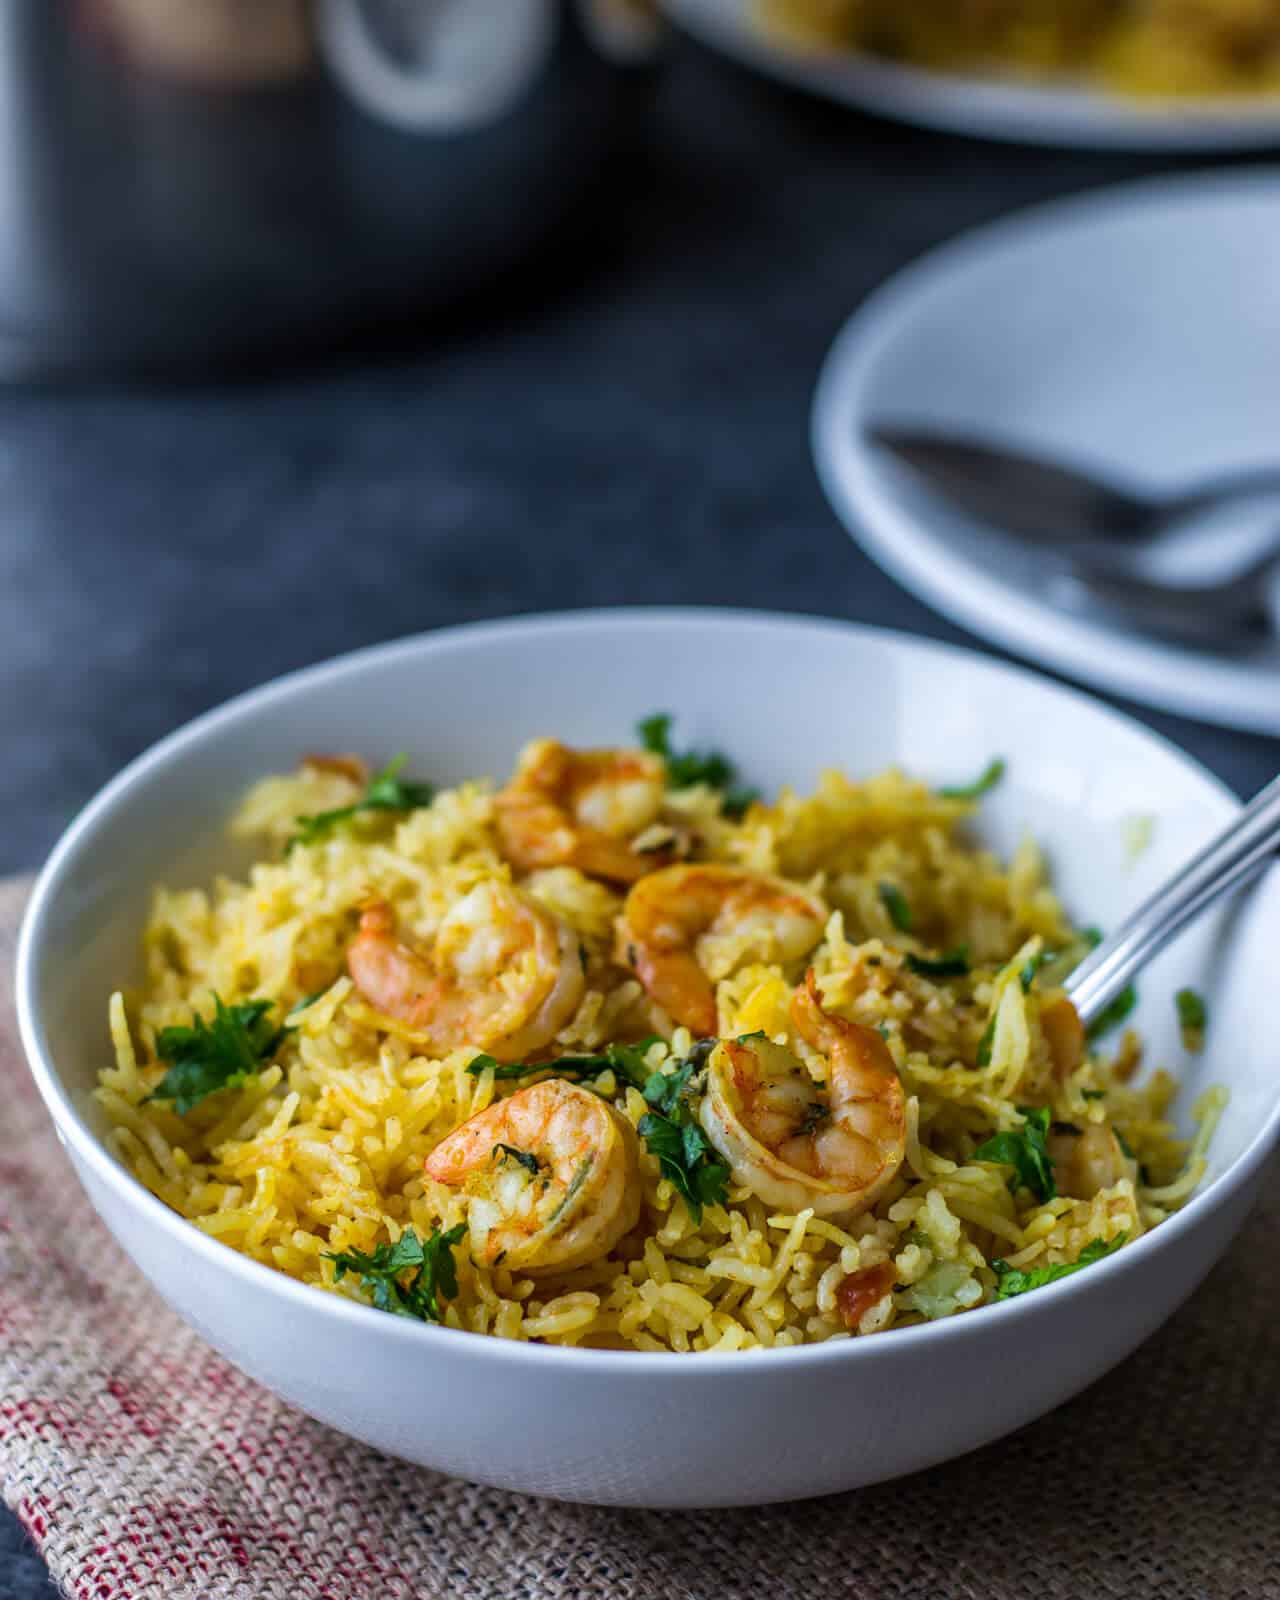
Serve this shrimp dish hot, garnished with fried onions and fresh herbs like coriander leaves and mint leaves. Pair with cucumber raita for a refreshing contrast.
Meal prep instructions
Here’s how you can prep for this prawn biryani in advance
- Shrimp/Prawns: Clean, peel, and devein your shrimp a day before and store them in the refrigerator in an airtight container.
- Vegetables & aromatics: Chop onions, tomatoes, garlic, ginger, and green chilies. Store them in separate airtight containers in the fridge. You can also partially cook the onion-tomato masala and refrigerate it. This mixture often tastes better the next day as the flavors meld.
- Spice mix: Measure out your spices, such as garam masala, turmeric, and chili powder, and keep them in small, labeled containers.
Storage instructions
- Cooling down: Allow the cooked biryani to cool completely to room temperature before storing it. This prevents condensation and bacterial growth.
- Refrigeration:
- Store the biryani in airtight containers to prevent it from absorbing other odors from the fridge.
- It can be refrigerated for up to 2-3 days.
- Freezing:
- For longer storage, biryani can be frozen. Place it in freezer-safe containers or heavy-duty freezer bags.
- It can be frozen for up to 1 month. Beyond this, the flavors may start to diminish.
- Reheating:
- For best results, thaw the frozen biryani in the refrigerator overnight.
- Reheat in a microwave, stirring occasionally to ensure even heating. If the biryani seems dry, add a few spoonfuls of water before reheating.
- Serving after storage:
- If the rice grains stick together after refrigeration or freezing, fluff them gently with a fork after reheating.
- Serve with freshly chopped cilantro or fried onions after reheating to refresh the flavors.
Other rice recipes that you’ll enjoy
Looking for more rice recipes? Here’s a list of handpicked recipes I am sure you’ll love.
- Lemon rice – a simple tangy rice preparation
- Jeera rice – is a perfect accompaniment to paneer tikka masala, butter chicken, and many other Indian curries.
- Vegetable biryani– an aromatic biryani that is loaded with veggies
- Chettinad chicken biryani – a specialty biryani from Chettinad
- Egg biryani – Simple and delicious biryani made with eggs
- 20-minute Instant Pot Palak rice (spinach rice) – Learn how to make this flavorful spinach rice, packed with fresh vegetables and aromatic spices, in just 20 minutes with your Instant Pot.
Recipe inspiration
This recipe has been adapted from Sanjeev Kapoor’s book – Rice, Biryani, and Pulao![]() . It is a South Indian-style recipe that uses coconut milk for added flavor.
. It is a South Indian-style recipe that uses coconut milk for added flavor.
This Instant Pot Shrimp Biryani is not just a one-pot meal; it’s a celebration of flavors and textures, making it a perfect dish for both special occasions and everyday meals.
The combination of fragrant basmati rice, spicy shrimp masala, and the aroma of Indian spices creates a heavenly meal that’s hard to resist. So, next time you crave some delicious prawn biryani, remember this Instant Pot recipe and treat yourself to a delightful culinary experience.

Shrimp / Prawn Biryani Recipe (Instant Pot + Stovetop)
Equipment
Ingredients
- 2 cups Basmati rice rinse and soaked in water for 20-30 minutes
- ¼ cup olive oil
- 4-5 whole cloves
- 6-8 whole black peppercorns
- 1 Indian bay leaves
- 2 inch piece cinnamon stick
- 2 cups chopped onions
- salt to taste
- 4 garlic cloves minced
- 1 tablespoon grated ginger
- 2 cups chopped tomatoes
- 1-2 green chilies finely chopped
- 1-2 teaspoons Kashmiri chili powder
- ½ teaspoon turmeric powder
- ¼ cup yogurt
- ½ cup coconut milk [optional]
- 2 teaspoon garam masala
- 1 pound shrimp/prawns peeled and deveined
- ½ tablespoon lime juice
- 1-1.25 cups water
- 1 tablespoon ghee clarified butter
- finely chopped cilantro / coriander leaves for garnishing
Instructions
Instant Pot method
- Add oil to the steel insert of the Instant Pot and press the Saute function.
- Press the Adjust button to move the selection to “Normal” and wait till the display reads “Hot.”
- Add peppercorns, cloves, cinnamon stick, bay leaves, and green chilies. When they sizzle (after 10-15 seconds) add onions.
- Fry the onions till they turn soft and translucent (approximately 8-10 minutes).
- Add garlic, ginger, and salt. Saute it with the onions for a minute or so.
- Add turmeric powder, chili powder, and salt and mix well.
- Add tomatoes and continue frying till they turn mushy.
- Add coconut milk, yogurt, and garam masala. Blend it in. Do a taste test – the salt should slightly be on the higher side.
- Add shrimp/prawns and lime juice. Give it a good stir.
- Drain the water from the soaked rice and add the rice on top of the shrimp and add just enough water (approximately 1.25 cups) to completely submerge the rice.
- Press “Warm / Cancel” button and then select “Pressure Cook.”
- Adjust the time to 5 minutes and set the pressure selection at low. Cover the Instant Pot lid and lock it. Make sure the vent is at sealing position.
- Once the cooking cycle completes, immediately release pressure by moving the vent from sealing to venting.
- Open the lid and let the steam escape. Add a tablespoon of ghee and gently fluff the rice. Add cilantro and gently mix it in.
- Cover for 5 minutes and then serve accompanied with raita or yogurt.
Video
Notes
Stovetop method
-
Cook the presoaked rice with twice the amount of water and salt (1/4 tsp) till it is 3/4th done. [ Note: I make my rice in the microwave. Normally I keep it for 16 minutes, but when I am making rice for biryani, I keep it for around 14 minutes]. Then I let it cool.
-
In a medium-sized kadhai or wok kept over medium heat, add 1/4 cup oil. Add peppercorns, cloves and bay leaves, cinnamon stick, and green chilies. When they sizzle (after 10-15 seconds) add onions, ginger, and garlic. Fry them till the onions turn translucent.
-
Add tomatoes and continue frying till they turn mushy. Add red chili powder, salt, turmeric powder, and shrimp/prawns and mix well.
-
Whisk the yogurt well and mix it with the coconut milk (if you are using it) and add it to the kadhai/wok. Continue to keep it on medium heat till the shrimp/prawns are done.
-
At this point, the gravy should run thick and shouldn’t be runny at all. Add garam masala, along with lime juice and mix well.
-
Add the rice and ghee to the kadhai and carefully fold it in and simmer it for 5 minutes covering the kadhai before taking it off heat.
-
Garnish it with coriander leaves and serve hot with raita.
Tips to make the perfect shrimp biryani in Instant Pot
- Wash the rice properly – Rinse the rice in a few changes of cold water to remove dirt and extra starch (which makes it easier to digest).
- Soaking the rice – If time permits, soak the rice for 15-20 minutes. Soaking elongates the grains and makes them less brittle.
- Deglaze: Use a wooden spoon to gently scrape off any bits stuck to the bottom before adding the rice. This will prevent the burn signal from turning on during the pressure cooking process.
- Adjust salt/chili powder before adding shrimp – The last thing you want is a bland-tasting biryani. That’s why you need to add salt as well as chili powder a bit more than usual so that when you mix rice with the shrimp base, your biryani is full of flavor and doesn’t taste bland. That’s why I do a taste test before I add shrimp and make sure the gravy tastes a bit salty and spicy.
- Eyeball the water – Just add enough water such that every grain of rice is just about submerged. That’s all the water that is needed. If you add more water than that – your biryani will end up being mushy.
- Cook in low pressure – The low-pressure setting is best for delicate foods such as fish and seafood. If you don’t have a low-pressure setting, high-pressure is fine.
- Add ghee (optional step) – After the rice is cooked, add a tablespoon of ghee to it and lightly fluff the rice. Adding ghee makes the biryani, resulting in a fragrant and buttery Basmati rice.
- Let the rice rest – After adding ghee, let the biryani rest – this allows the steam to redistribute, and all the layers of the rice are evenly cooked. That is why it is important to wait for 5 minutes after adding ghee.
Disclaimer: Approximate nutritional information is provided as a courtesy and can vary depending on the exact ingredients/brands used. If you have health issues, please work with a registered dietician or nutritionist.
Nutrition
This post was first published on December 11, 2017, and has been updated with video and text on June 26, 2020, and new informative text on Jan 22, 2024.