The Art of Tadka (Indian Tempering) Explained
Note: This post contains affiliate links. As an Amazon Associate I earn from qualifying purchases.
Discover the art of Tadka, an Indian spice tempering technique that involves frying spices in oil or ghee to unlock their aromatic oils. This infused oil (also called tadka) is added to the food to elevate its taste and texture. Follow our easy step-by-step guide to make your own perfect tadka in a few easy steps.
What is Tadka or Tarka in Indian Cooking?
Tadka, when translated into English, means tempering. This process involves adding spices in hot oil or ghee and allowing them to bloom before pouring them into a dish.
This popular technique goes by many other names across the length and breadth of the country, where it may be referred to as baghaar, chhaunk, phodni, thalipu, vagarane, oggarney, etc.
Though the names are many, the technique is similar in most regions, albeit the oil or fat and spices that are used may change from region to region or even from one household to another.
For example, while ghee is popularly used across the country for tempering, South Indians also use coconut oil while the North and East Indians use either mustard oil or sesame oil.
What is the significance of tadka?
When spices are added to oil, they release their aromas and flavors, which the oil captures and carries into whatever dish it’s added to, making it more flavorful.
But the magic of tadka goes beyond taste. The hot oil doesn’t just cook the spices; it also helps unlock their health benefits. Many spices used in tadka are packed with medicinal properties, and the heat from the oil helps to activate these, boosting the nutritional profile of your meal.
So, tadka doesn’t just make food delicious; it makes it nutritious, too.
What is in a tadka?
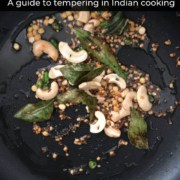
The ingredients used in tadka can vary depending on the region, but it typically starts with a high-smoking point fat like coconut oil or ghee.
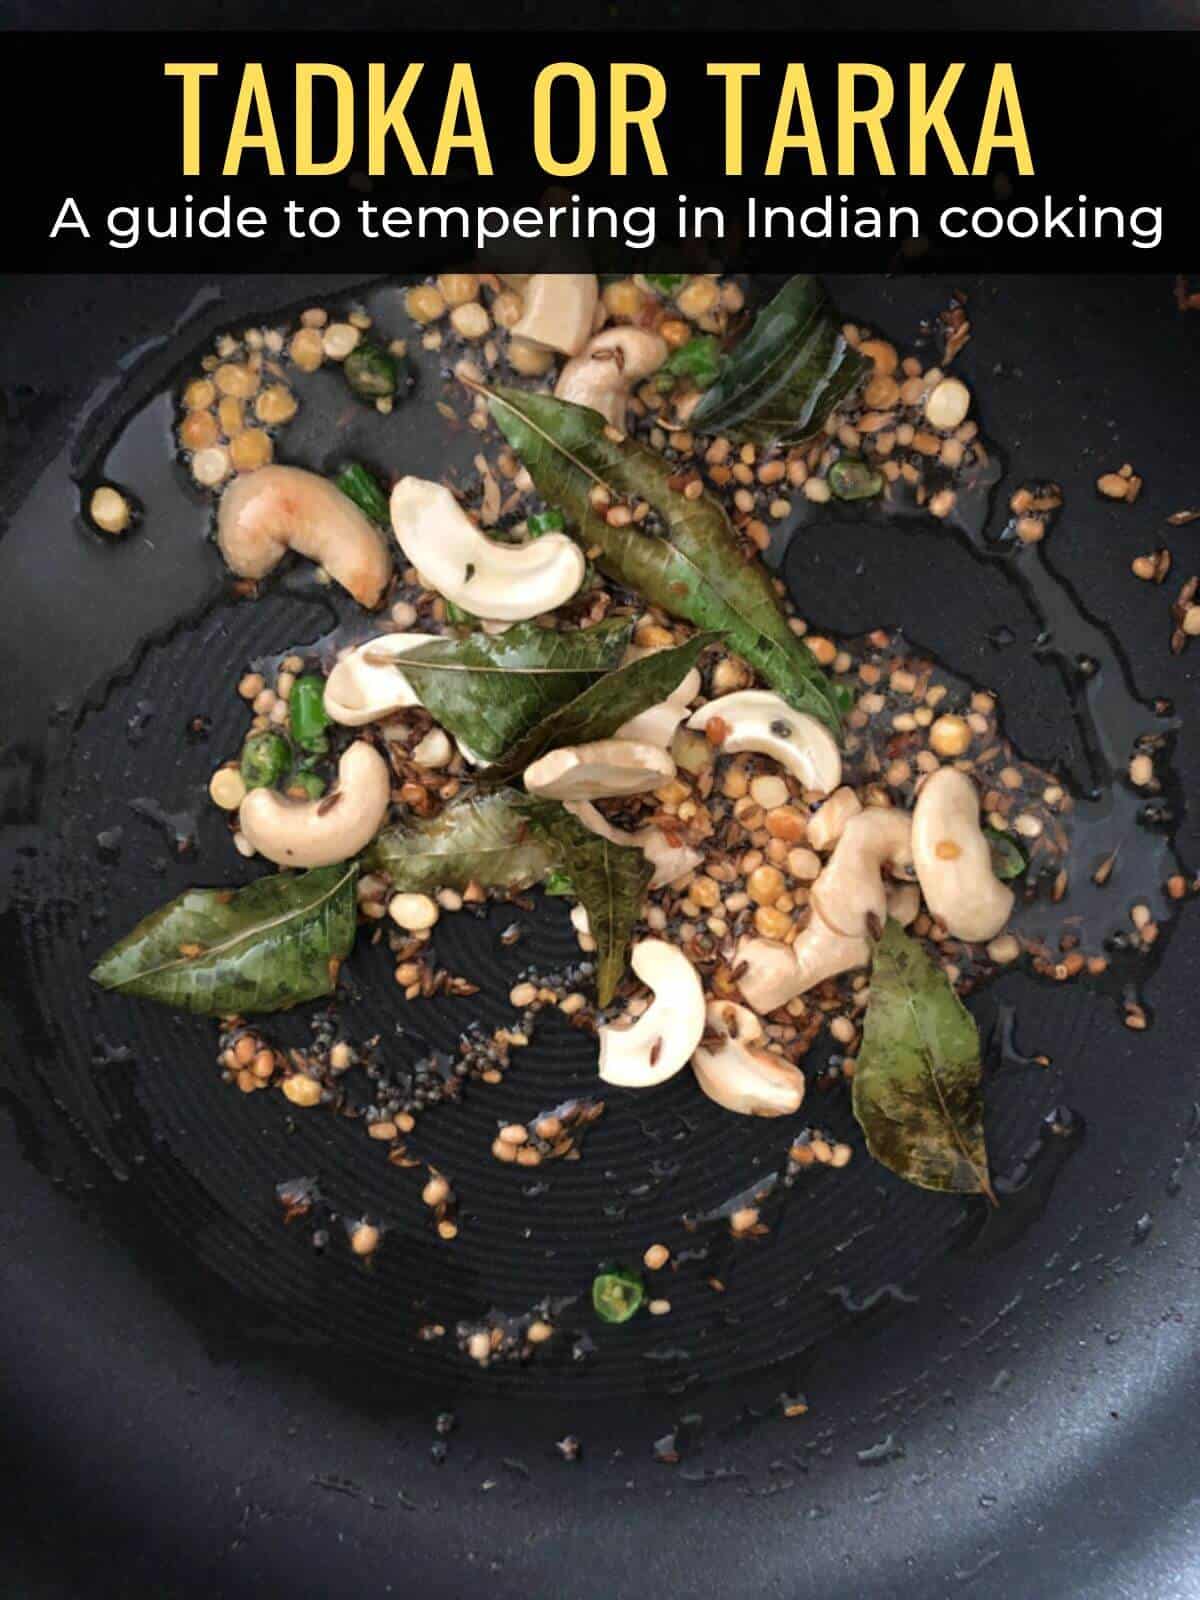
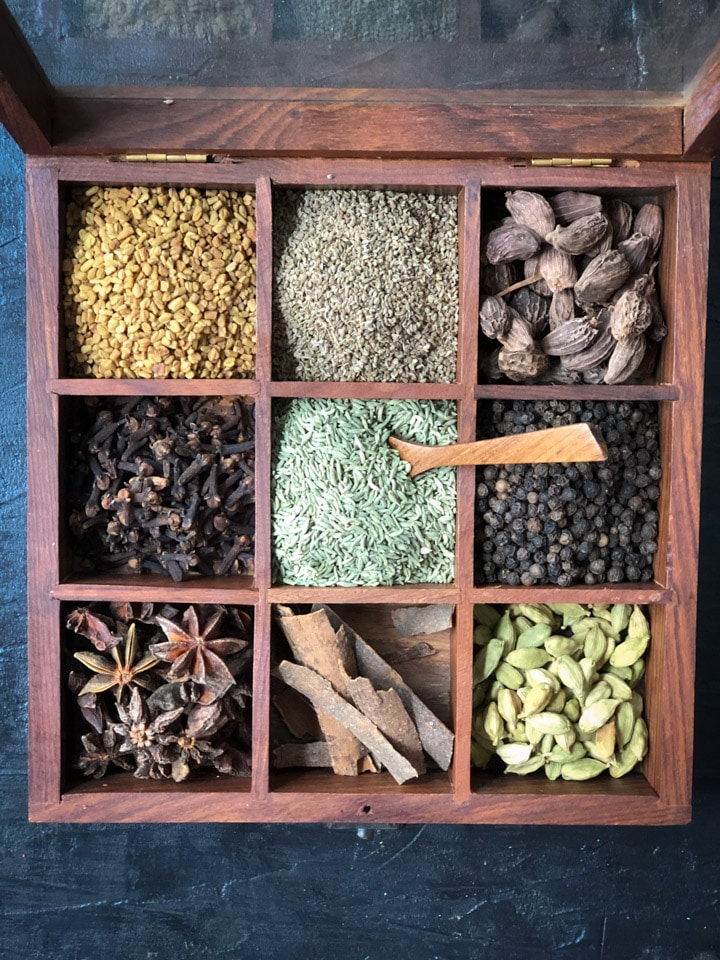
The spices go next, typically mustard seeds, cumin seeds, fenugreek seeds, black peppercorns, bay leaves, and so on—each adds a distinct flavor.
Lentils like urad dal and chana dal are often added for a nutty taste and texture.
For that fragrant kick, aromatics are essential. Asafoetida, onions, garlic, curry leaves, etc. are popular choices.
Lastly, nuts, such as cashews, peanuts, etc, can be tossed in for a crunchy contrast. Each ingredient is carefully selected to contribute to the symphony of flavors that tadka brings to a dish.
When is the right time for tadka?
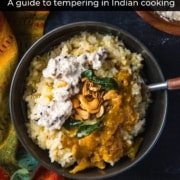
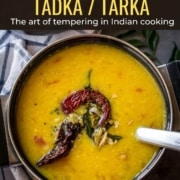
The answer is it depends. Some recipes call for a tempering process at the start, such as this aloo gobhi, cabbage poriyal, and dal tadka dishes while in recipes like this coconut chutney or this cucumber raita, it is poured over the top at the time of serving.
The rule of thumb I follow is if I want to make any recipe a one-pot dish, I usually start with the tempering first. Most folks also start with the tempering process for side dishes such as this plantain dish or aloo matar (potato and peas curry).
When it comes to lentil curries, chutneys, and raitas, it is best to add tempering at the end.
How is tempering done in Indian cooking?
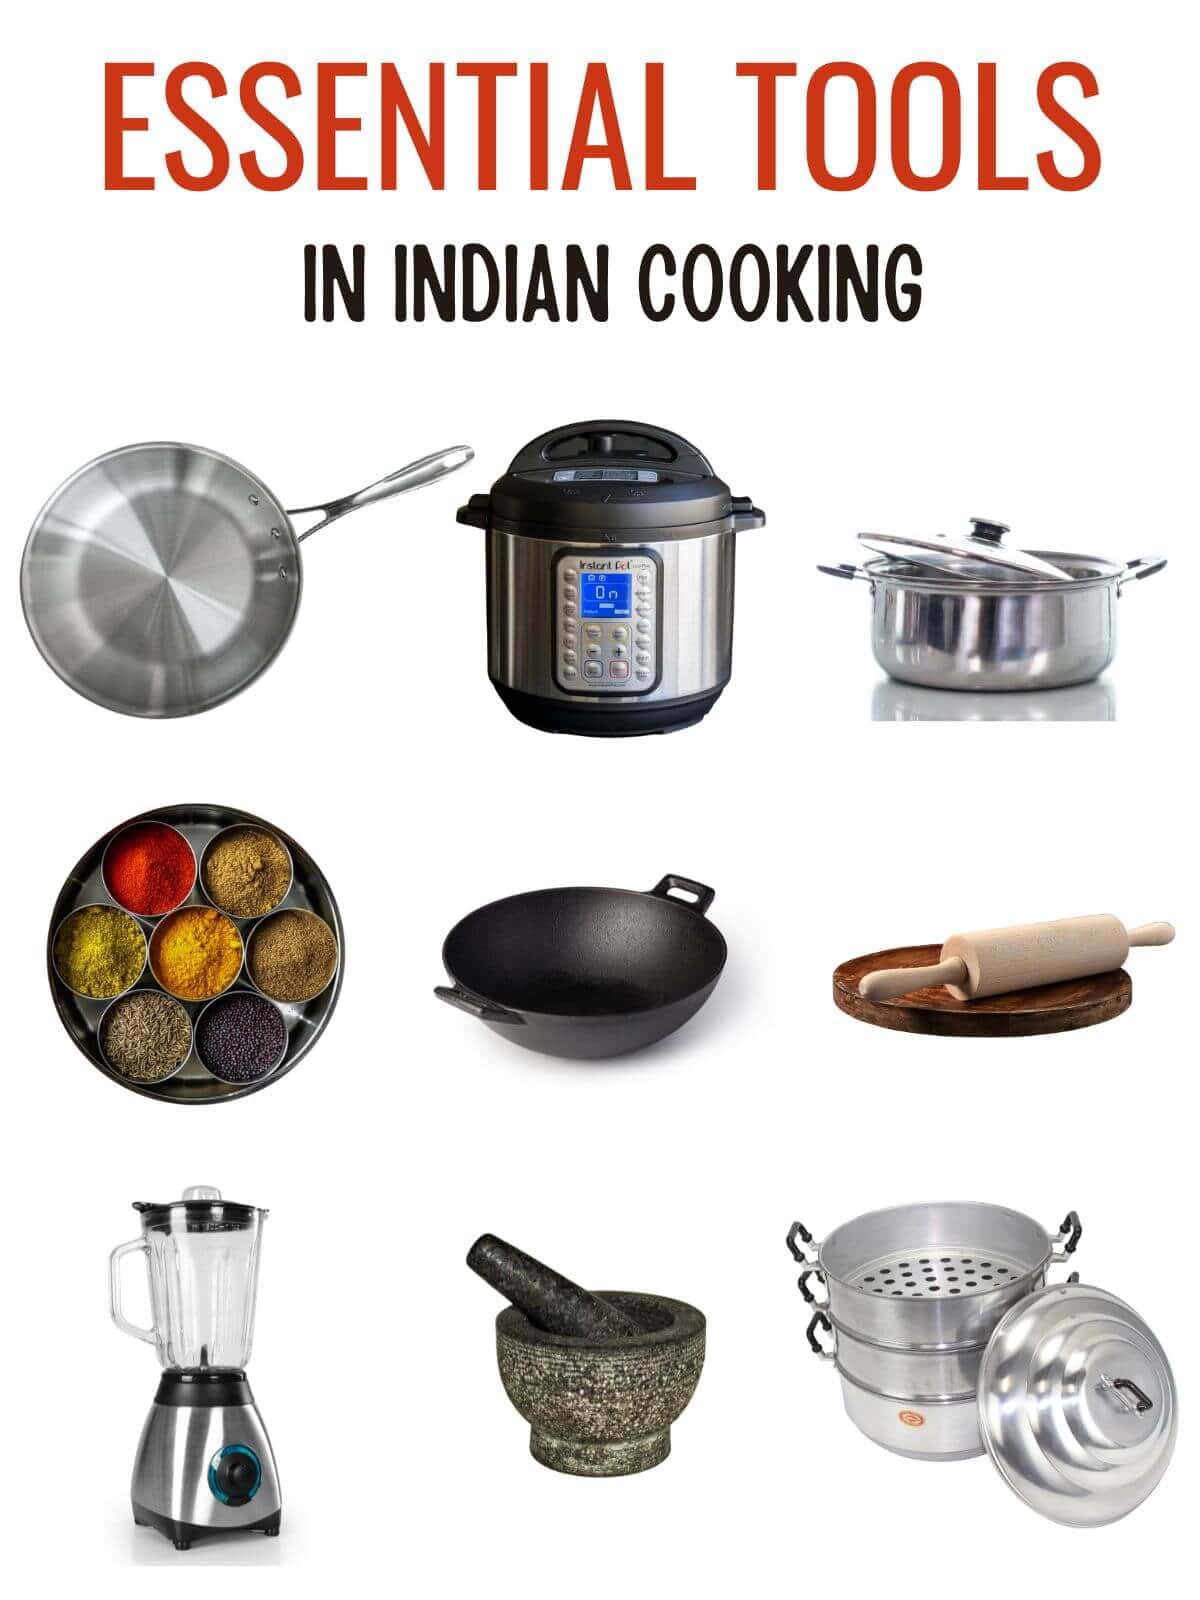
If tempering is done at the beginning of the cooking, use a wok or kadhai. Use a tadka pan, if you are planning to add tadka at the end.

Here’s how the tadka process is traditionally done –
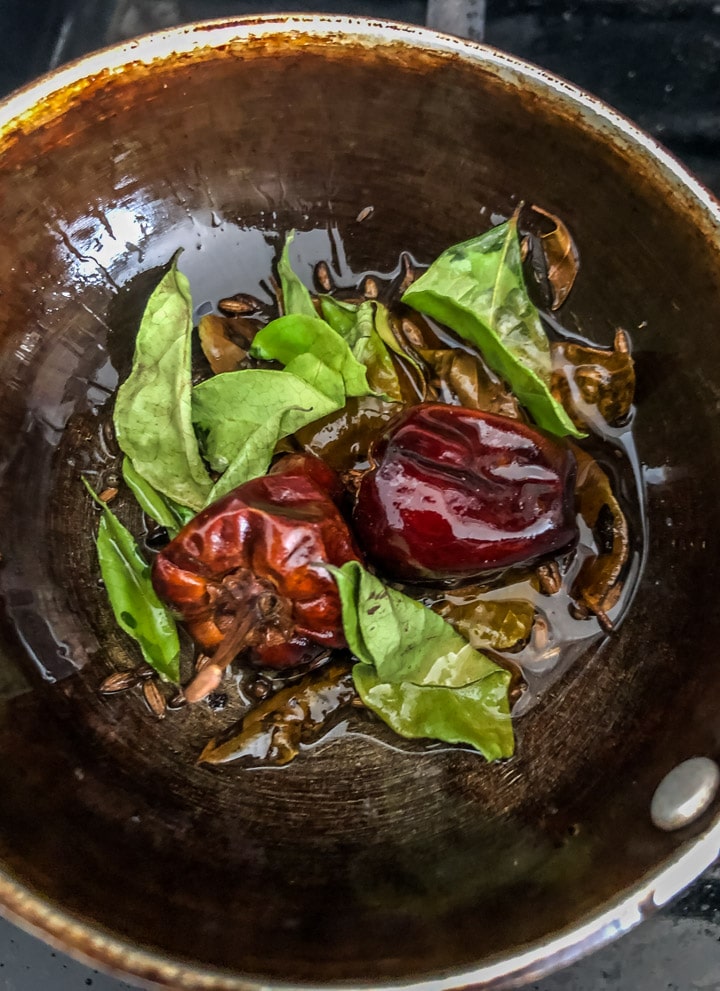
- Heat the Oil: Add oil to a tadka pan or a small saucepan placed over medium or medium-low heat.
- Oil Temperature: Allow the oil to heat up before adding spices like mustard and cumin seeds. These spices should sizzle as soon as they come into contact with the hot oil. You can test the oil by adding a few seeds at a time.
- Introduce Whole Spices: Once the mustard or cumin seeds have sputtered, incorporate whole spices like black peppercorns, cinnamon sticks, etc.
- Add Lentils: Add lentils such as chana dal and urad dal. Cook until the lentils turn golden brown.
- Aromatics: Add aromatics like asafoetida, green chilies, and curry leaves. These aromatics require only a few seconds to toast, so keep a watchful eye.
- Turn Off the Heat: Turn off the gas, and then introduce ground spices, dried chilies, ginger, and garlic. The residual heat in the pan is sufficient to cook these ingredients through.
Best practices for tadka
- Select the appropriate oil: Choose the right oil, depending on your dish. While coconut oil and ghee can add a robust flavor to your recipe, they tend to solidify when added to chilled dishes. In such cases, opt for a neutral-tasting oil like avocado oil.
- Preheat the oil: Allow the oil to heat up before adding the spices. The spices should sizzle when they are introduced to the hot oil.
- Follow the order: Maintain the correct order when adding ingredients. Ingredients that cook quickly, such as curry leaves, should be added last.
- Act quickly: Most spices require only a few seconds to release their flavors. Work swiftly and ensure that all tempering ingredients are ready before you begin.
- Discard burnt spices: If you accidentally burn the spices during the tempering process, it’s advisable to discard them. Otherwise, the burnt taste may carry over into the dish.
- Steer clear of moisture: Never introduce any moisture into the tadka, as it can lead to splattering or a fire. Before using curry leaves, make sure they are thoroughly dried. In case of a fire, promptly switch off the gas and extinguish it by covering the pan with a lid to cut off the oxygen supply.
- Timing matters for tadka: When using tadka as a finishing touch, prepare it after the dish is ready to maintain its heat and freshness.
Recipes that use tadka
- Tadka added at the beginning
- Aloo gobi – A Punjabi-style cauliflower and potato curry that you can make in less than 30 minutes using an Instant Pot or over the stovetop.
- Aloo ki sabji (Indian potato recipe) – Learn how to make this classic Indian potato recipe in under 30 minutes using a pressure cooker like Instant Pot.
- Tadka added at the end
- Gujarati Kadhi – a delicious yogurt-based curry that will bowl you over with its sweet and sour taste.
- Coconut chutney – Most South Indian breakfasts and snacks can’t do without coconut chutney – a coconut-based dip in which we all love to dunk our idli and dosas.
Indian Cooking 101 series
New to Indian cooking? Here are a few helpful posts to get you started!


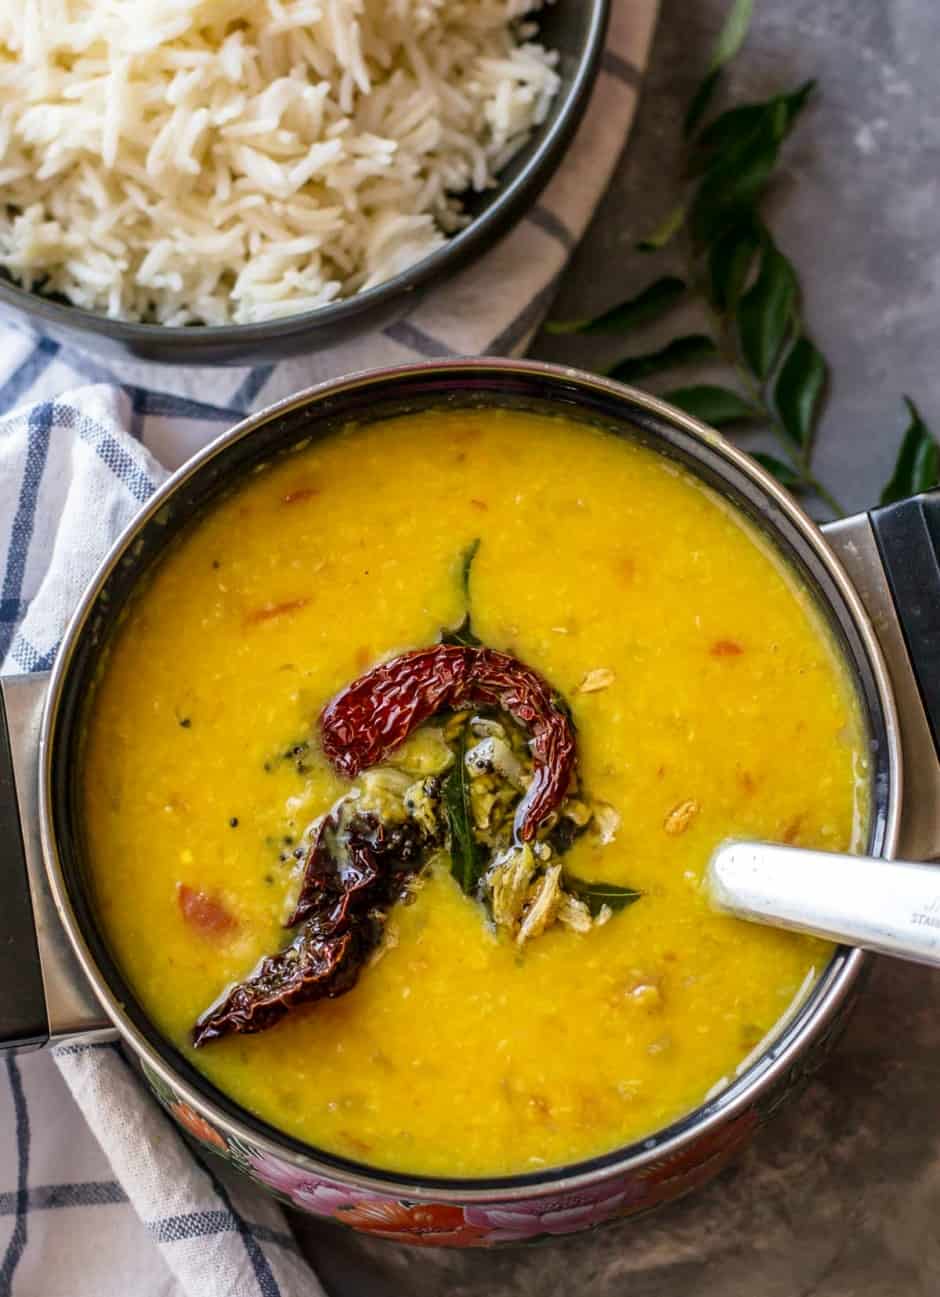
Dal Tadka Recipe
Ingredients
- 2 tablespoons coconut or olive oil
- 1 teaspoon mustard seeds
- 1 sprig of curry leaves or kadipatta kadipatta
- 2-3 dried red chilies optional
- a pinch of asafoetida hing
- 2 garlic cloves chopped
- ½ cup finely chopped onions
- ½ cup finely diced tomatoes
- 2 green chili peppers chopped
- ½ teaspoon turmeric powder
- salt to taste
- 1 cup toor dal / tuvar dal [or 1/2 cup moong dal split moong beans + 1/2 cup tuvar dal (split pigeon peas)]
- 3 tablespoons finely chopped cilantro / coriander leaves for garnishing
Instructions
Stovetop method
- Heat a tablespoon of oil in a pressure cooker. Add mustard seeds and as they begin to splutter add curry leaves, asafoetida, dried chilies, and garlic.
- After 10 seconds or so add cut tomatoes, onions, green chilies, turmeric powder, and salt. Fry it for a min. [ Note: It doesn’t need to be fried well like other dishes and a little saute and you are done]
- Wash the dal well and add it to the cooker and add 2.5 cups of water. Close cooker and wait till the vent goes off 4 times [ Note: Every cooker works differently and mine takes that long to get the dal nicely cooked]
- Shut the gas off and allow to cool naturally.
- Open cooker and mix well and then garnish it with coriander leaves.
Instant Pot method
- Add oil to the steel insert of the Instant Pot and press the Saute function. Press the Adjust button to move the selection to “low” and wait till the display reads “Hot.” Add mustard seeds and as they begin to sputter add curry leaves, dried chilies, asafoetida, and garlic.
- After 10 seconds or so add cut tomatoes, onions, green chilies, turmeric powder, and salt. Fry it for a min. [ Note: It doesn’t need to be fried well like other dishes and a little saute and you are done]
- Wash the dal and add it to the steel insert along with 2.5 cups of water. Press “Warm / Cancel” button and then select “Pressure Cook.” Adjust the time to 15 minutes and set the pressure selection to high. Cover the Instant Pot lid and lock it. Make sure the vent is at sealing position.
- When the cooking cycle is complete, let the pressure release naturally. Open the Instant pot lid and garnish it with coriander leaves before serving.
Notes
Disclaimer: Approximate nutritional information is provided as a courtesy and can vary depending on the exact ingredients/brands used. If you have health issues, please work with a registered dietician or nutritionist.
Nutrition
This post was originally published on 09/27/2019, and the text and images were updated on Nov 10, 2023.